
Student Guide: Interact with your course mates and participate in marked discussions. In discussions, you can share thoughts and ideas about class materials.
Find a discussion

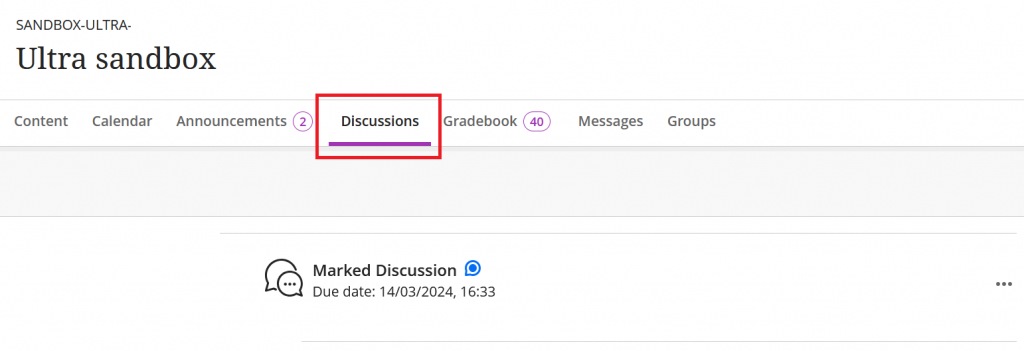
Discussions are indicated by a speech bubble icon.
You can find discussions in Course Content or by selecting the Discussions page along the top menu an Ultra course.
A discussion with new posts will have a speech bubble icon. Each time you open a discussion, new responses and replies appear with “New” to show any activity that’s happened since your last visit.
Follow a discussion
You can follow a discussion to get notifications on your activity stream every time there is new activity from instructors or students in a specific discussion. Select Follow to follow a discussion.

If you no longer want to receive notifications for a discussion, select Unfollow.
You can also refresh a discussion to see if there were any updates by selecting the arrows beside Follow or Unfollow.
You can control what sorts of notifications you get for discussions you follow by going to Settings on your activity stream. You can select or deselect receiving notifications for:
- Activity on my responses.
- Activity on responses I have replied to.
- Responses from instructors.
- Responses for followed discussions.
- Replies for followed discussions.
Respond to a discussion
Check the discussion settings
Check the discussion settings in the Details & Information menu on the right-hand side.
Settings your instructor can select:
- Whether the discussion is for the whole course, or certain groups (called Group Discussions).
- If you can post anonymously.
- If can view the replies of others before your first reply.
- If you can edit or delete your posts.
- If the discussion is marked and has a due date.
- It the discussion will be “frozen” after the due date (marked discussions only).
If anonymous posts are enabled, you may tick Post anonymously below the text editor to reply with your name and avatar hidden. Your reply will be anonymous to both the course members and your course instructor.
Respond or reply to a discussion
- Use the box towards the top of the discussion to post a new item.
- Select Reply under another response to reply specifically to that thread. Replies are nested under the original response and can be expanded/collapsed.
Edit or delete a reply
- Select the three dots (…) on the right-hand side to open the options menu.
- Select Edit or Delete.
- If you cannot see the three dots, you cannot edit or delete replies in this discussion.
Marked discussions: View due date, rubric, marks and feedback
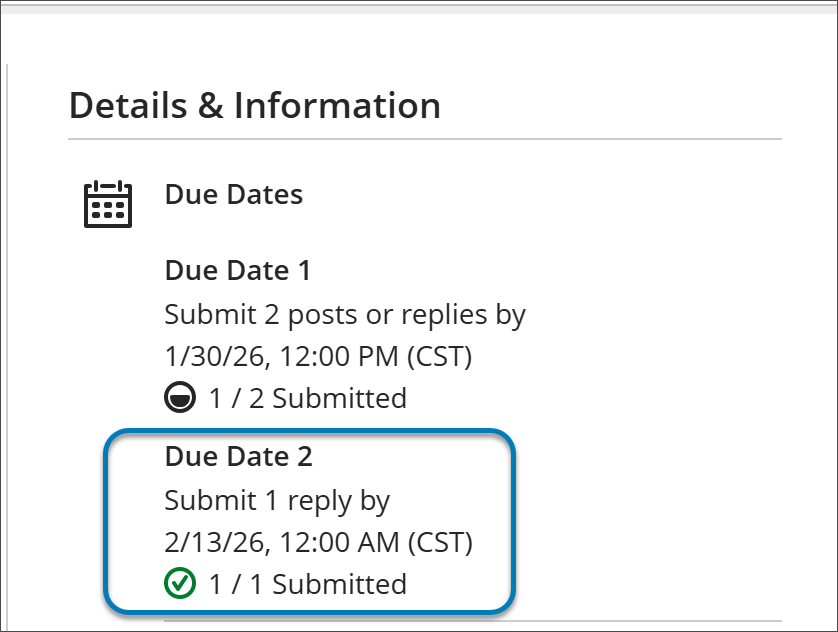
The Details & information menu will inform you if the discussion is marked. There may be one or more due dates, participation requirement or a rubric.
Your instructor assigns a mark for your participation in the discussion as a whole, not for each individual post.
Your instructor can provide feedback by replying to your posts, or by adding feedback during marking. Select the purple square speech bubble to view feedback.
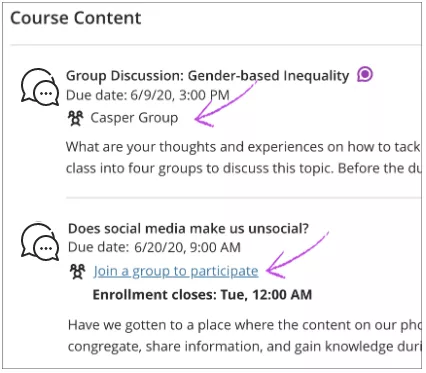
Group discussions
Group discussions will your group under the discussion name and release conditions. You may be prompted to join a group to participate.
You will only see responses and replies from other students on your group.
Create a discussion
If allowed by your instructor, you can create discussions for your classmates to participate in. Your instructor can delete any discussions, responses, and replies.
- Go to the Discussions page in your course. Select New Discussion.

- On the New Discussion page, type a meaningful title. Choose your discussion title carefully. Only your instructor can edit the title later.
- Select Save when you’re done.
- On the main Discussions page, your discussion title appears with the label Created by student.
- When course members open your discussion, you’re listed as the author in the side panel.
- You may edit or delete your own posts and may delete your own discussions if no one has responded.
- You cannot create marked discussions. Your discussion will appear in the discussions area of the course and cannot be moved into the course content area or a folder.