
Staff Guide: To support staff create and manage choices forms.
Overview of Choices
The Student choice web application allows students to make Choices about projects, field trips etc, and then automatically produces the allocations in a fair way.
How does it work?
- Students are added to the system and linked to a project, field trip or activity set by staff.
- The student logs in and views the options available.
- Students can add and remove options from their basket and rank their options.
- When they have selected the right number of options, they can then submit/finalise their choices.
- Staff members then allocate options based on the students preferences using the systems allocation algorithm.
- Students will then be informed via email.
Is it really fair?
Yes. The selection algorithm produces an allocation of students to Choices based on their preferences.
Logging in
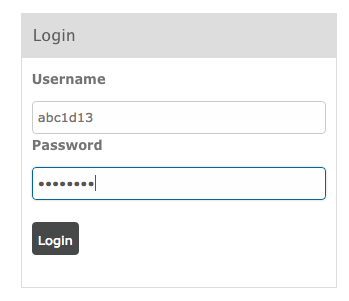
In order to be able to see the forms that have you have access to (edit or view), you must first log in, either using the Log In box on the right hand side of the front page, or the Log In link in the top menu.
Staff Permissions
In Choices, staff can have one of three roles on a form:
- Form Authors – are allowed to submit new options for this form, which must be moderated.
- Form Editors – are able to view and edit all options and are able to moderate those submitted by authors.
- Form Admins – can view and edit all options and administrate the form and allocation process.
Roles can be changed by going to a form and selecting Staff on the left hand menu to review who has access and to add more staff to the form.
Add Staff to a Choices Form
- In a choice form, select Staff on the lefthand menu.
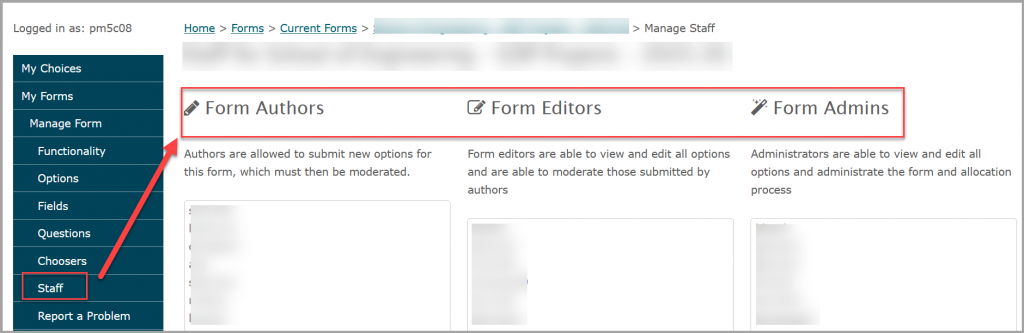
- Staff with access are listed under the categories of their permission (Author, Editor or Admin).
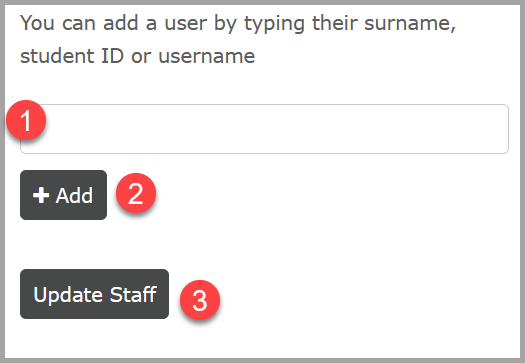
- Add staff by typing their surname or username in the search box (1) and selecting the correct individual.
- Then select Add (2). Steps 1 and 2 can be repeated if adding multiple staff.
- Finally select Update Staff to save the changes.
Choosing your form or option
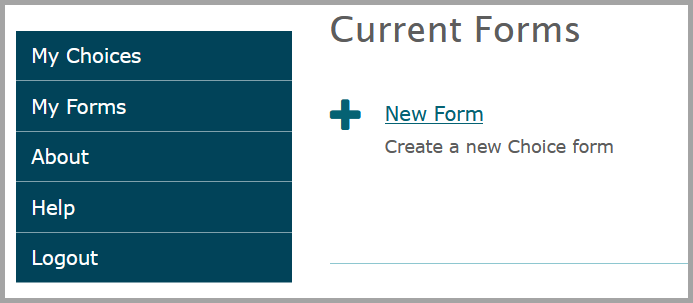
After logging in, select the ‘My Forms‘ option on the menu to view all forms which you have permission to access.
You will be presented with a list of all the choice forms and options you have available to edit. Select the form or option that you wish to make edits to.
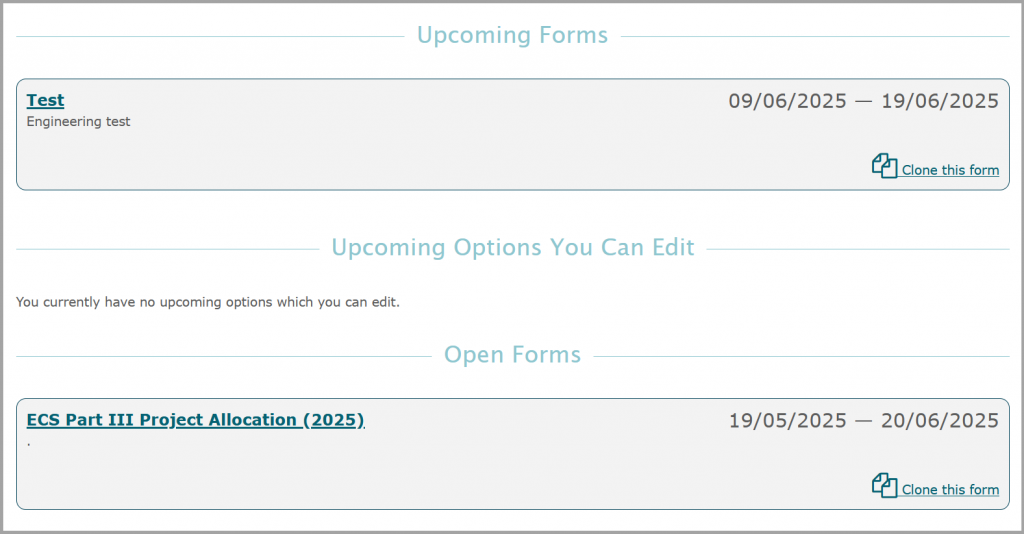
If you do not see the form you are expecting, you must contact those in charge of the form as they must add allow you to access the form. For example, for a form corresponding to a university module, contact the module leaders for that module.
Adding a new option
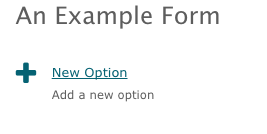
If you wish to add a new option to the form and you have permission to do so, select Options in the left hand menu, then New Option button.
Editing a previous option
If you wish to make changes to a previous option which you have submitted, select the name of the option you would like to edit from the list.

Creating your option
After choosing to either edit or add a new option, you will see a set of fields outlining your option, including a title, summary, description and any additional information that is required. Make your changes on this page to update your option.
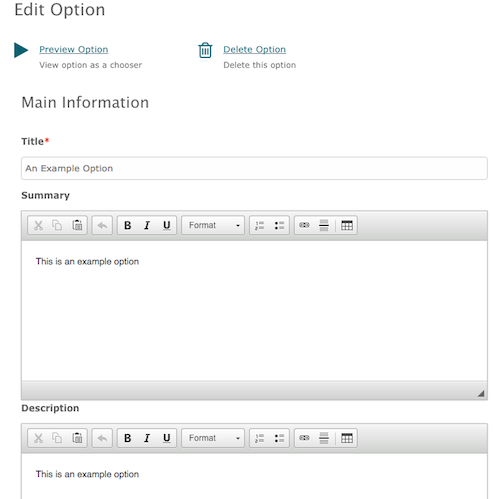
To format your option, you can use the formatting tools on the toolbar, or directly copy and paste from other applications, such as Word, with formatting intact.

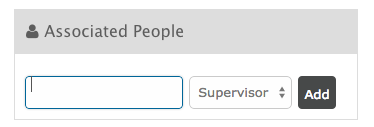
If you wish to add or edit any associated people (such as supervisors or co-supervisors), you can do so from the associated people box. You can type in a username, ID number or start typing their full name to search the directory.
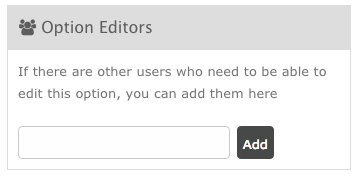
Similarly, if you wish to allow any other individuals the ability to edit your option, add them into the editors box. You can type in a username, ID number or start typing their full name to search the directory.
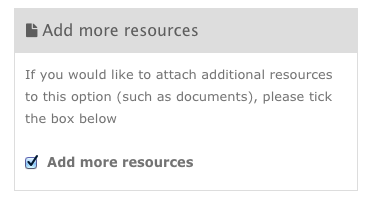
If you wish to attach any files to your option, you can tick the resources box after which you will be taken to a screen where you can attach PDF files, presentations, documents or other files.
When you are done, press the Submit button to save your changes

Previewing your option
Once you have created your option and saved your changes, press the Preview button from the menu to see how your option will be presented to choosers

If you have any further difficulties or problems, please contact ServiceLine.