This page explains the best way to workaround having a video within your PowerPoint, while still having a high quality Panopto recording.
What is the problem?
Panopto captures video in two different way. The primary video (help on recording primary video) is a fast moving, low quality video that normally appears in the top left hand corner of your presentation. The secondary video (help on recording secondary video) is slow moving, high quality video that fills the majority of the screen when viewed back.
Screen capture is a secondary video source and therefore is large, but jumpy (low frame rate). Also, secondary video doesn’t include sound; therefore your video will either be silent or be very poor quality (where only the sound picked up from the speakers by your microphone is recorded).
What’s the solution?
The best solution is to upload the video to Panopto and then replace the recording of your video with the uploaded video.
To do this you will need to upload the video from your PowerPoint into Panopto using our uploading guide.
Once the video is uploaded and processed (this may take some time, but should be under an hour) you can add it into your presentation.
The editor
- Open the Panopto editor using our Load the Panopto Editor guide.
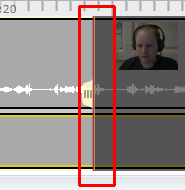
- Edit out the video from your presentation using our Panopto Editor Cutting guide.
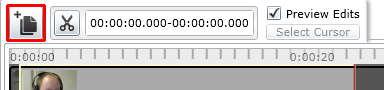
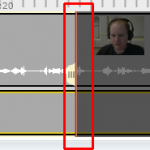
- Select the timeline where you would like the video to begin. A red line will appear.
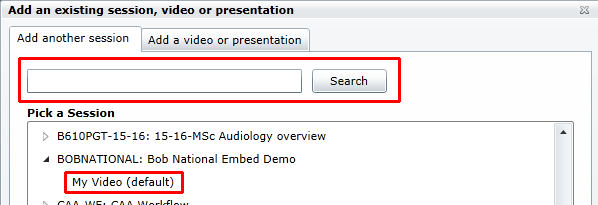
- Select the ‘Add’ Content button in the editor.
- Find the video you uploaded and select it.

- Ensure “Click to position” is selected in the window and press OK
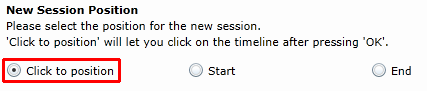
- Click on the timeline where you wish your video to be inserted. If you did step 3 above, this will be the red line
- The video you captured with the Panopto Recorder is now replaced with a high quality version

The video is added into the editor. Click to enlarge. - Click Save