Using Grade Centre Smart Views
Smart Views are views of the Grade Centre based on certain user selected criteria. Once Smart Views have been set up they may be used at any time within your course’s Grade Centre.
1. From your course Control Panel open the Grade Centre.

2. Hover your mouse pointer over Manage, a menu will appear, choose Smart Views.
3. You will be presented with a list of any existing Smart Views, which you may edit, copy, delete, or make a favourite.
Note that “favourite” smart views will appear as short cuts within the Grade Centre menu within the Control Panel.
4. To create a new Smart View click on Create Smart View.
5. Enter a name and description for your Smart View.
6. If you wish you may set it to be a favourite smart view. Favourites will appear within the Control Panel so they are easy to get to.
7. Choose the type of Smart View you wish to set up:
Group
A group smart view will show selected groups that have been set up in your course.
Benchmark
A benchmark view will show a view based on performance in a single gradable item.
Focus
A focus view will show selected users only.
Investigate
An Investigate smart view will show data based on a complex query of student and grade centre column attributes.
8. Select the criteria to be used by the view. This will vary depending on the type of view you have chosen to create.
9. Choose which data should be shown in the view by selecting Filter Results from the dropdown menu.
10. Click on Submit to finish.
11. To view a Smart View from the Grade Centre, click on the Filter button, hover the mouse over Current View, and choose the Smart View you wish. Do not set a custom smart view to be the default view – if a student within that view drops from the course the view will become inaccessible and you will be locked out of the Grade Centre. Instead make the Smart View a favourite.
Creating Grade Centre Smart Views based on membership of groups
The Blackboard Grade Centre can use Smart Views to help you to filter the Grade Centre screen to only see certain users.
It is possible to create a Smart View based on a Blackboard course group’s member list while creating the group, but it can also be done at any other time by following the instructions below.
1. From your course Control Panel expand the Users and Groups section and click on Groups.
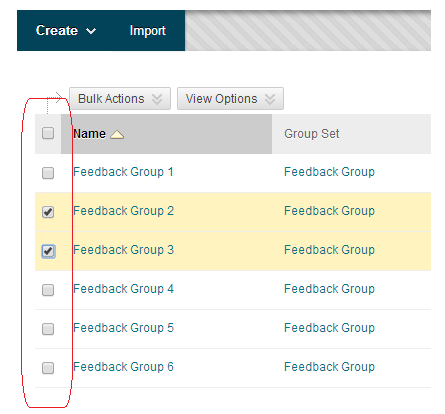
2. You are presented with a list of the groups set up on your course.
3. Place ticks in the tick boxes beside any groups for which you wish to create Smart Views.
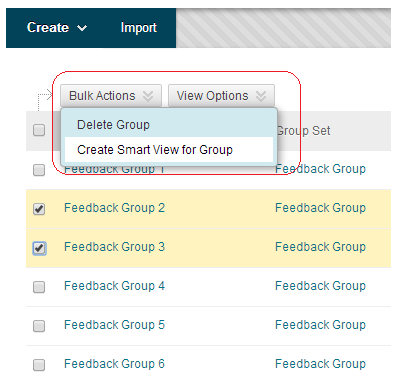
4. Hover your mouse pointer over the Bulk Actions button and choose Create Smart View for Group.
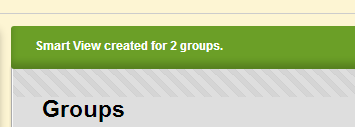
5. You will receive a confirmation message at the top of the Groups box.