Access the Grade Centre
The Blackboard Grade Centre can be found in the course Control Panel.

Understanding the Grade Centre
Please see Blackboard help for navigating grading.
Changing the Instructor view of the Grade Centre
You may organise the Grade Centre to suit your purposes better. By organising the Grade Centre you may hide certain columns, quickly change column categories and grading periods, move columns, and select which columns are shown before the scroll bar in a similar way to using the split feature in Excel.
1. Access the Grade Centre from your course Control Panel.
2. Hover your mouse pointer over Manage, a menu will appear, choose Column Organisation.
3. The Organise Grade Centre screen has buttons labelled Show / Hide, Modify Category, and Modify Grading Period.
4. Each of your gradebook columns are shown below, starting with information shown in all views, then information by Grading period.
5. Columns are selectable by placing a tick in the tick box beside them.
6. To show or hide a column within the Grade Centre select it by placing a tick in the corresponding tick box then hover your mouse over Show / Hide and choose the relevant option.

9. To quickly change the position of a column, hover your mouse over the arrow icon then hold the left mouse button and drag the mouse upwards or downwards to move the column.
10. In a similar way to Microsoft Excel, it is possible to “freeze” columns so that they do not move while scrolling through the grade centre. In the Grade Centre the Freeze Bar fulfils this function. To move the freeze bar simply click and drag the freeze bar to the desired position.

11. After making any changes click the Submit button.
Hiding and unhiding Grade Centre columns to students
When you create a Turnitin assignment (unless set to anonymous), Test or Blackboard assignment a corresponding column is created for it in the Grade Centre. By default, the content of this column is visible to students via their My Marks tool.
While marking is taking place it is often preferable to hide the column from the students until your advertised post date.
How to hide and unhide a column in the Grade Centre
Go to the Full Grade Center found in your control panel menu.
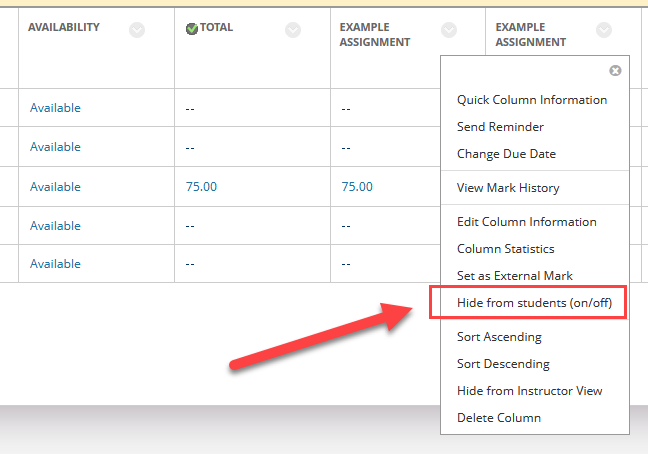
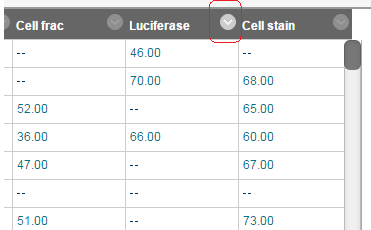
Locate the column you wish to hide and select the context menu button found to the right of the column title.

Then select “Hide from students (on/off)”
You will quickly see if a column is hidden by looking for the following icon in the column title

To unhide the column repeat the above steps, when it is revealed the hidden icon will disappear.
How to manually enter marks
If you wish to manually add an override grade, follow these instructions.
1. From your course Control Panel expand the Grade Centre menu and choose Full Grade Centre.
2. Find the column and corresponding row into which you wish to enter a grade and click on it.

3. The cell will become active. Type in the grade and press ENTER. Note that information about the column appears in the grey box below. This will usually be an override grade.
4. Note that if you do not press the ENTER key after typing in the grade a dialog box will appear asking if you wish to save the entry, selecting OK will save the grade.
Add a feedback file to a Turnitin Assignment in the Grade Centre
Currently TurnItIn does not directly give you the ability to add a file to your feedback. If you wish to add a file to your feedback a possible workaround is to use the Grade Centre. This guide assumes that marking has already been done in GradeMark but that you wish to add an additional feedback file
1. From your course’s Control Panel, expand the Grade Centre menu and choose Full Grade Centre.
2. Find the row and column that corresponds with the student in question and the assignment.
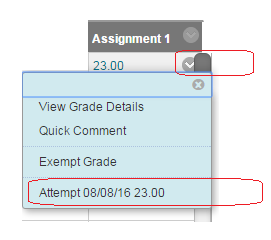
3. Hover your mouse pointer within the cell to reveal the action button.
4. Click on the action button.
5. From the menu that appears click on the attempt to which you wish to add a feedback file.
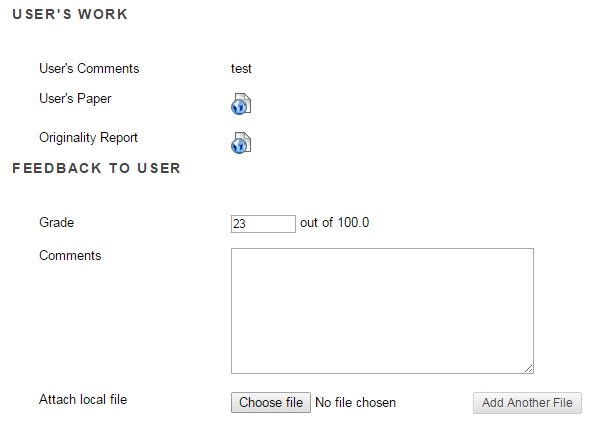
6. You will see the students attempt. You should see the mark you already gave in GradeMark.
7. Under the Feedback to User section, you can now add a comment (e.g. please look at the attached file), and then attach a file to give back to the student.
8. Click on Submit.
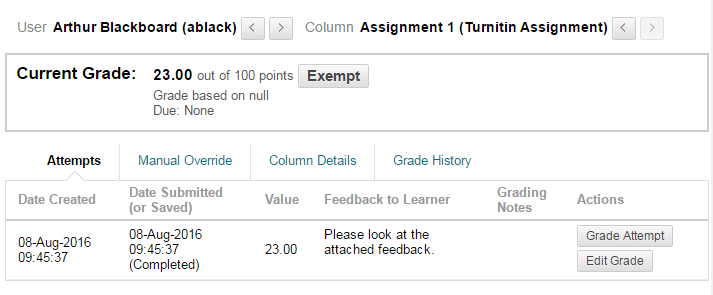
9. You are returned to the overview screen of the student’s attempt for this assignment. You can click on Grade Attempt if you wish to go back and change the feedback.
How a student would view the feedback file.
Students can view their feedback via Turnitin as usual.
To view the feedback file you attached they should, in addition to the above, do the following:
1. Click on My Blackboard Scores from the My University of Southampton page within Blackboard.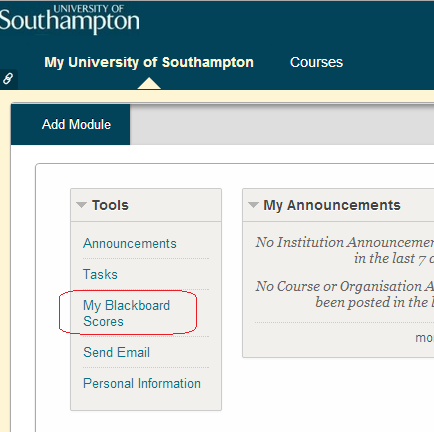
2. Find the course concerned.
3. Find the assessment concerned and click on the name of the assessment.
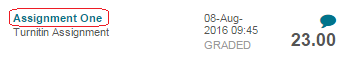
4. The feedback is shown along with the attached file.

Uploading marks to the Blackboard Grade Centre using Microsoft Excel
You may upload files from an Excel file into Blackboard.
In order for Blackboard to know what column of your Grade Centre the marks are related to, you must create the appropriate column in the Grade Centre first. Then you can download an excel file from Blackboard which will add special codes to each column. Having inputted the marks you can then re-upload that file into Blackboard, because it has the special codes it will be able to match the column in the excel file with the relevant column in the Grade Centre.
- Enter the Grade Centre.
2. Create a column in the Grade Centre for the topic/assessment to which the marks are related.
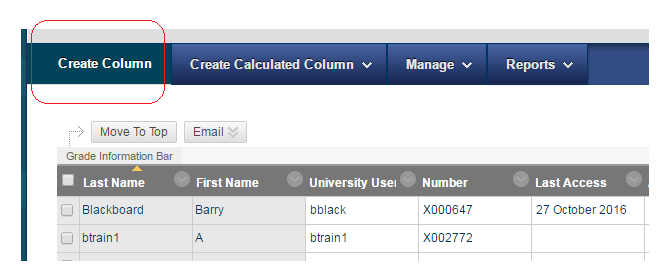
3. In this example we have called it “Offline Assessment”.
4. Hover over the Work Offline button and choose Download.
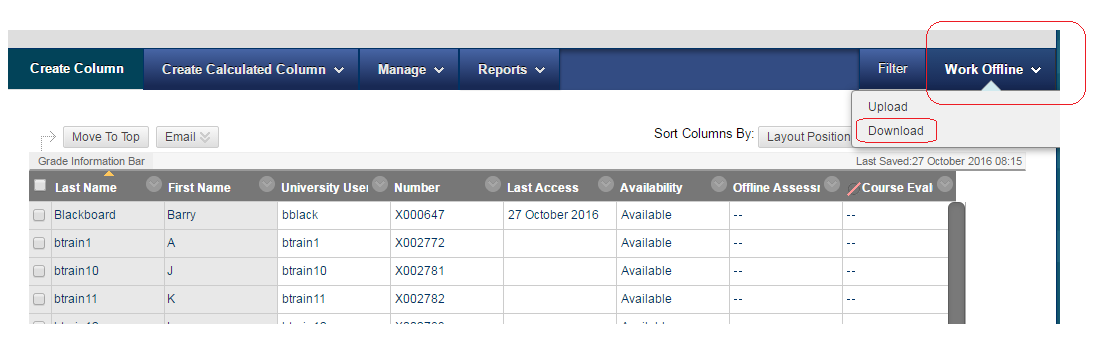
5. Leave the options at the default settings and click on Submit.
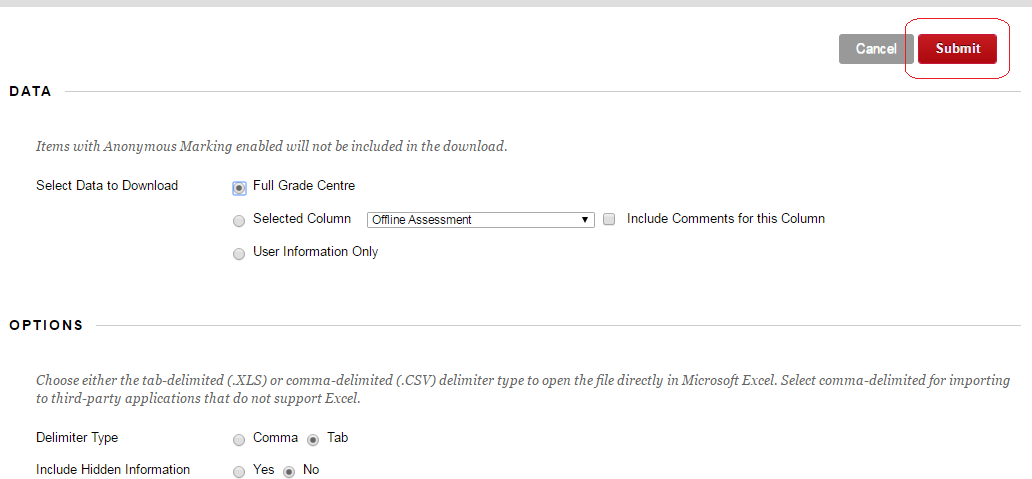
Note: if you have difficulty opening the excel file, you can change the delimiter type to Comma to receive a CSV file instead.
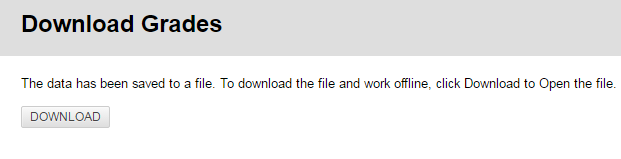
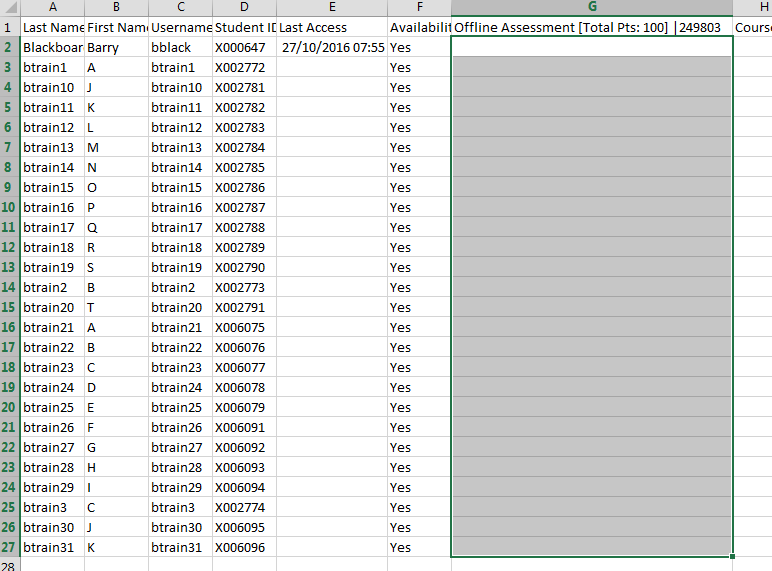
6. Click on Download and open the file in Excel.
7. If you receive this message click on Yes.

Note: if you have difficulty opening the excel file, you can change the delimiter type to Comma in step 5 above to receive a CSV file instead.
8. In Excel enter/paste the marks. Ensure they are entered as numerical values, not formulas.
9. Save your Excel file as a CSV file.

10. Close Excel.
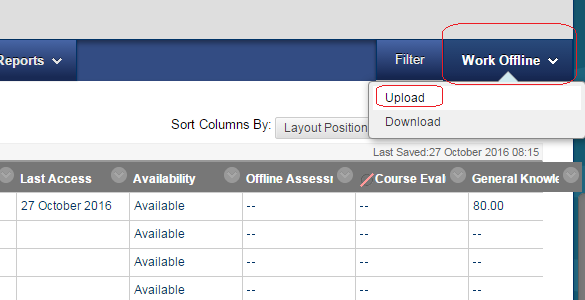
11. In the Grade Centre hover over the Work Offline button and choose Upload.
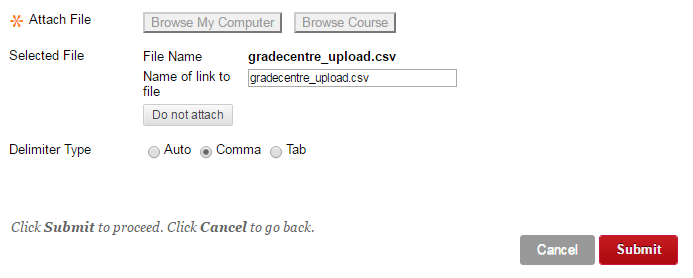
12. Browse for your saved CSV file, select comma as delimiter type and click Submit.
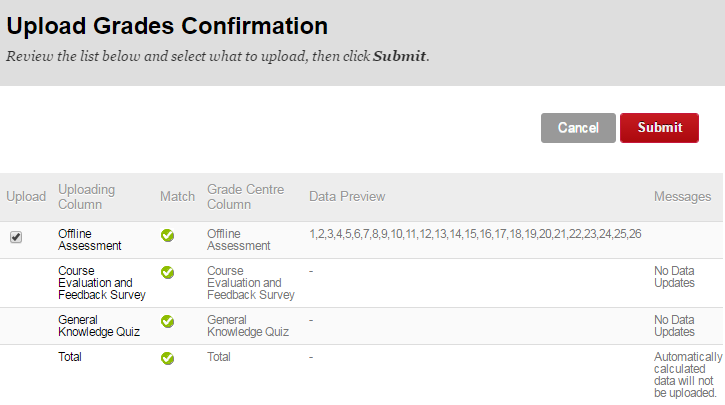
13. You will be given a preview of the data that will be uploaded, click Submit to confirm.
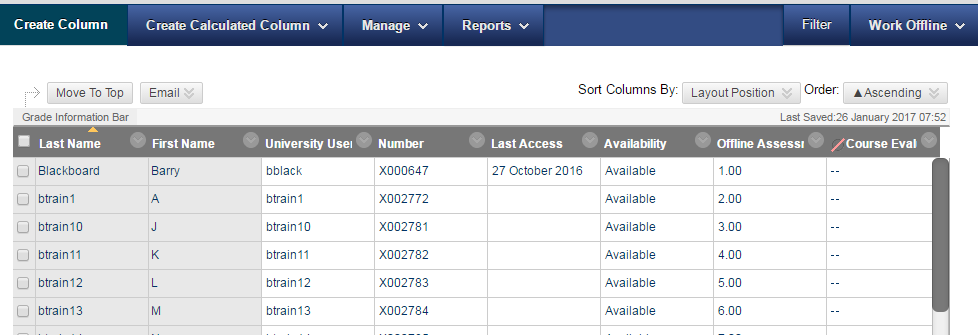
14. The marks will appear in the column in the Grade Centre.
How to to export the Blackboard Grade Centre (Column)
8. If you wish to download results to Excel, click on Download Results.
9. Select Tab to create an Excel file, or Comma to create a comma separated file (CSV).
10. Choose whether the format produced should be By User or By Question and User. The format listed By User will include all of the questions for a user in one row. The format listed By Question and User will list each question for each user in a separate row. Regardless of this, choose the format By Question and User for assessments longer than 40 questions.
11. Choose which attempts to download. All attempts for this item may be downloaded under All attempts. Downloading Only valid attempts will only use the attempt that is being graded. For example, if the grading option is Last attempt then only the last attempt will be provided. If the Grading option is Average, all attempts will be provided.
12. Click on Download results.
13. Choose whether to open the file straight away, or save it to your computer.
How to export the Blackboard Grade Centre (whole)
Working Offline? If you wish to download your course’s Grade Centre, or a part of it, follow these instructions.
1. From your course Control Panel, access the Grade Centre.
2. Hover your mouse over Work Offline and choose Download.
3. Choose which parts of the Grade Centre you wish to download.
4. For delimiter type choose Tab.
5. If you do not wish to include hidden information choose No, otherwise leave it set to Yes.
6. Click on Submit.

7. Click on Download.
8. Click on Open to open the file, or on Save to save the file to your computer.
Producing statistics about a Blackboard Grade Centre column
The Column Statistics page displays statistics for a grade item, including average, median, and standard deviation. You can also view how many need grading and how the grades are distributed.
- From your course Control Panel open the Grade Centre.
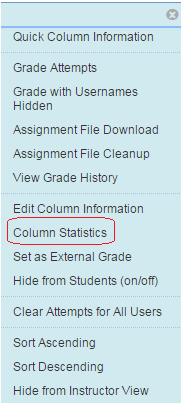
2. Find the column about which you are interested in producing statistics and click on the action button beside the column heading.
3. Choose Column Statistics from the menu that appears.
4. The statistics will be shown.
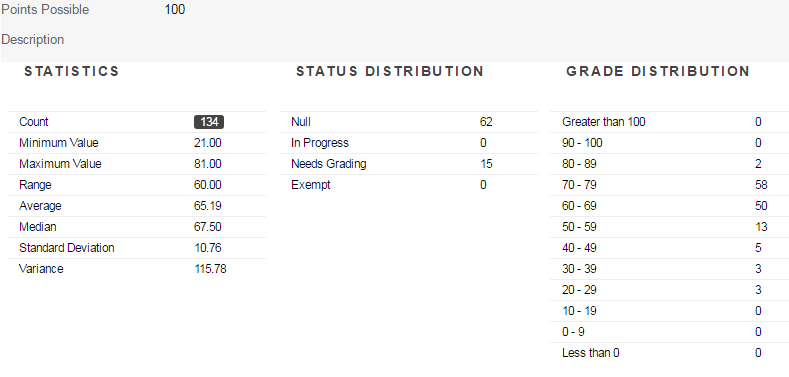
Available Statistics
- Minimum and Maximum Values: The lowest and highest values of all graded columns in the Grade Centre
- Range: The numeric range between the lowest and highest grades for an item
- Average: The statistical average of the item
- Median: The midpoint score of the items
- Standard Deviation: The difference between the values of the item and the average of the item
- Variance: A statistical measure of the spread or variation of the items
Adding custom columns to the Grade Centre
You can add your own columns to the grade centre, for example:
- A calculated column to combine data from multiple columns
- A grade column where you can manually add a mark, or a tick to show a task is complete or an event attended.
See the Blackboard guide on Grade Columns for more information.