
Staff Guide: Progress Tracking gives you and your students an easy way to keep track of what they have completed in your module
Turn Progress Tracking on/off:
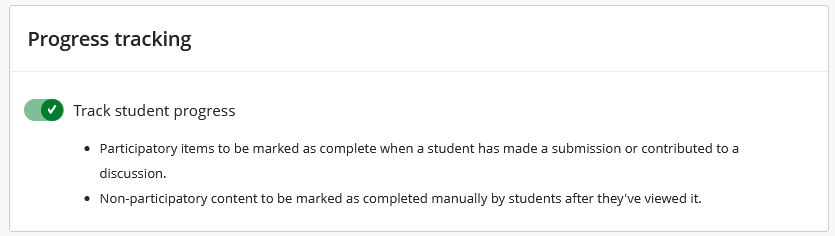
Progress Tracking is turned off by default, but you can turn it off or on from the Course Settings menu.
Important: If you turn on Progress Tracking after the beginning of the course, participatory items are retroactively marked as complete. For example, assessments previously submitted by students are marked as complete.
Student view of Progress Tracking
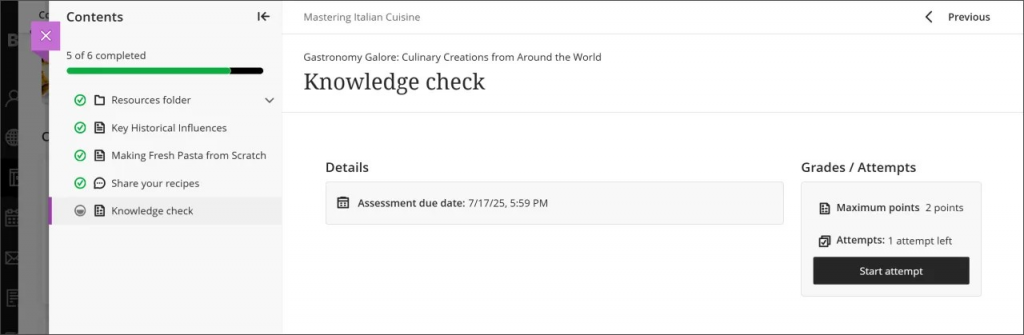
- Students can check how many tasks they have completed in a Learning Module.
- When a document, file or link is opened the item is marked as ‘Started’ (half filled circle).
- Students can then tick these items as ‘Complete’ (green tick).
- Participatory items such as Assignments, Tests and Discussions are automatically marked as complete when a student submits.
- When a document or item is opened, progress tracking is visible in a collapsible table of contents panel.
Instructor view of Progress Tracking
Individual student progress
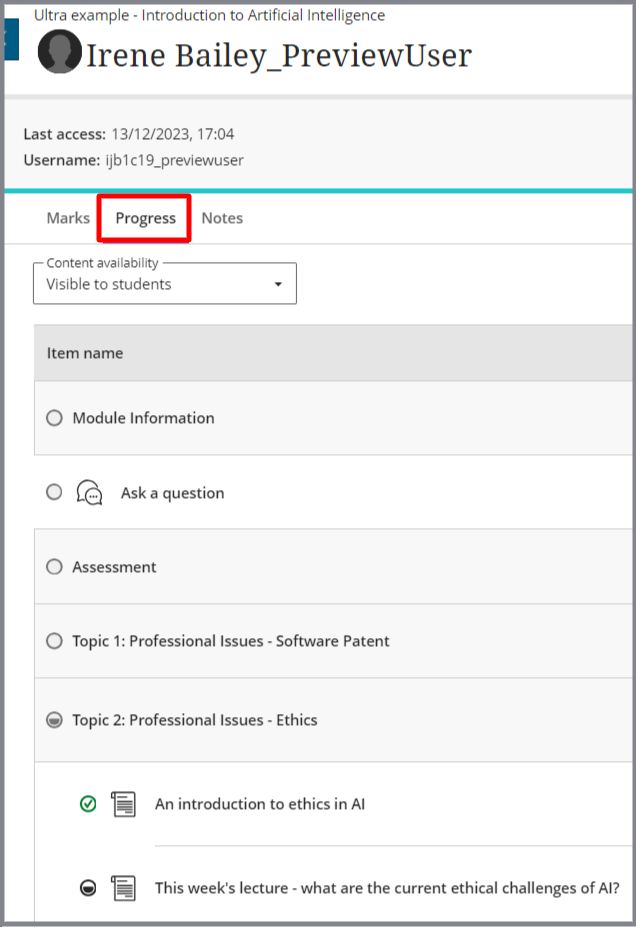
Instructors can check how individual students are progressing through course content.
- Select a student name in the Class Register or Gradebook.
- Select the Progress tab.
Course content Student Progress report
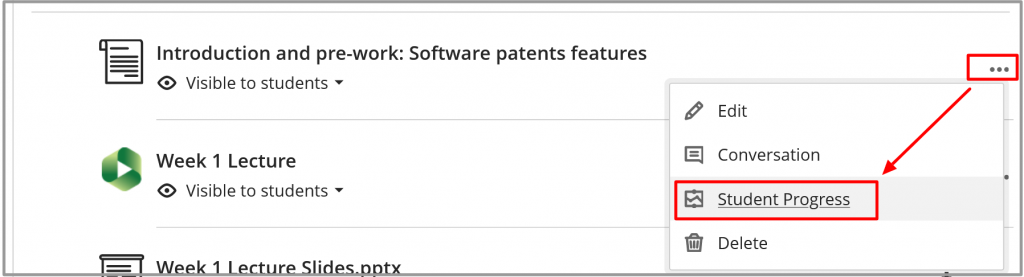
View how students engage with content and take actions, such as updating content, or messaging students based on their engagement.
- Select the three-dot option menu to the right of any content item.
- Select Student Progress.
Things to consider when using Progress Tracking
Progress tracking is intended as a tool for students to monitor how they are progressing with content in your module. It is not an assessment tool.
Consider the student view of progress tracking when planning your module content, and ensure that you do not overwhelm students and give them the idea that they need to interact or read every item within a Learning Module if this is not your intention.
- Consider using Blackboard Documents to chunk up content and add context. Rather than adding lots of links and files to the course page, use a Document to hold these items. Students can mark the Document as complete.
- Use headings within Documents, or separate Documents or Folders to indicate what material is Required and what is Additional content.
- Add additional resources to the weekly section of the module’s Talis Reading List. Reading List items can be flagged as ‘Essential’ or ‘Additional’.
- Communicate with your students and explain how you expect them to use Progress Tracking. Make sure they can contact you if they have any questions or concerns.