
Staff Guide: With Student Preview, you can review course content from a student’s perspective.
About Student Preview
Student Preview will create a student account for you so that, as an instructor, you can experience content and activities as a student would. When you enter Student Preview you will be able to:
- Access available content.
- Download and upload files.
- View grades as a student.
- Submit assignments.
- Take tests.
- Participate in conversations.
- Participate in discussions and journals.
- Experience group membership (see guide below for using student preview with Groups).
Course roles that can use student preview are:
- Instructor.
- Library Staff.
- Pre-sessional Instructor.
- Teaching Assistant.
- Course Builder.
- School Office Administrator.
Enable Student Preview
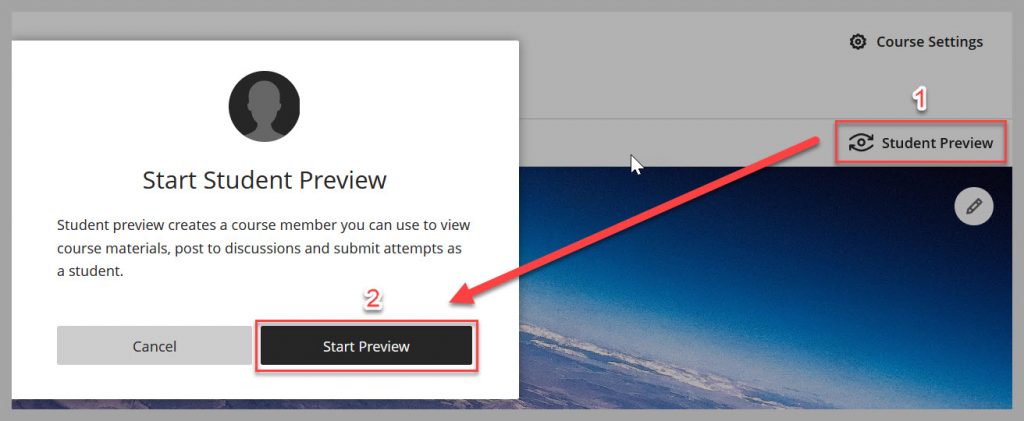
- Select the Student Preview button on the top right-hand corner of the course page.
- Then select Start Preview in the pop-up window.
- This will create a student “Preview user”.
Exit Student Preview
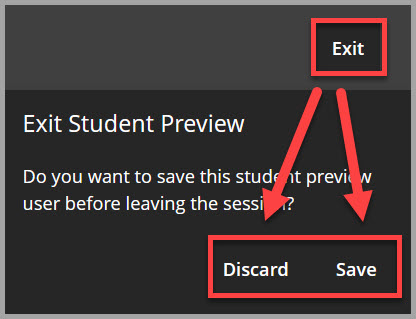
- Select Exit in the top right-hand corner of the Student Preview Bar.
- Select the option to Save or Discard the preview user before leaving the session.
- opt to Save the student preview user if you want to view the activities of the preview student with your normal course role – for example view submissions and marks.
- You will see your Preview User in the Class Register and the Gradebook: instructor_username_previewuser (for example ab1c24_previewuser).
- If you Discard the student preview data, there will be no evidence of your interaction with the module whilst in Student Preview.
How to use Student Preview with unavailable content.
You can add your Preview User to the Release Conditions of any content that is otherwise unavailable to students.
- Make sure you have already created a Preview User in the course by following the instructions above to enter Student Preview and then Exit Preview and Save the preview user.
- Select the Hidden from students option under the content item and select Release Conditions.
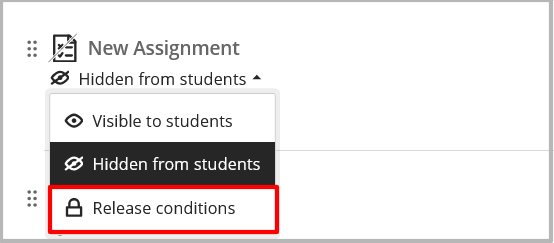
- Select Specific members or groups to have access to this content.
- Search for your name in the list of Individual members to find your student Preview User.
- Select Save.

- When you go back and enter Student Preview you will be able to see the content that will remain unavailable to other students.
How to use Student Preview to view Content only available to a particular Group.
You can add your Preview user to a Group and then you will be able to view any content or activity available to that group.
- Make sure you have already created a Preview User in the course by following the instructions above to Enter Student Preview and then Exit Preview and Save the preview user.
- Go to the Group tab on the top course menu and select the Group Set you want to add your preview user to.
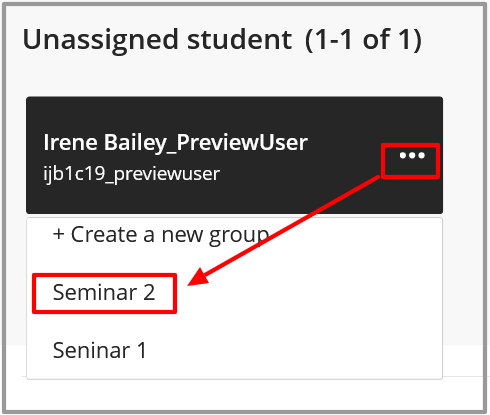
- You will see your Preview User in the list of Unassigned students.
- Assign your Preview User to a group.
- When you go back into Student Preview you can access all content available to the group you have been added to.