Staff Guide: How to embed Panopto video into Course Content and Ultra Documents.
There are two ways of adding Panopto content to your course. The first is to add a link via Course Content, the second is to make a playable embed of your media in a Ultra document.
Adding Panopto media to Course Content
- Start by selecting the Plus button within a course.
- On the dropdown menu select the Content Market option.

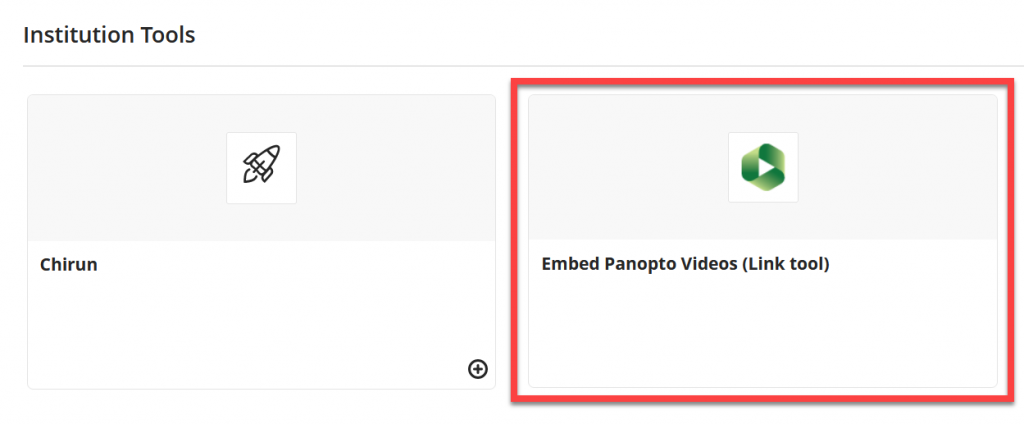
- From Institution Tools select the Embed Panopto Videos in your course from the list.

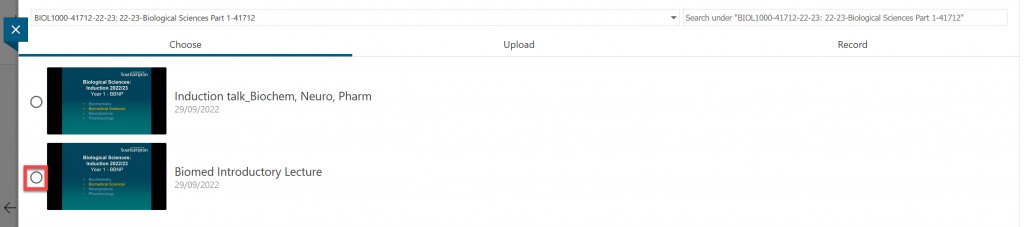
- The Panopto LTI page will load. From here select the video that you wish to add to your course.
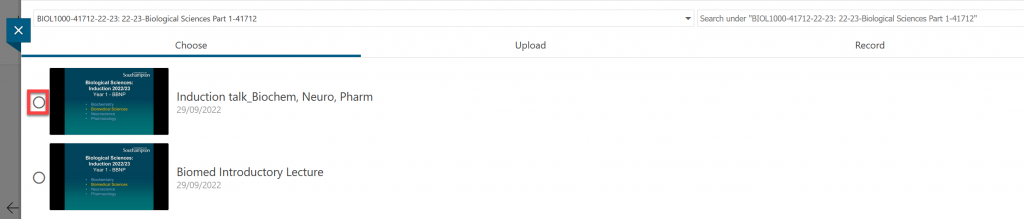
- Once content has been chosen, select the Insert button.

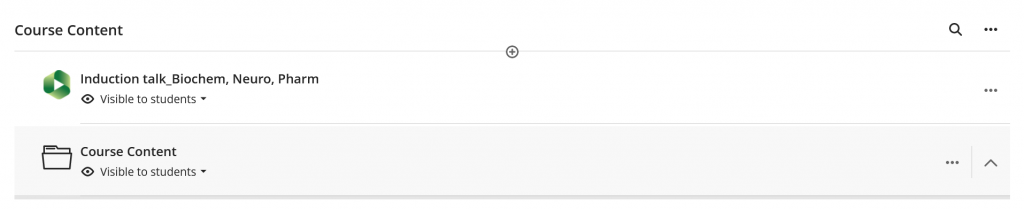
To play the video you just need to select the name, you can also press the three dots for the menu to edit the displayed name of the video.
Embedding video into Ultra documents
Embedding Panopto content into an Ultra document is great as you can use it to create enriched learning objects to compliment the Panopto content.
Ultra documents have blocks which allow information to be presented in more creative ways via the content editor.
To embed a Panopto video
- To start, select the Plus button where you want the video to be located.
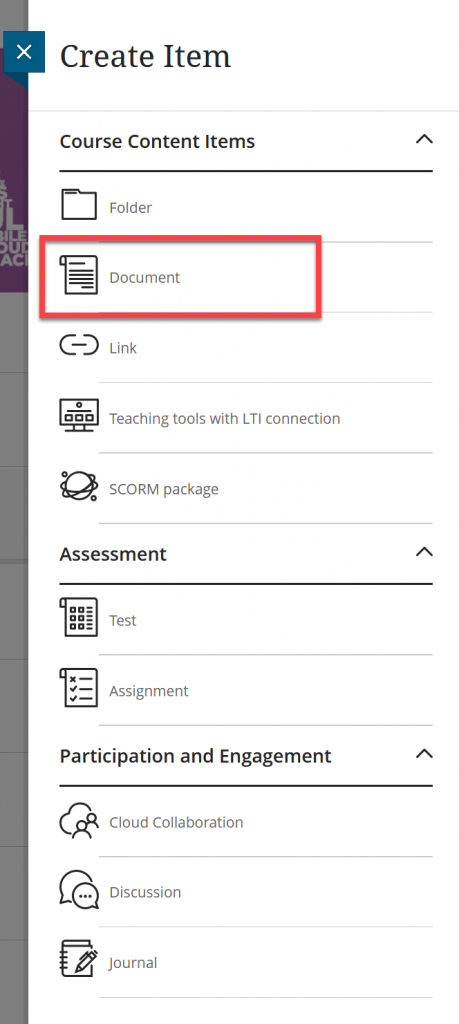
- On the dropdown menu select Create.
- From here select Document.
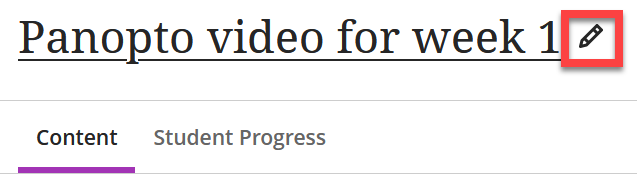
- On the new page in the top left is the name for the document.
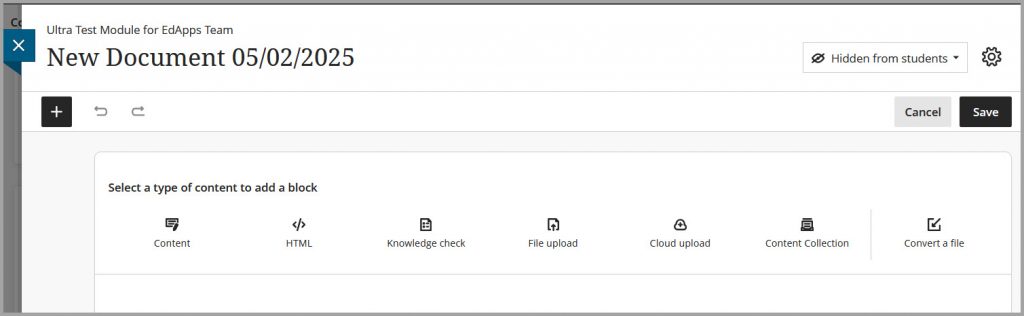
- Select the Pencil icon and it will allow you to edit the name of the document/page.
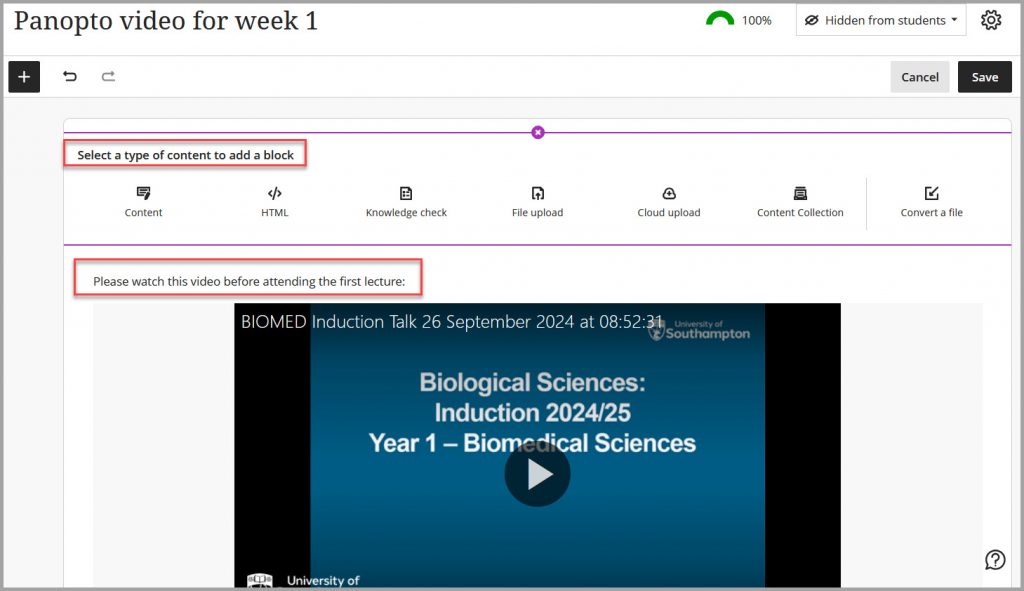
- Once you have chosen a name, select Content under the type of content to add to a block.

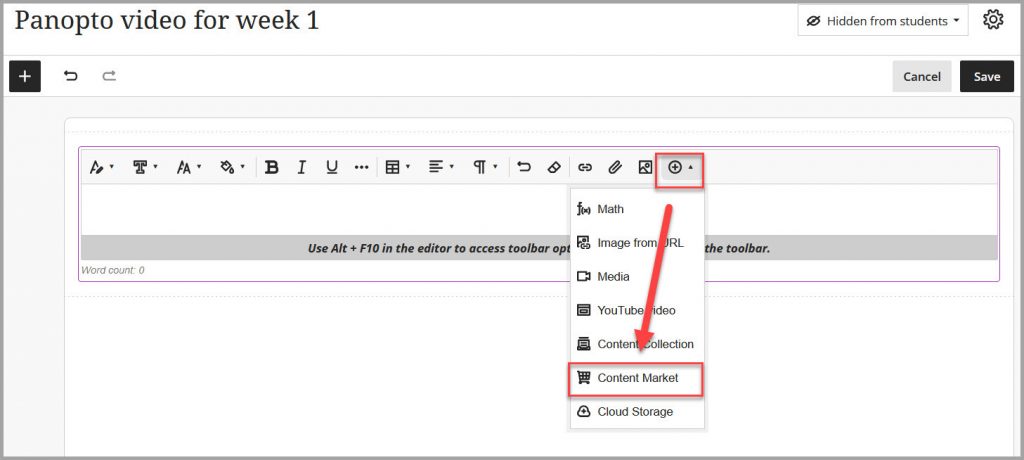
- From the Content Editor, select the Plus button.
- On the dropdown menu, select Content Market.
- From Institution Tools select the Embed Panopto Videos (Link tool).
- The Panopto LTI page will load. Then you can select the video(s) that you wish to add to your course.
- Once you have selected the video(s) you want to use, you may wish to remove the option for viewers to leave a review or make a comment on the video. Or make other changes to the displayed embedded video. This is done by selecting the up arrow at the bottom right of the Panopto interface.

- From here to change say the video review options, select the dropdown list under ‘Interactivity’.

- From here select ‘None’ and viewers can no longer leave any feedback or ratings from the embedded video.

- You may also change other options such as autoplaying the video etc. But we recommend you leave these to default settings.
- There will be an option to rename the Display Name, which defaults to the Panopto file name. Select Insert to save changes.

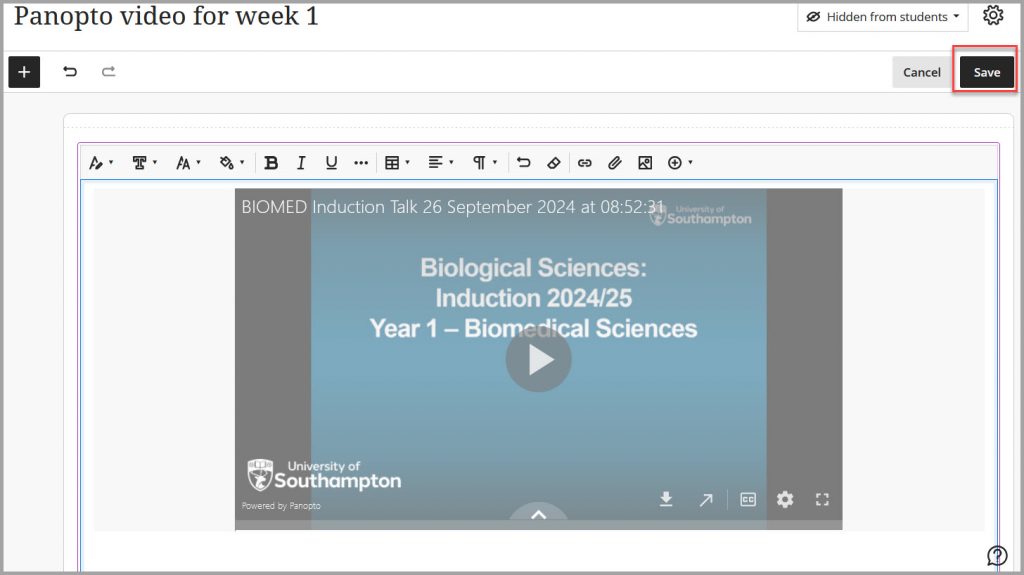
- Your Ultra document will now show the embedded video. Select Save.
- You can make further changes to your Ultra document as well as by selecting Edit Content.
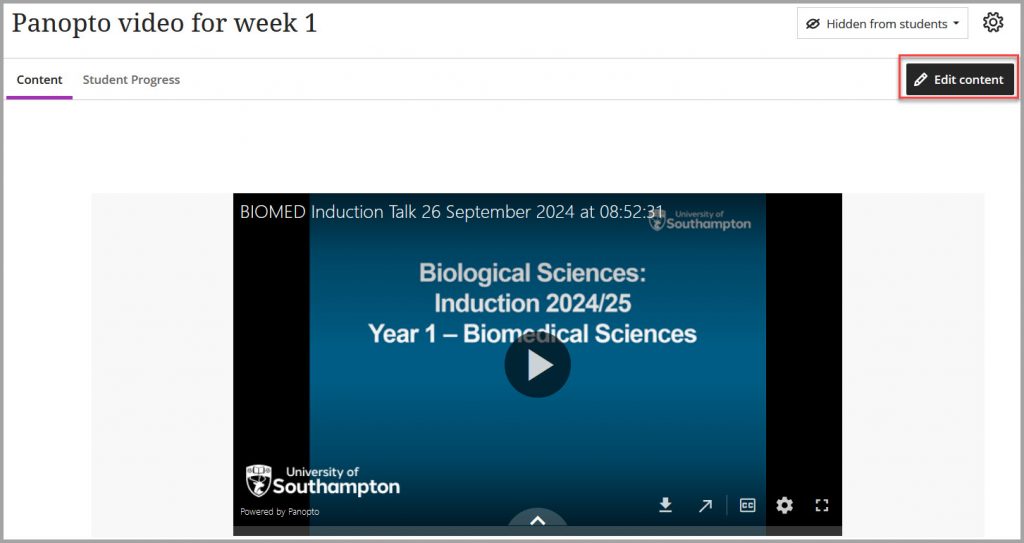
- This allows you to add text around the video with further information/instructions, PowerPoint slides etc. or add additional content blocks to your document (see eLearn guide to creating documents for more information).
- Don’t forget, once you are happy with your changes you must select the Save button.