The following guide is only for University computers that are not in a lecture theatre or workstation room, these rooms have Panopto installed already. If Panopto is not present please contact ServiceLine.
Start by closing or minimising any open windows until you can see your desktop.
On your desktop you should see an icon for ‘Additional Software’ double click this, or select ‘Start’ and type ‘Additional Software’ it should show on the list where you can select it.

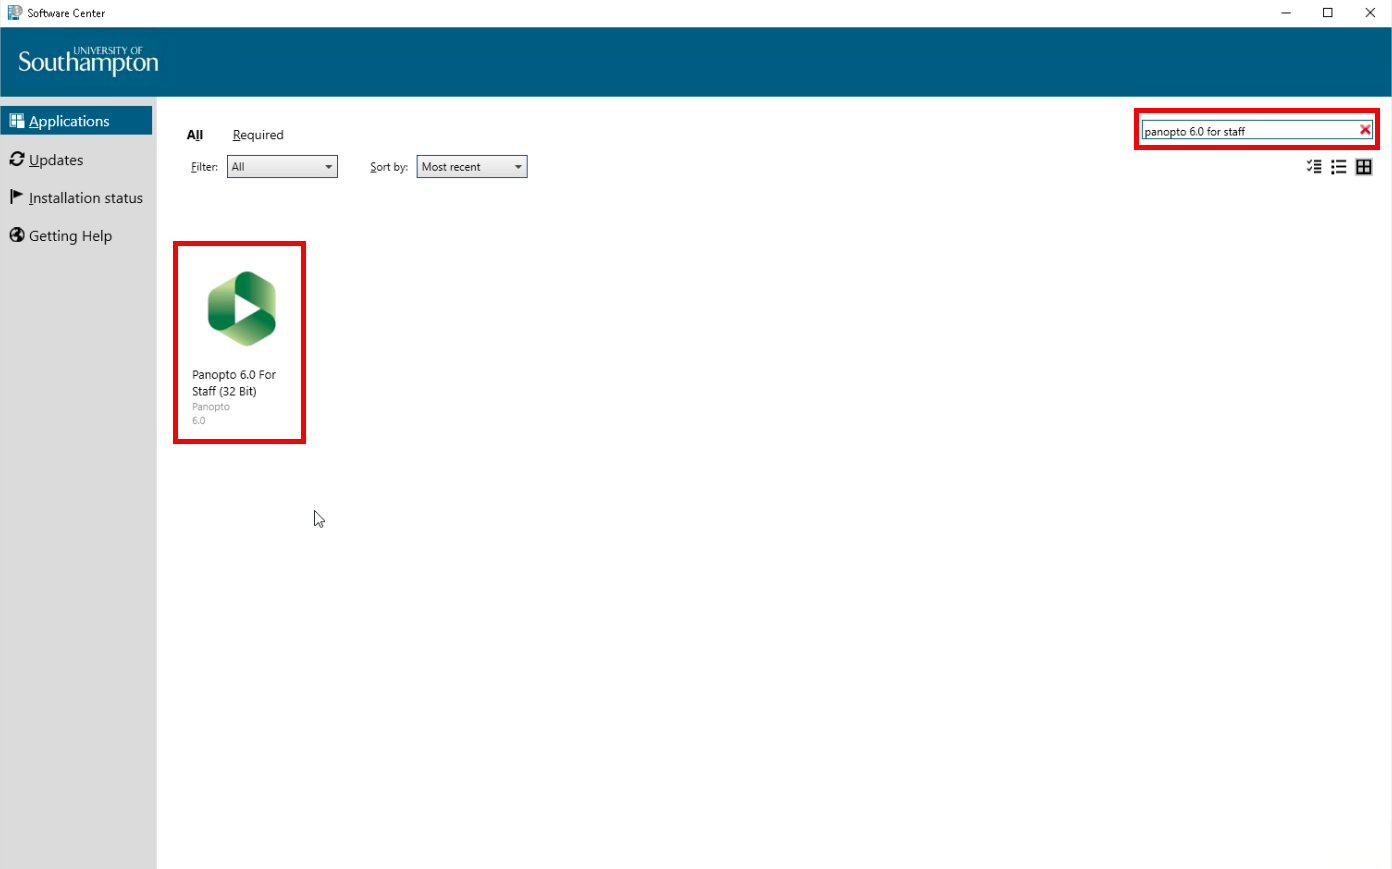
When the ‘Software Center’ has loaded. In the top right search bar type in ‘Panopto’. It should find only one option of ‘Panopto for Staff’, double click on the icon.
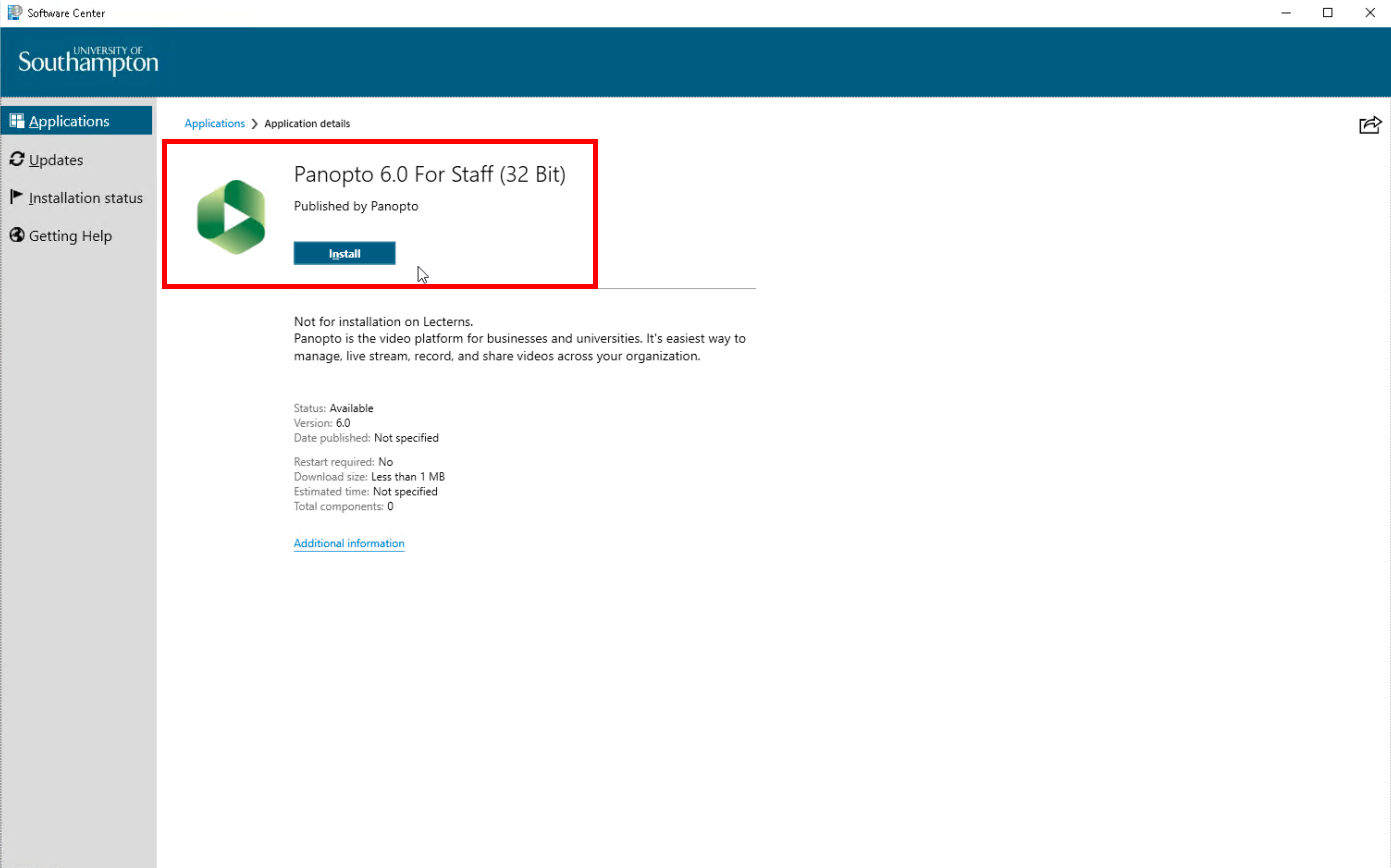
On the details page select the blue button to ‘Install’ the software. It should do this in the background.
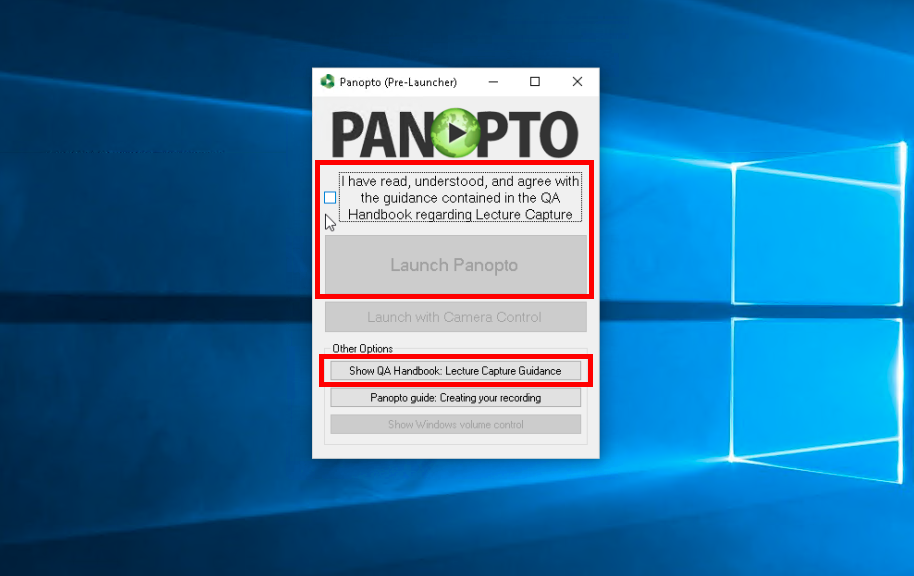
Once installed you can load up the Panopto recorder from your desktop. Note; it has the same consent box as with all lecture theatre computers. You should read the terms and conditions of Panopto use before ticking the box agreeing to the terms and conditions of its use. Then select the ‘Launch Panopto’ button.
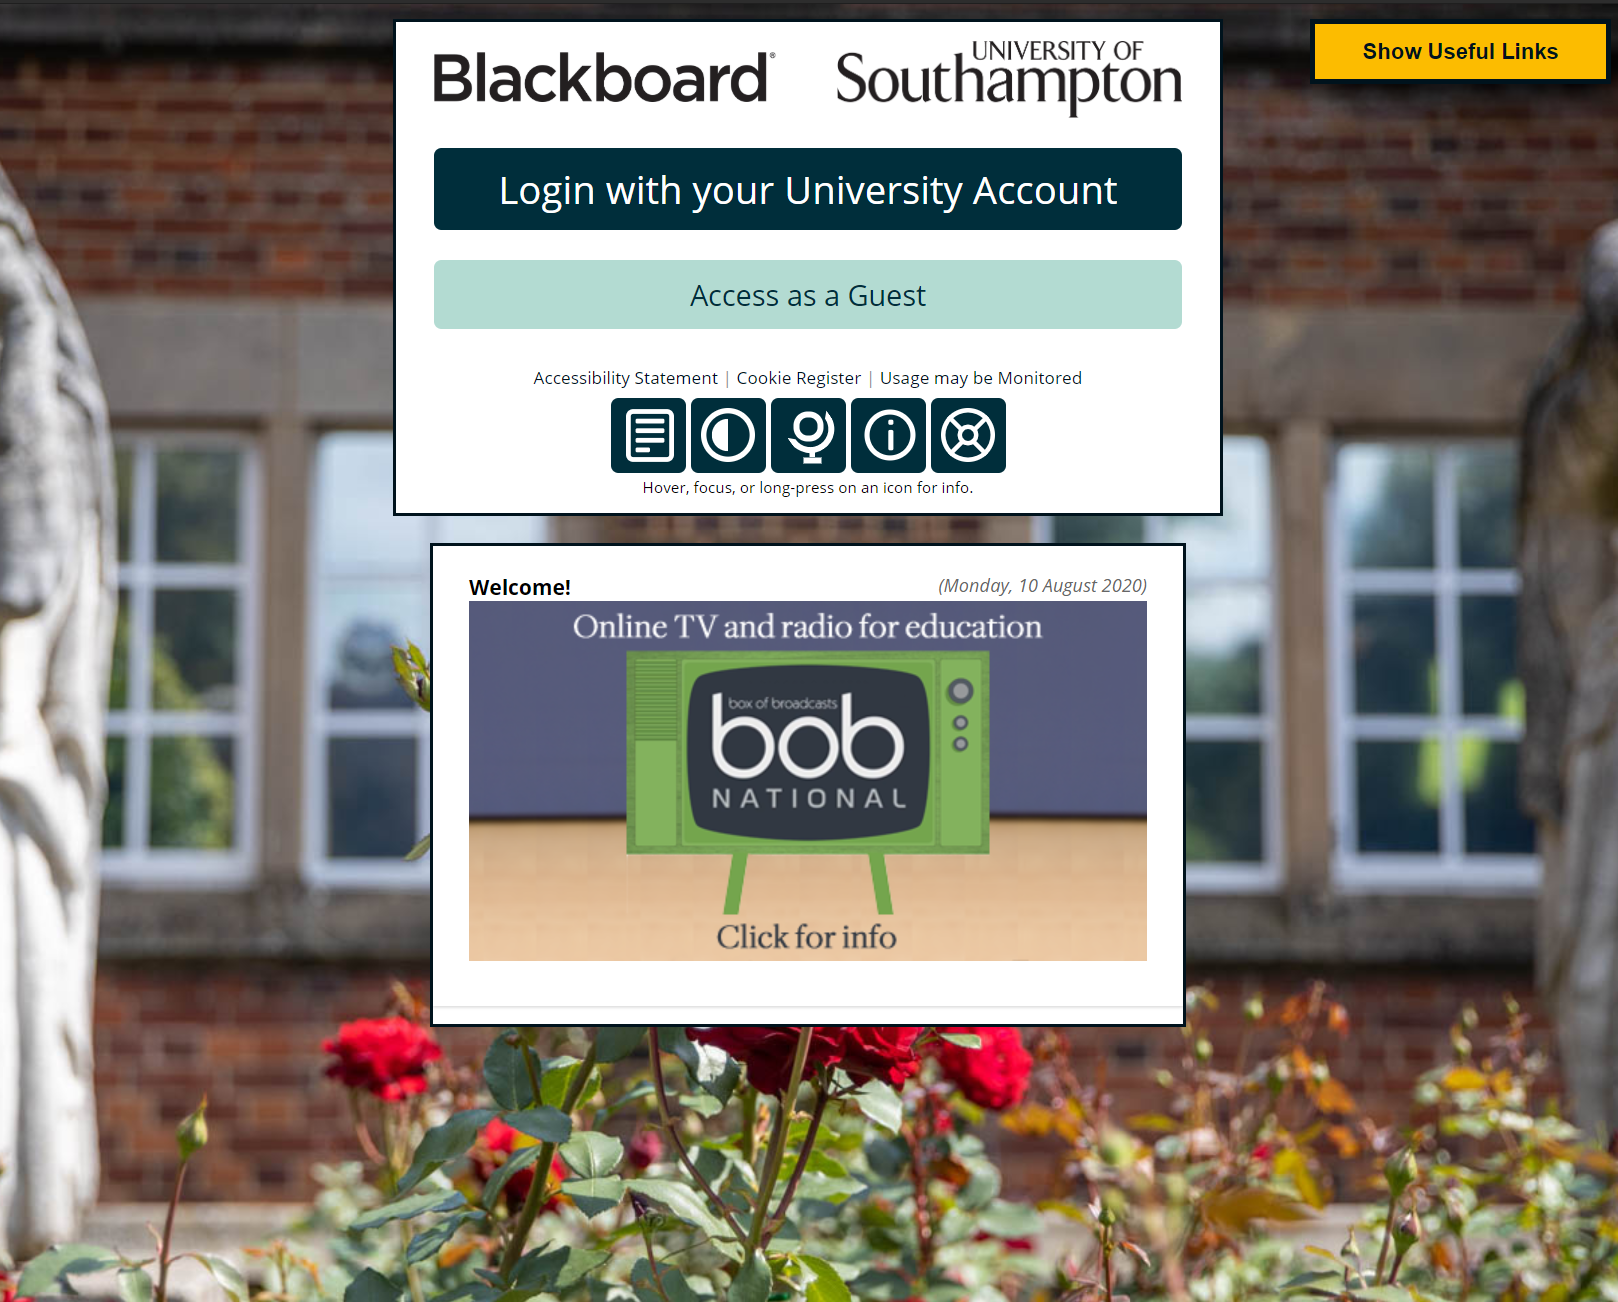
It will show you the Blackboard login page, possibly in a new web browser, where you can login as normal.
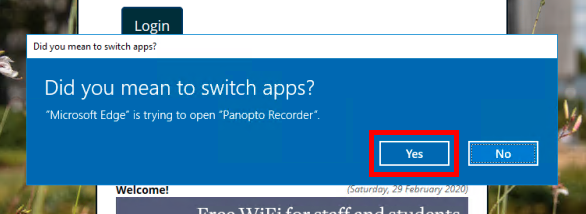
Depending on your version of Windows you may get a prompt asking if it is ok to switch applications, please say ‘Yes’ to this.
You will then be logged into the Panopto recorder, you can use our support guides to help make a recording. Or follow the on-screen tips. Please note: You must have a working audio source to make a Panopto recording, if Panopto cannot hear you the recording will fail.
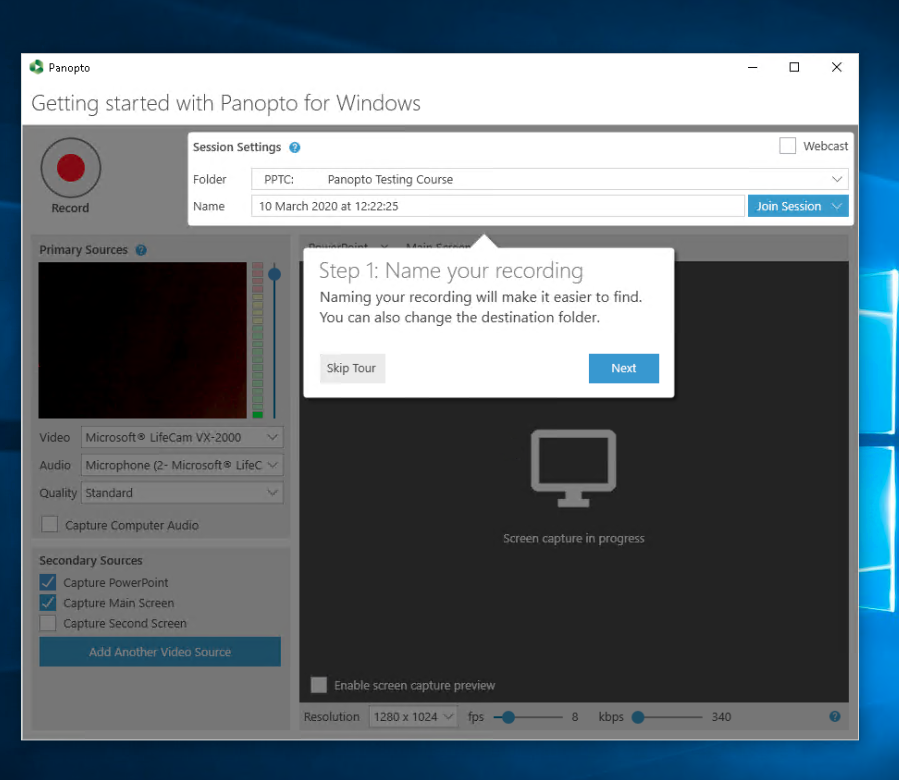
If you need any additional help on the next steps of making a recording please go to our how to create a recording page.
