
Equipment found in this room
- A University Windows PC with keyboard and mouse, connected to the University network.
- A HDMI cable is the standard connection to allow you to connect your own laptop or other devices to display on the screen. Other video connections like VGA, USB-C or Apple Thunderbolt might be available but not are not standardised. We recommend you bring your own USB-C, Mac or iPad display adapter if required.
- Network socket to connect a laptop to the network. You will need your own network cable.
- A projector.
- A document camera/visualiser.
- Amplifier and speakers for audio (voice, PC, laptop, external devices).
- Area microphone to record your voice using the Panopto recorder.
- Whiteboard and pens, or blackboard and chalk in some rooms.
- Internal phone, that can be used to called ServiceLine (x25656) if you need to report a problem. Note that calls from CLS rooms are given priority if there is a queue.
By default, the lectern PC can use Panopto, Blackboard Collaborate and MS Teams.
There is a Dome Camera in the ceiling, this can be used for capturing a video feed of yourself when presenting/teaching from the front of the room. Some of the cameras are also capable of capturing the whiteboard, to find out which rooms are capable please look at our reference page here.
Please note audience facing cameras are not fitted as standard.
Cables
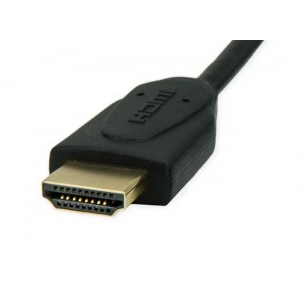
Most computers will have or use a standard HDMI connection for displaying its screen output, the lectern computers have a standard cable that looks like the following:
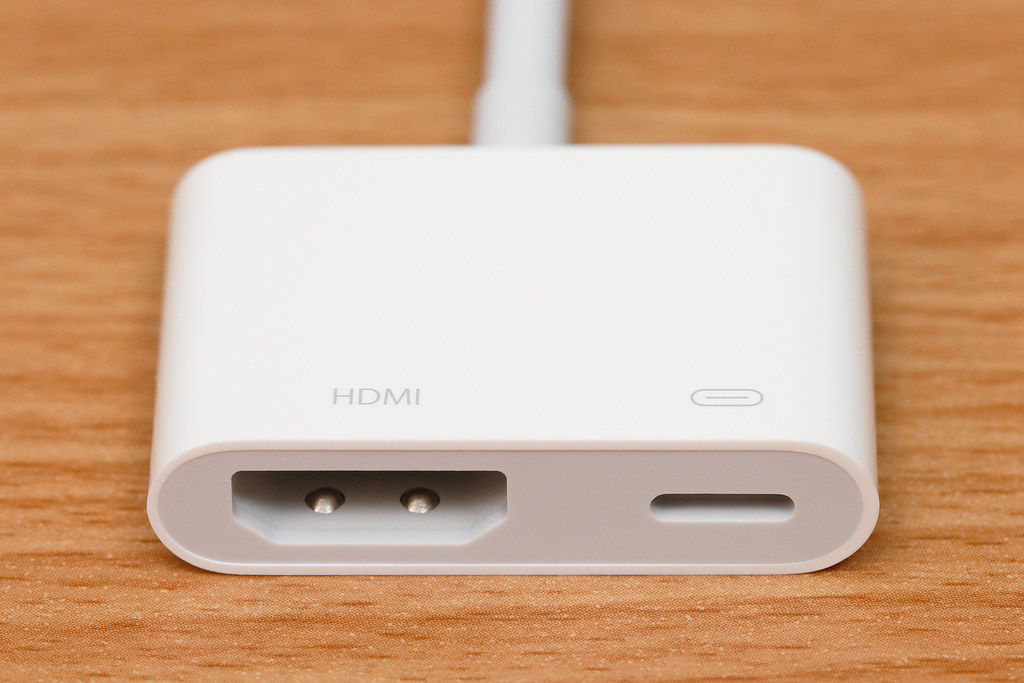
If you are using a new Apple Mac you will need to have your own USB C to HDMI type of adapter:
Using the controller
The Crestron touch panel controller looks like this:
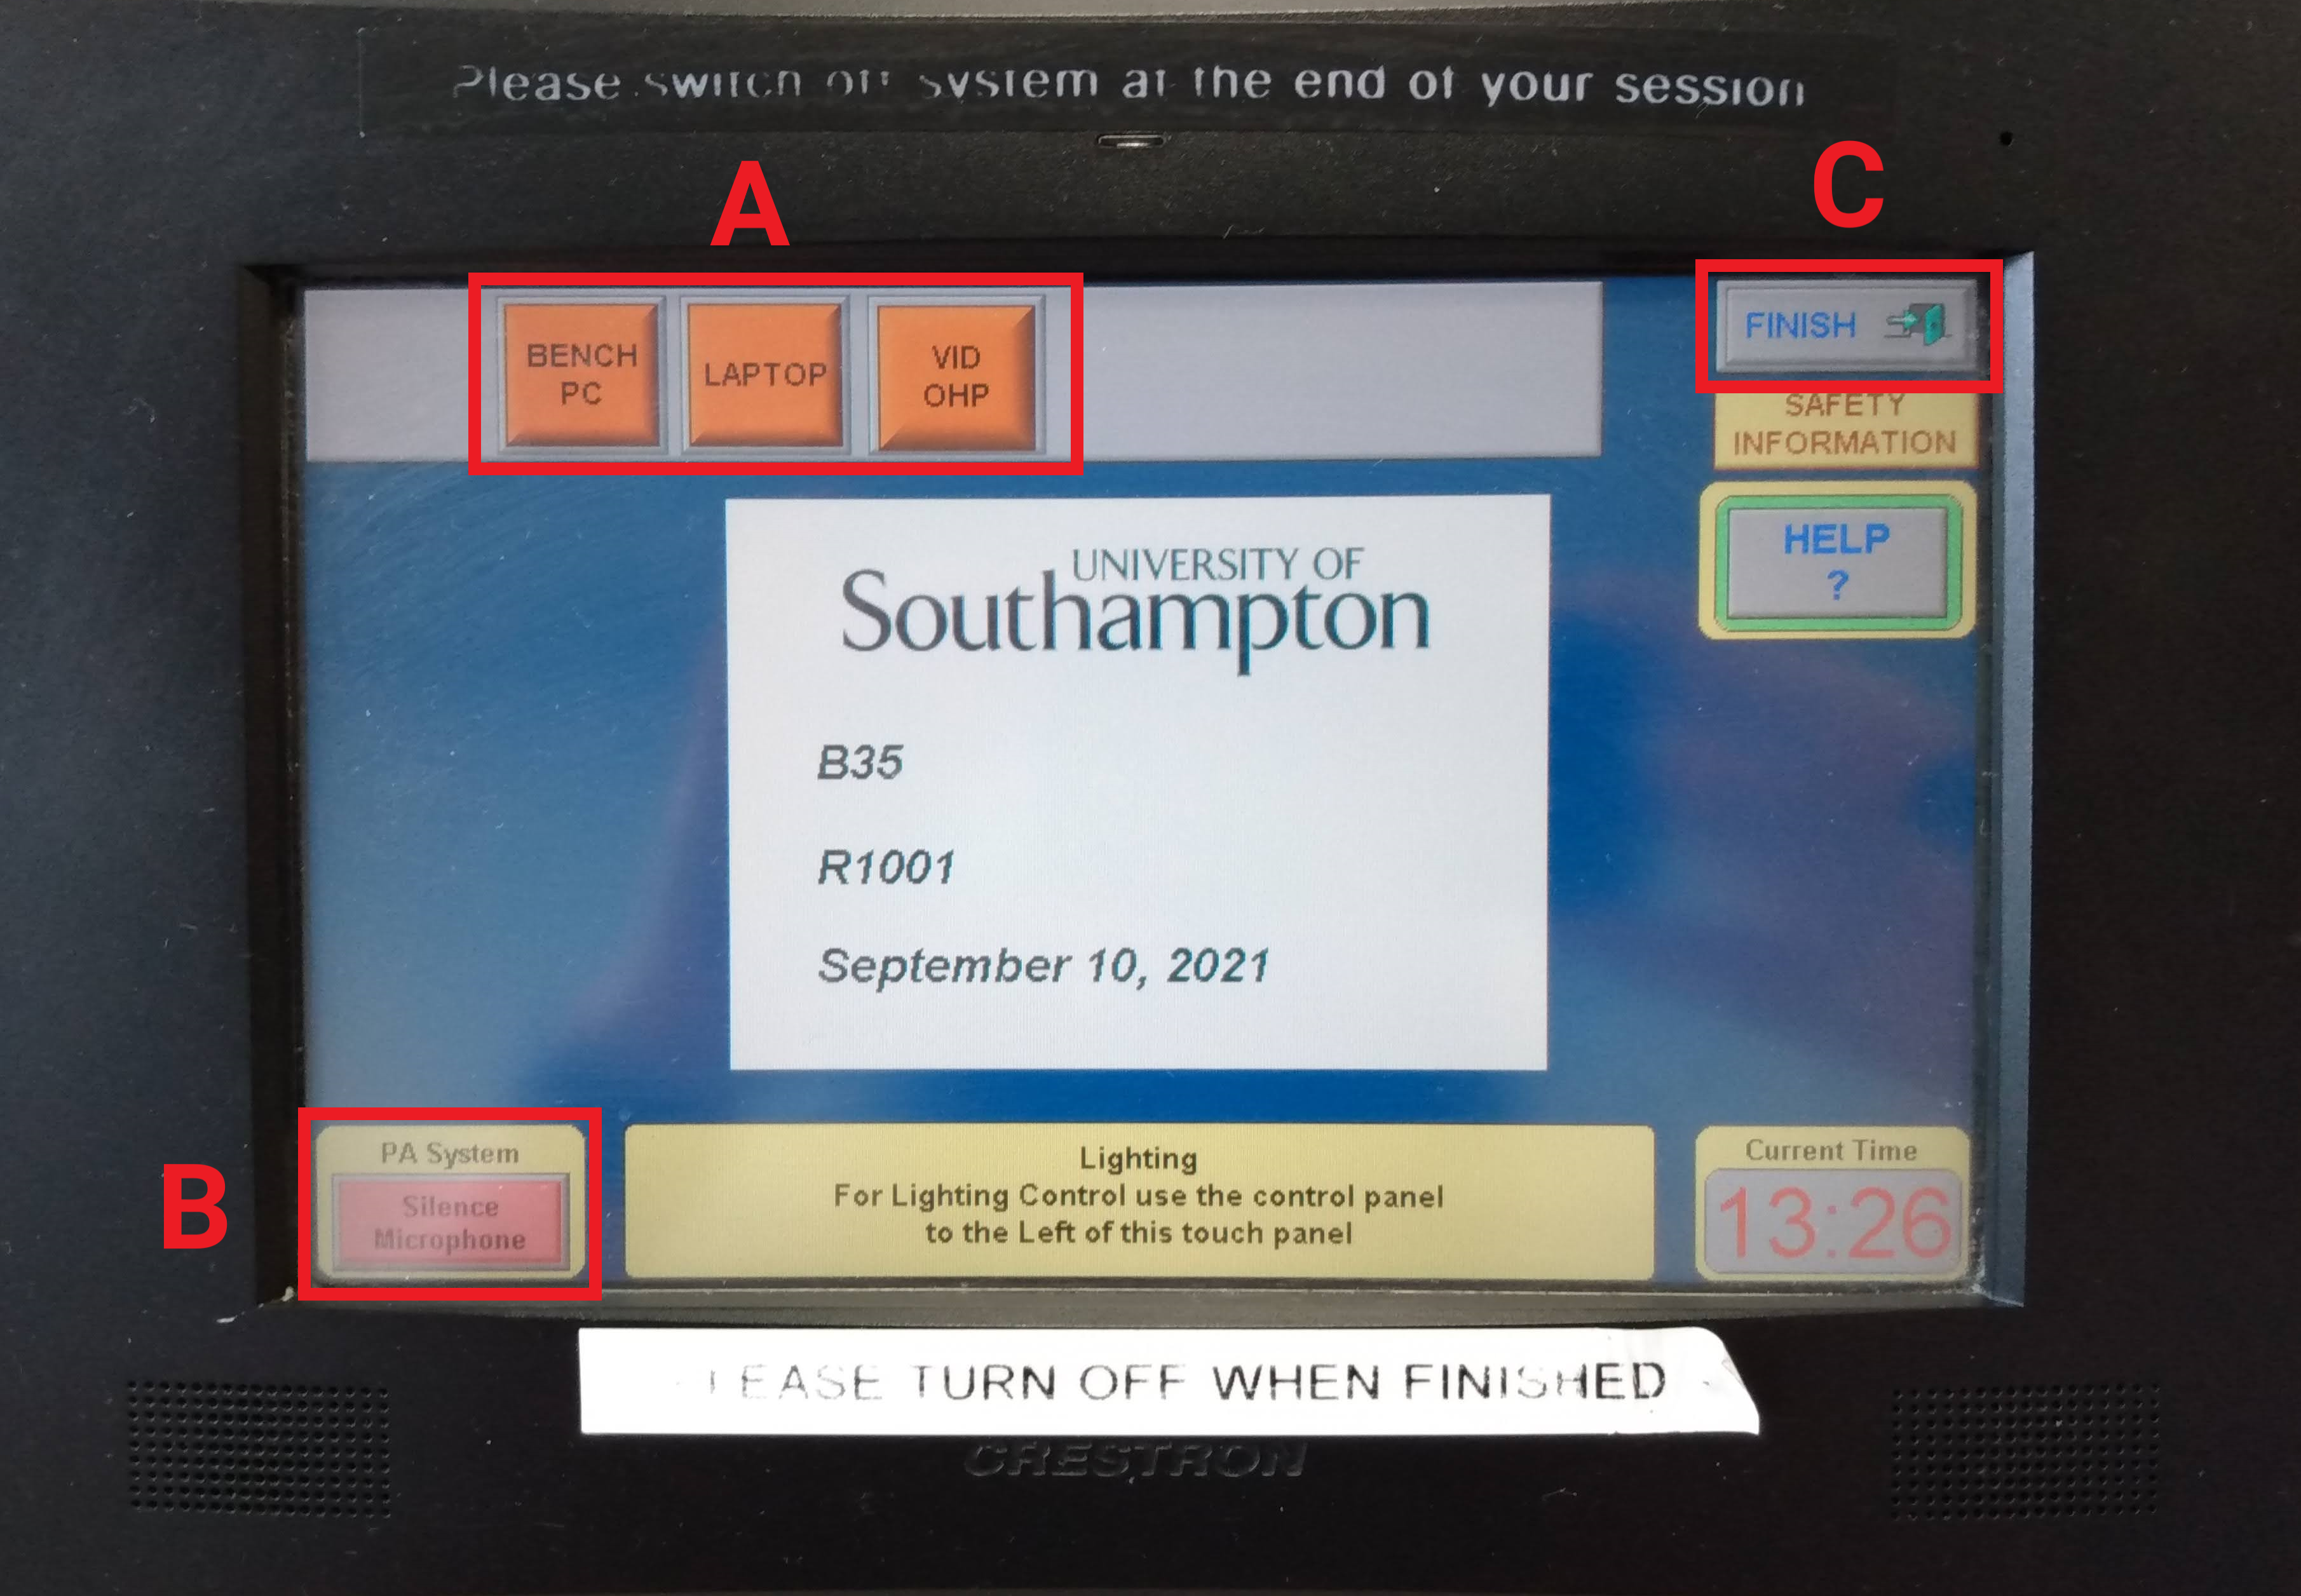
Sometimes when you enter a room the Crestron screen will be blank, to start just tap the screen for it to wake up.
To turn on the rooms projector you need to select one of the input sources (A). From here you can choose what is shown on the projector, either the lecterns PC (Bench PC), a external source such as your personal laptop using the lecterns HDMI or VGA cables (Laptop), or the lecterns video overhead projector/visualiser camera (VID OHP).
After selecting a source you will see a screen asking you to wait while the projector warms up to work. Once you have selected a source you can also change it to any of the other sources at any point by just selecting them.
If you wish to mute the microphones be it the Revolabs tie-clip mic or the lectern microphones, you can select the ‘Silence Microphone‘ button (B). The button will change to show ‘Activate Microphone‘ so you can be heard again.
At the end of a teaching session it is important to shut down the rooms projector unless someone else wishes to use it immediately after you. To do this select the ‘Finish‘ button (C) and then follow the prompt to turn the equipment off.
If you have used the tie-clip microphone, please make sure to replace it back into the dock on the lectern so it is charged and ready to use by the next person in the room.
Troubleshooting
You can always call ServiceLine on x25656 using the phone in the room for help. But here are some simple things you can check yourself to fix the problem quickly.
CLS Main display
- Double check that you have selected the projector/display button to be on.
- Make sure you selected the correct video source (PC, laptop, HDMI etc.) using the control panel.
- On the Crestron touchscreen there is a Hide button. If it so, instead select the Show picture button.
Laptop video
- Make sure the cables are securely plugged into your device.
- On a laptop check you extended or duplicated the display. On a PC this is Windows + P.
- Checked the correct display input is selected on the touchscreen/control panel.
Audio
- Check that the volume on the PC or laptop turned up.
- See if the volume on the room’s control panel is turned up.
- On the Crestron touchscreen there is a Silence sound button, if so, select the Activate sound button instead.
- If you are using HDMI, try disconnecting and reconnecting the cable, making sure that it is securely plugged in. Check that you have selected the correct audio output.
Revolabs wireless mic
- Press the button on the front of the microphone or the button on the charging station to un-mute the microphone. The LED on both the microphone and charging station will flash GREEN to confirm that they are connected and working.
- Press either button at any time to mute or un-mute the microphone. Remember, double-flash RED means muted, flashing GREEN means working.