You may notice that you are sharing files or folders that you no longer want to be seen/shared with other people. You have two options; to stop sharing with everyone. Or if you have shared a file with specific people, you may wish certain individuals to no longer have access.
Stop sharing to everyone
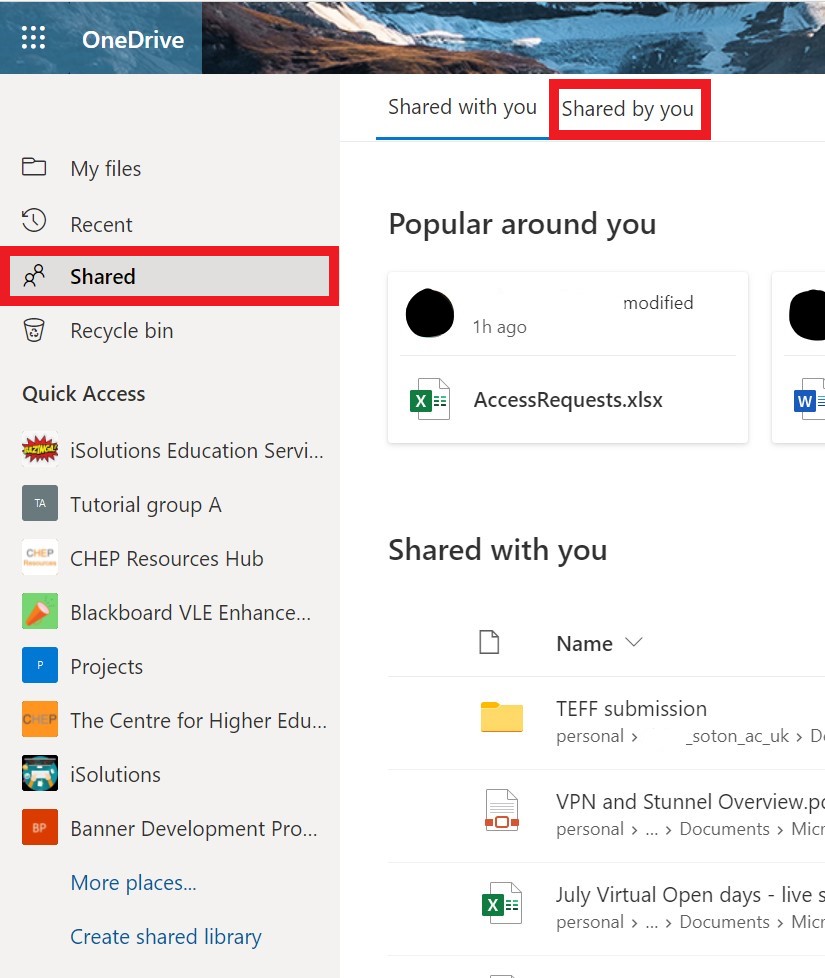
To stop sharing to everyone. First log into your OneDrive space, where it will take you to your ‘My files’ area. From here there are two main routes to stopping your files from being shared. You can select from the left side menu ‘Shared’. This will first show you all files that are shared with you. Near the top select the view called ‘Shared by you’. This view will now show all of the files you are sharing with other people.
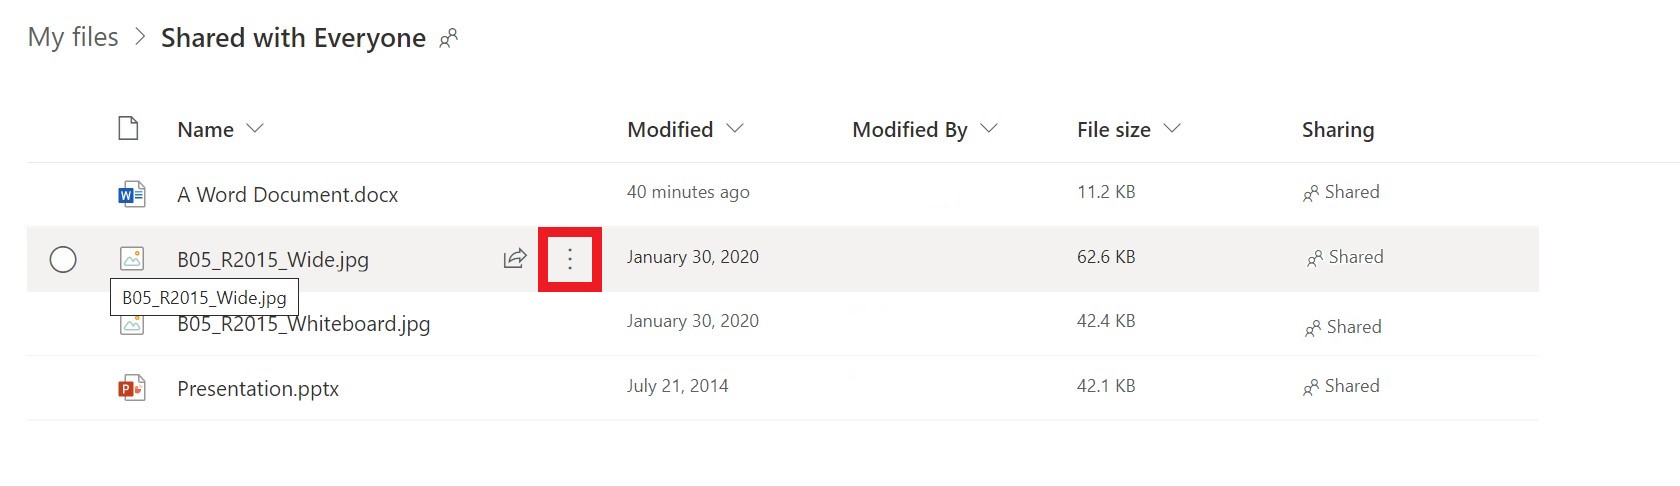
Or alternatively if you look on the files list. You will notice that files will have a sharing status next to them. Locate the file that you wish to modify on the list. You will see three vertical dots next to its name, select this to get the menu options.
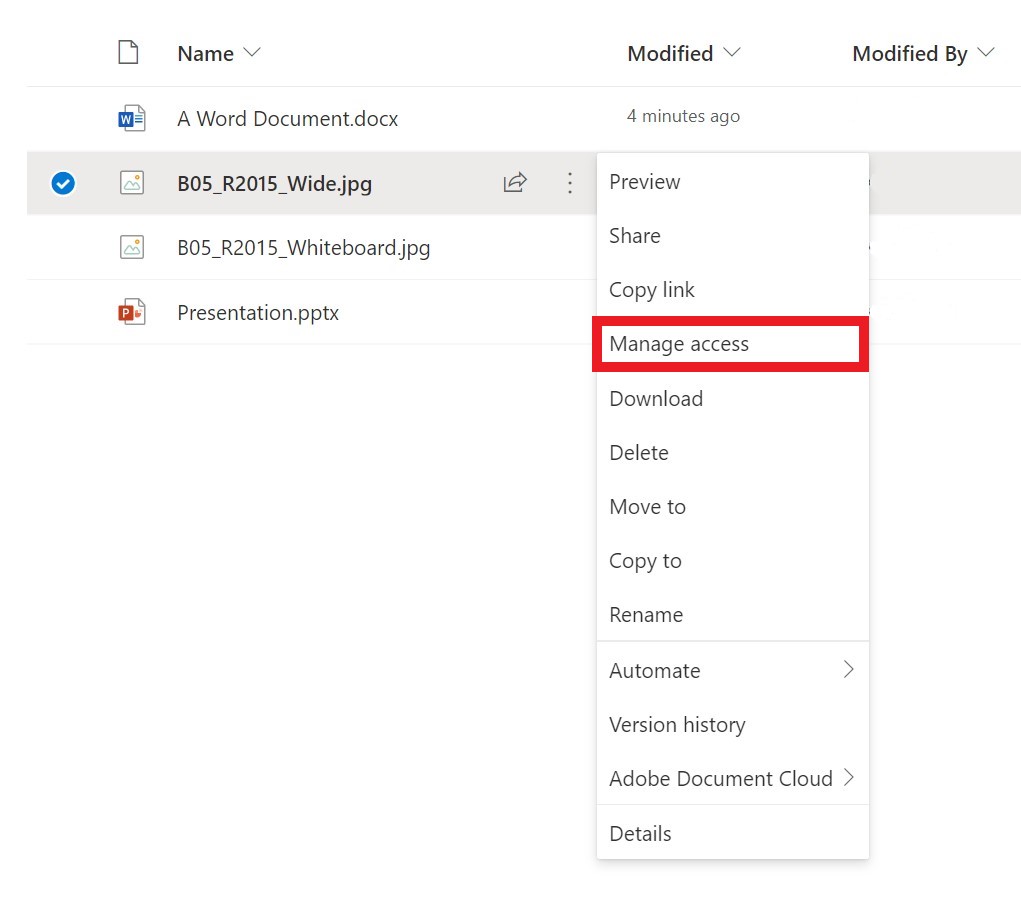
On menu options for the file select ‘Manage access’.
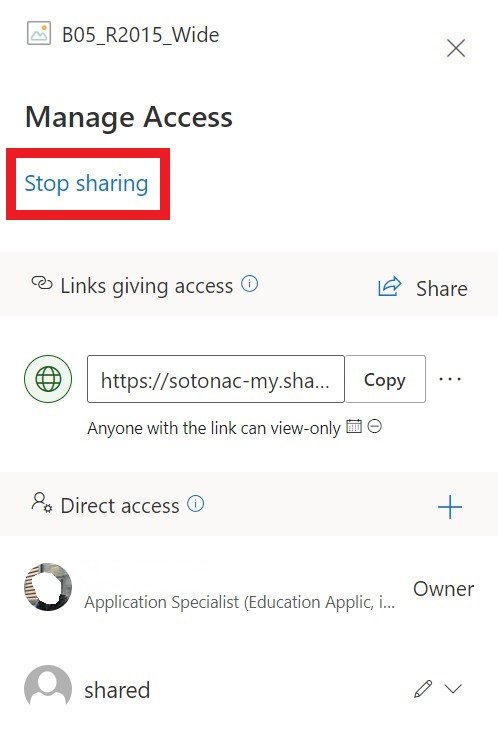
To stop everyone being able to access your file. You will now see under the ‘Manage Access’ menu a blue text button called ‘Stop sharing’. Select this button.
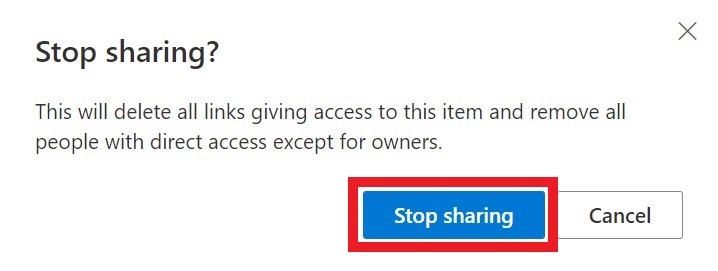
It will show a final pop up box where you can select ‘Stop sharing’ to confirm the change.
Stop sharing to individuals
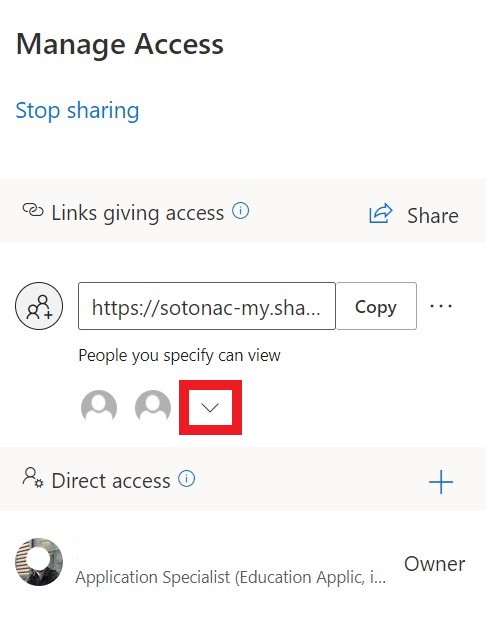
In order to stop sharing a file to an individual person, rather than everyone from having access to it. First select the down arrow next to the images of the people the file is shared with.
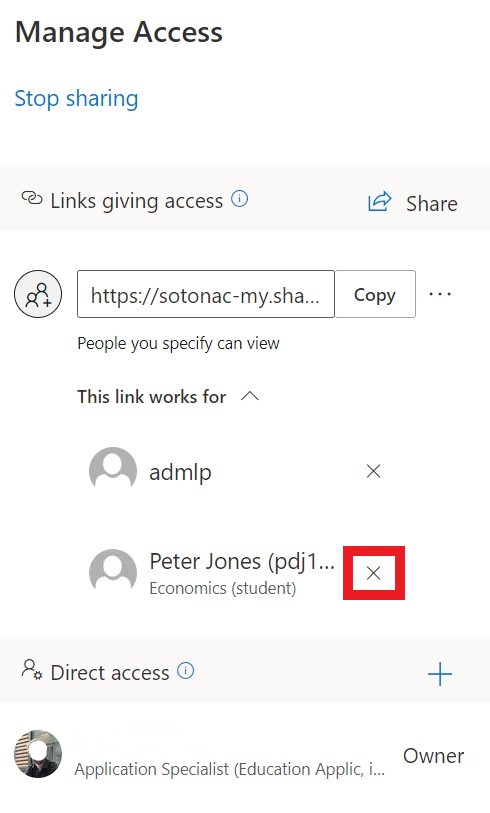
It will show you everyone who the file has been shared with. You can find the individual you want to stop sharing to and select the ‘X’ button.
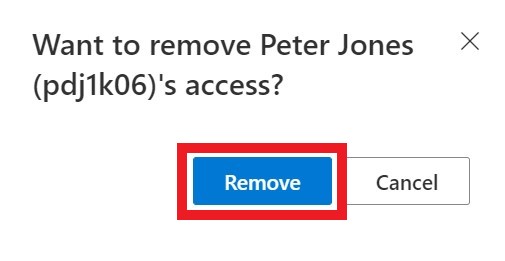
Once you have selected the X button, it will ask you to confirm the access removal. So all you need to do now is select ‘Remove’ to confirm.