
Staff Guide: You can automatically have your Teams meeting videos imported into any Panopto folder that you choose. Videos are copied over to Panopto, the original video will remain in the Team files area.
In this guide we will show you the typical setup of a Teams group that has been created from Blackboard Teams integration, and how to get Teams meeting videos imported automatically to your Blackboard courses ‘Recorded Sessions’ Panopto folder.
Once your recordings are in Panopto you can embed the recordings in your Blackboard course or do other normal Panopto functions including editing and easy sharing.
Activating Panopto for Teams
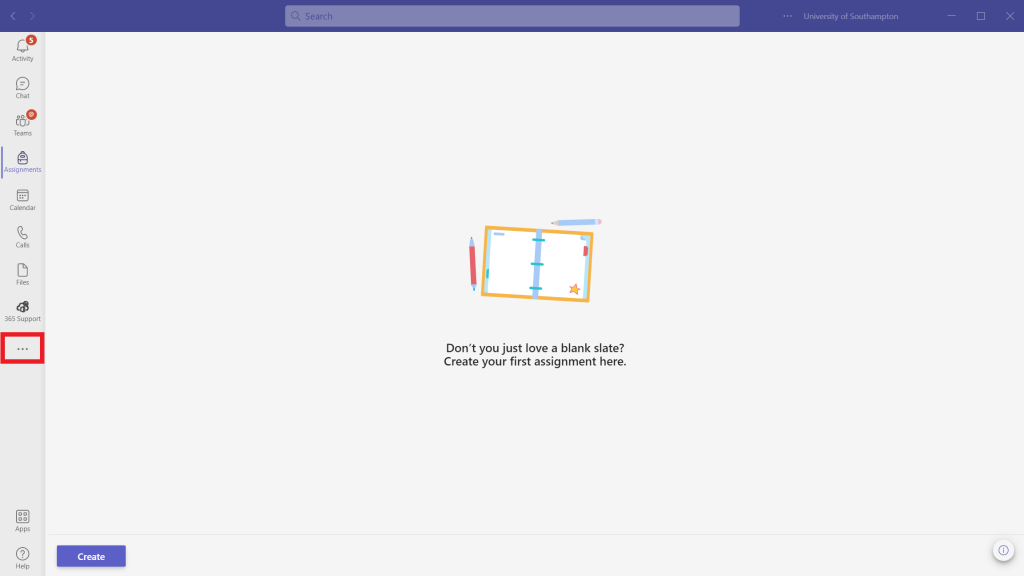
First load up Teams as normal and look for the ‘More added apps’ button. This is represented by three dots in a row ‘…’.
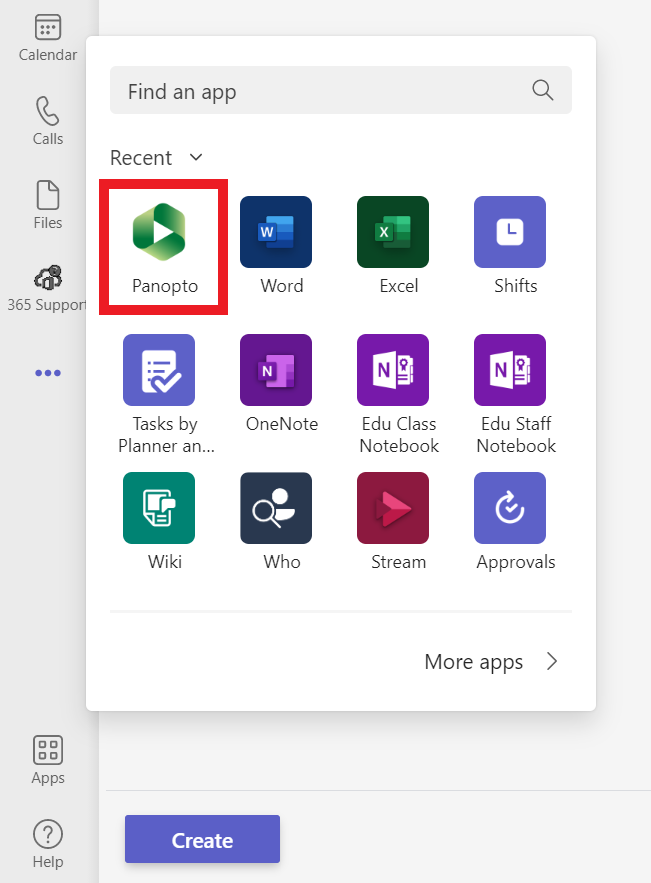
After selecting the button you will see a additional menu showing with lots of apps. From the list select the Panopto app.
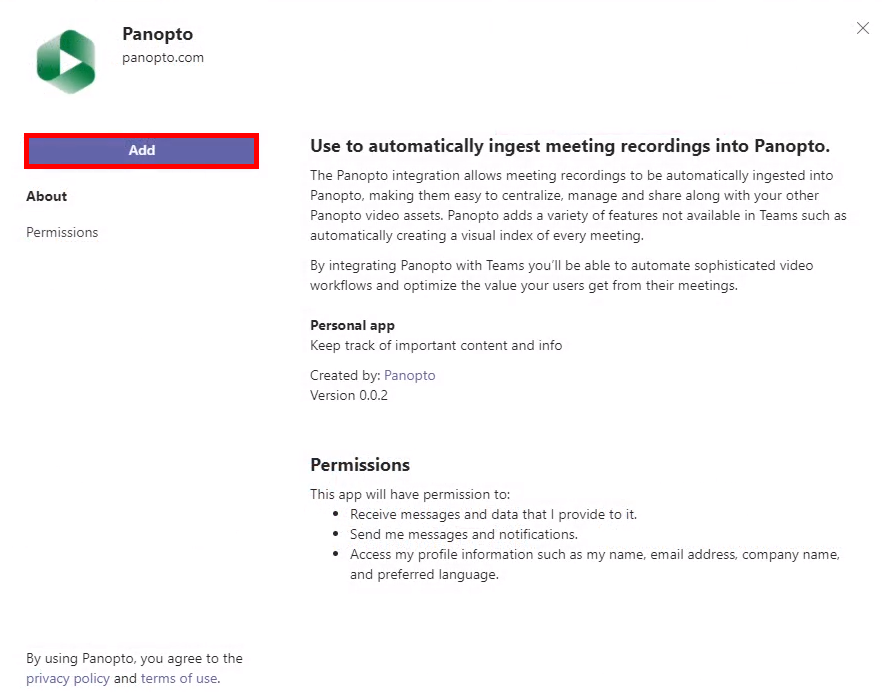
Once selected from the list, it will then ask if you wish to ‘Add’ the app. It will also give you an overview of what actions it will be doing and permissions you will be giving it.
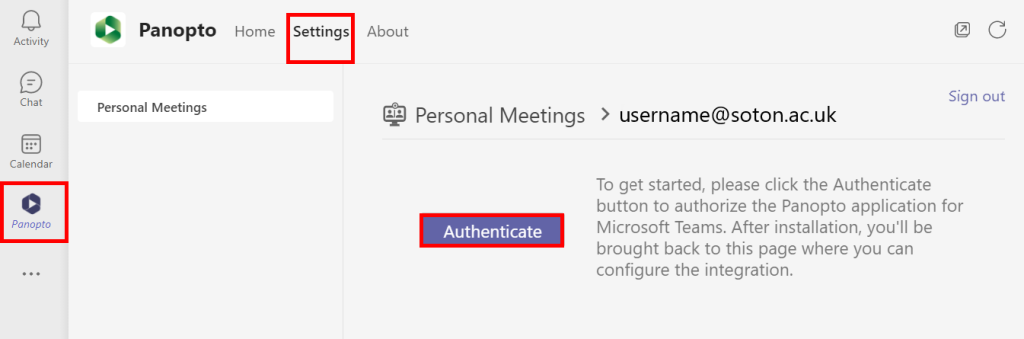
Once you have added the Panopto app, you then need to ‘Authenticate’ it for use. To do this, select from your Teams sidebar the Panopto app. Once you have loaded into the app. From the top menu items select ‘Settings’.
On the settings page it will first ask for you to ‘Authenticate’ the use of the app for personal meetings.
This is something we will need to deauthorise later. But we must do this initially to allow Panopto to see all of your Teams groups.
It will now ask you to sign in. From here select the blue ‘Sign in’ button.
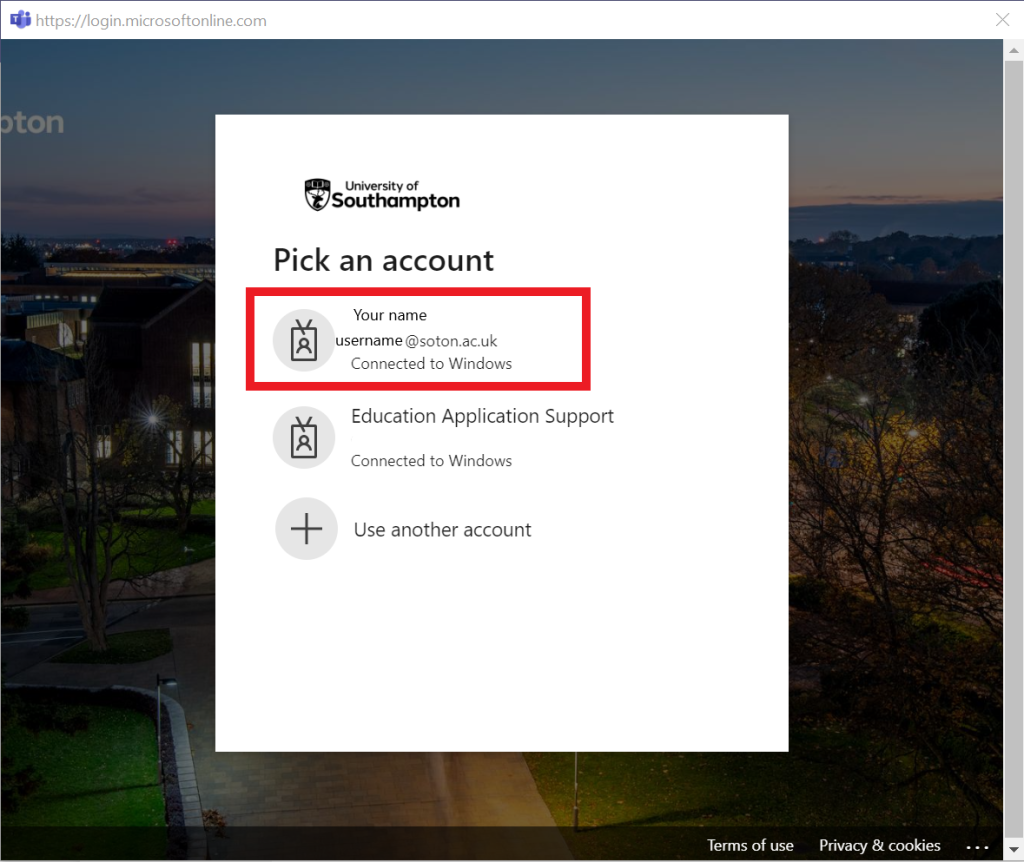
This will now cause a new pop-up window to show in Teams where it should automatically sign you in.
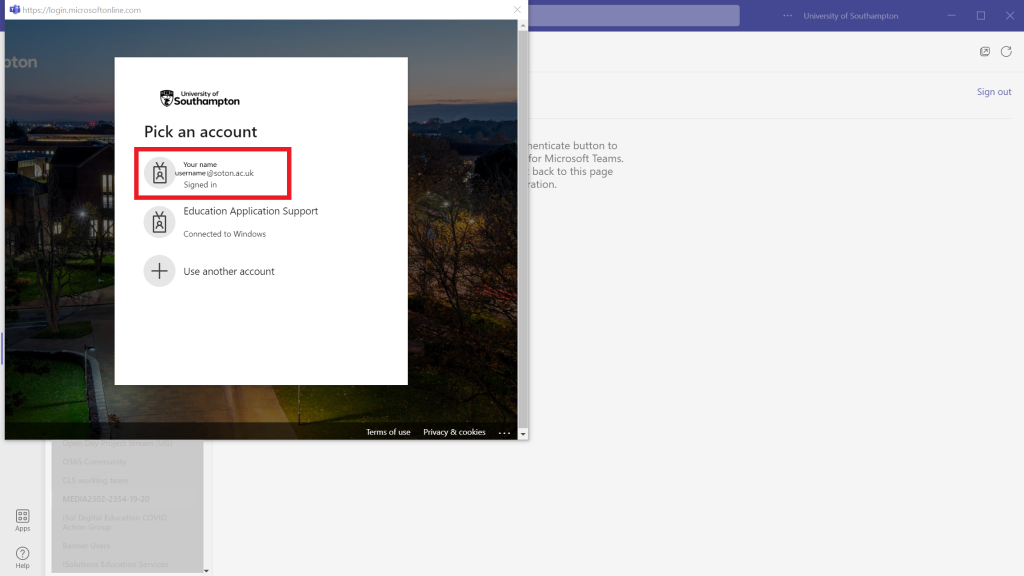
If you have more than one account signed into your device it will then take you to the standard University Microsoft login process. From here please select your normal Blackboard account and go through the other steps for password etc.
Once you have completed the sign in process you will be taken to the Panopto app Settings page again.
Important unmissable step! Deactivating personal meetings.
By default, Panopto assumes that you would like to have any of your personal recorded meetings in Teams, to be moved into Panopto. Please make sure you turn off this feature unless you absolutely need to use it.
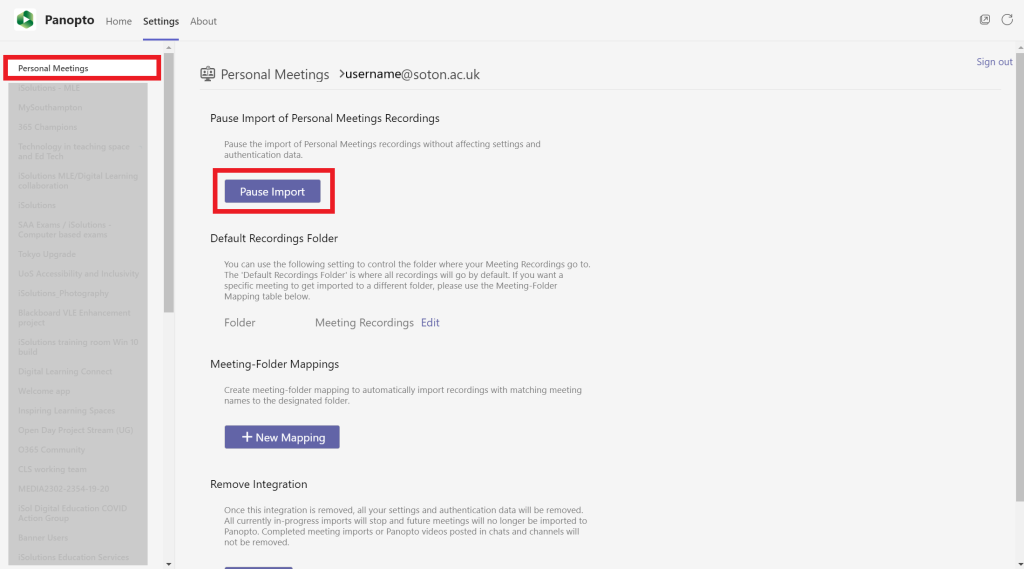
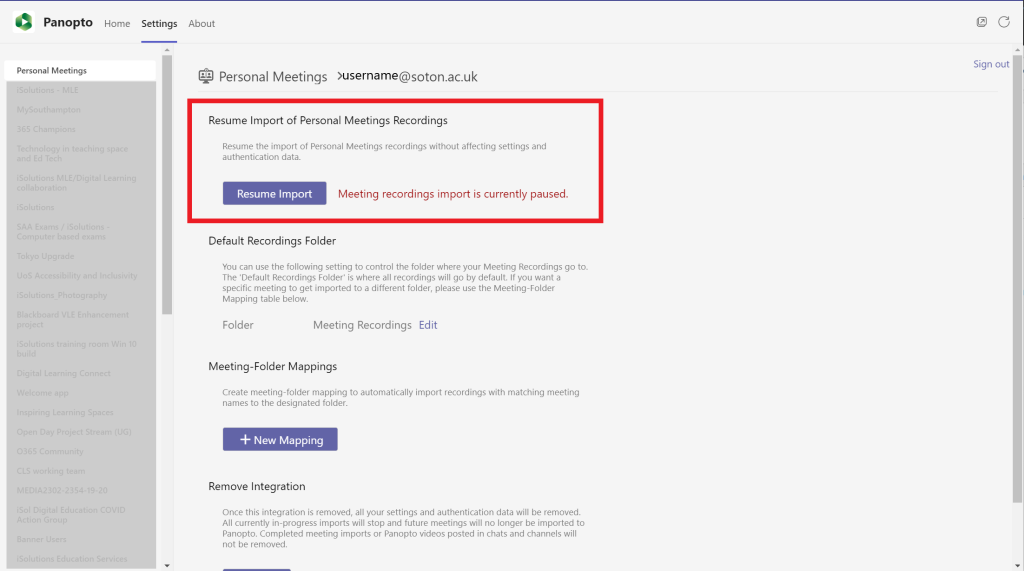
To turn off the automatic importing of personal recorded meetings. Make sure you are on the ‘Settings’ page and from the top left menu options it will show you the settings for ‘Personal Meetings’. From here press the button for ‘Pause Import’.
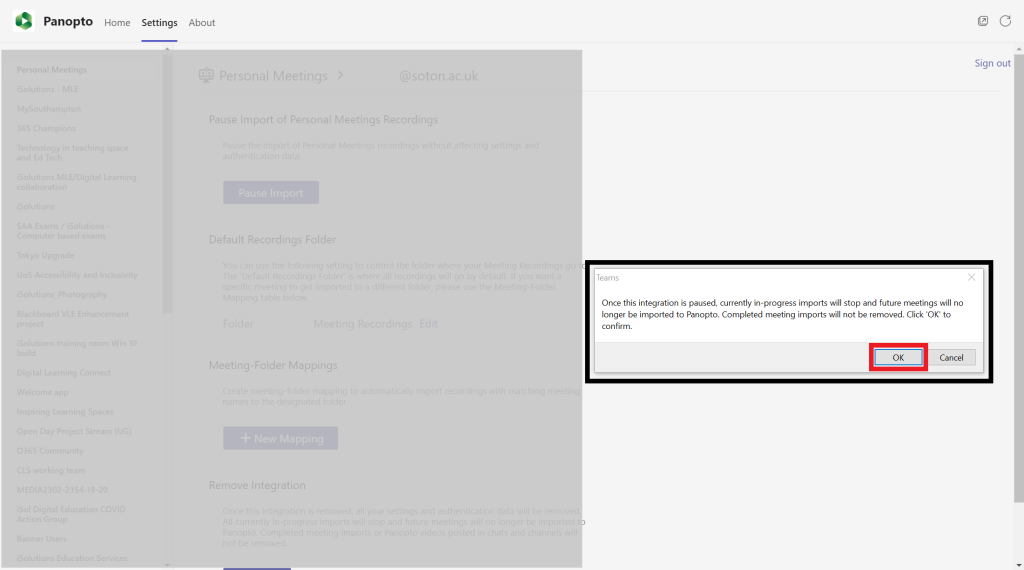
It will then show a pop up box that asks to confirm that you want to stop the automated process of uploading Teams videos to Panopto. On the box select the ‘Ok’ button to confirm this.
Panopto will now show you a confirmation that it is no longer going to import your personal Teams meeting recordings into Panopto.
Selecting a Teams group for automation
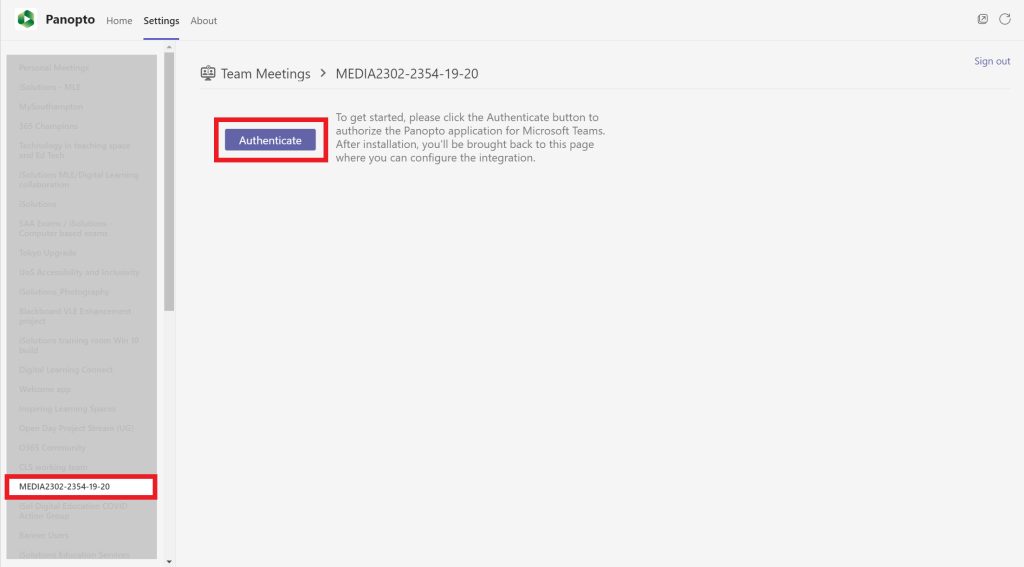
Once you have completed the above step. Find any of your Teams groups that you wish to have all of it’s recordings imported into Panopto/Blackboard.
Once found on the list on the left, select it and it will then take you to the individual settings of the group. From here select the ‘Authenticate’ button.
It will once again open a pop up box asking you to sign in, please follow the standard steps of signing in with your University account.
When you have done that, it will now show that it has been activated on the group.
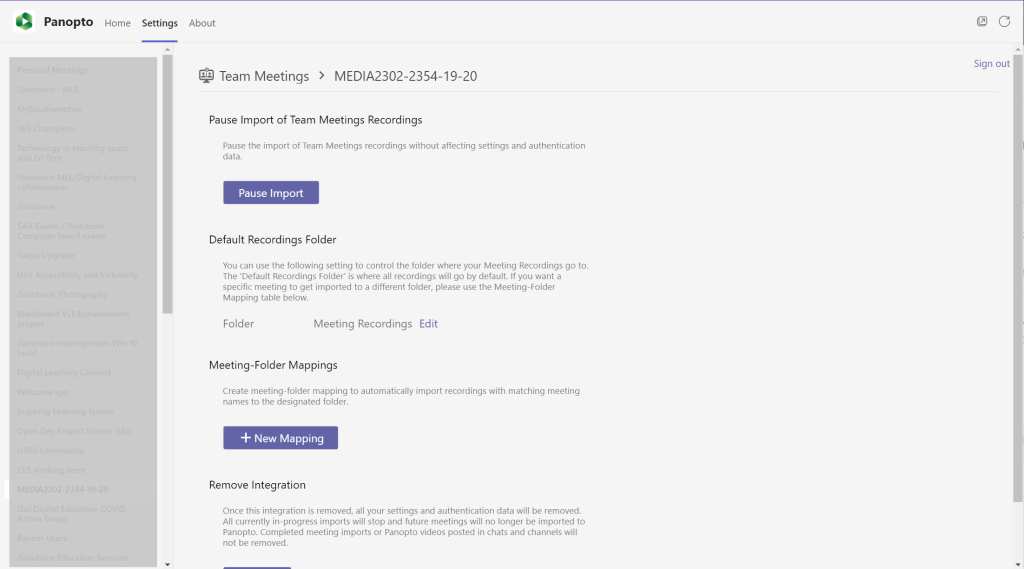
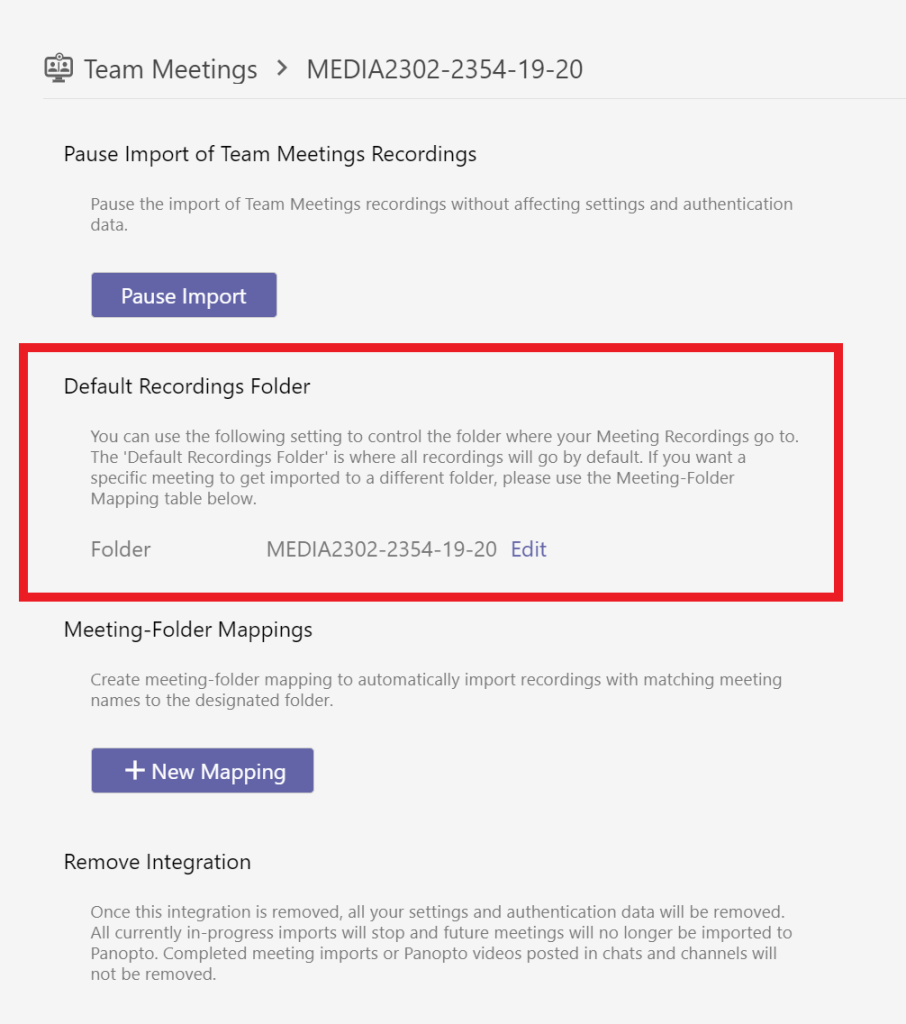
The last part is to tell Panopto where we want the videos from your individual Teams group to be sent to in Panopto.
Typically this will be your courses Panopto folder. But you could select any valid Panopto folder you would like.
To do this select the ‘Edit’ text button next to the ‘Folder’ destination.
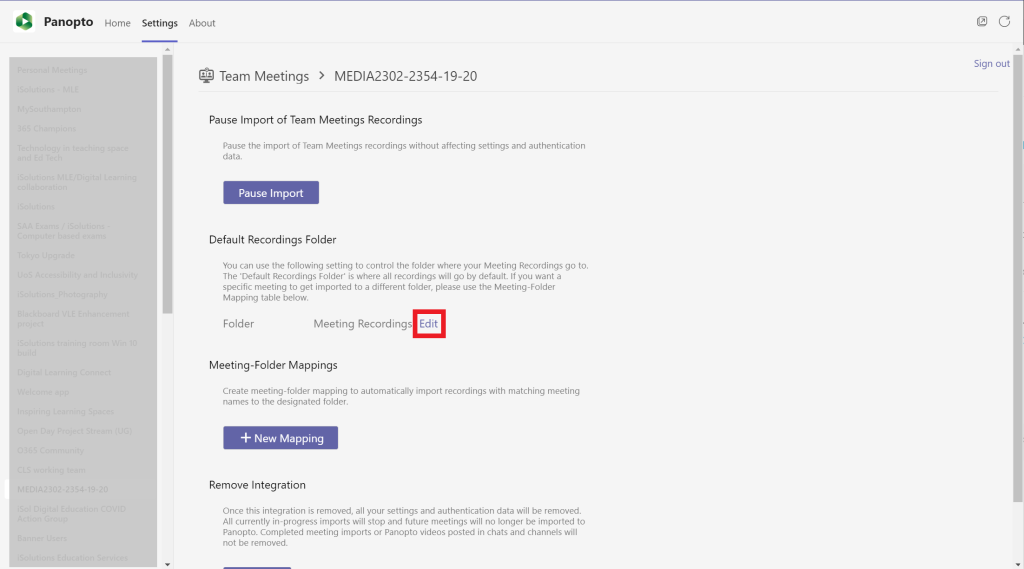
This will turn into a dropdown box, that you need to select.
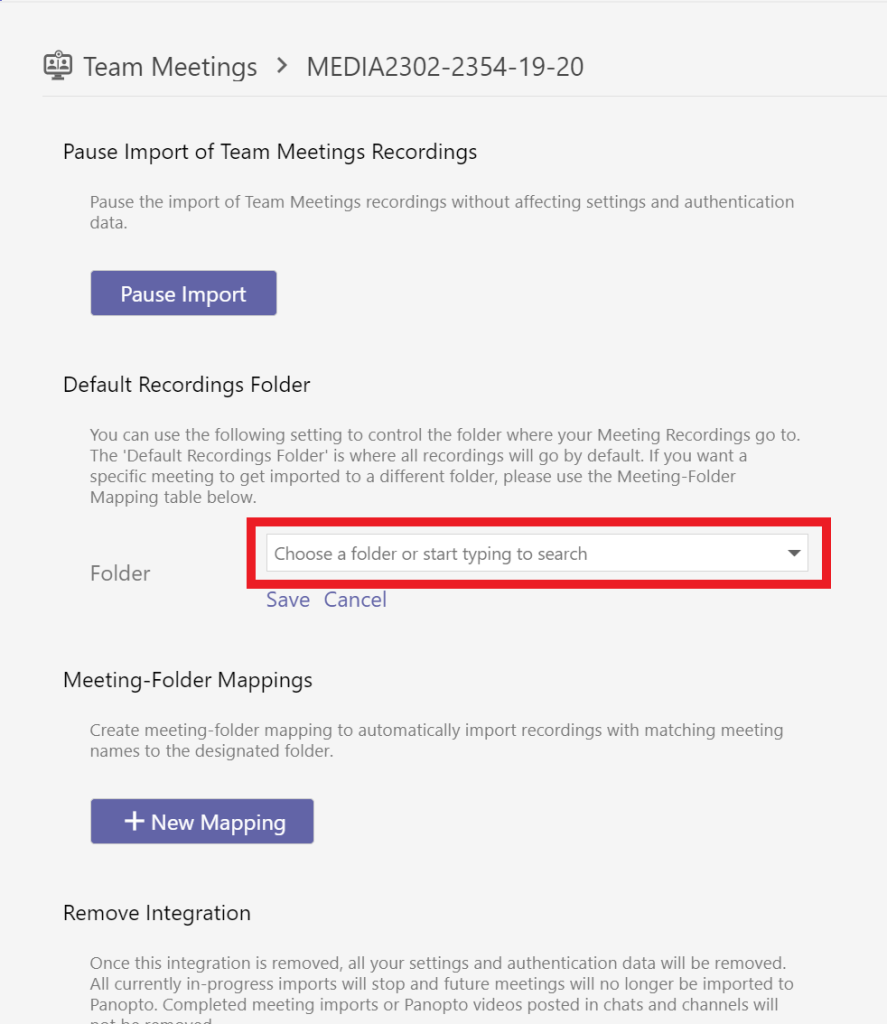
When you have selected the dropdown box, start typing in the name of the Panopto folder you wish the recordings to go to. For sending recordings to your Blackboard courses Panopto folder, start typing in your courses module code.
It will filter down to the list of relevant folders, just simply select the one you wish to use.
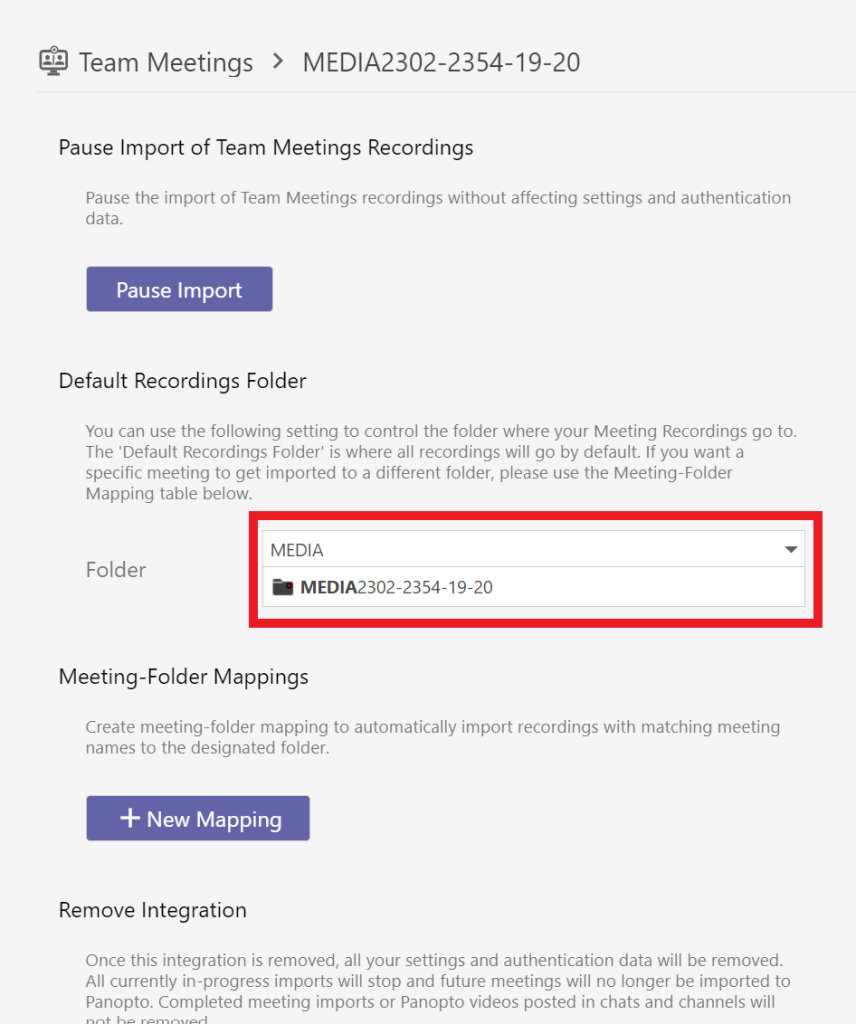
It will now close the dropdown box showing the name of your Panopto course folder, from here you can now select the ‘Save’ button.
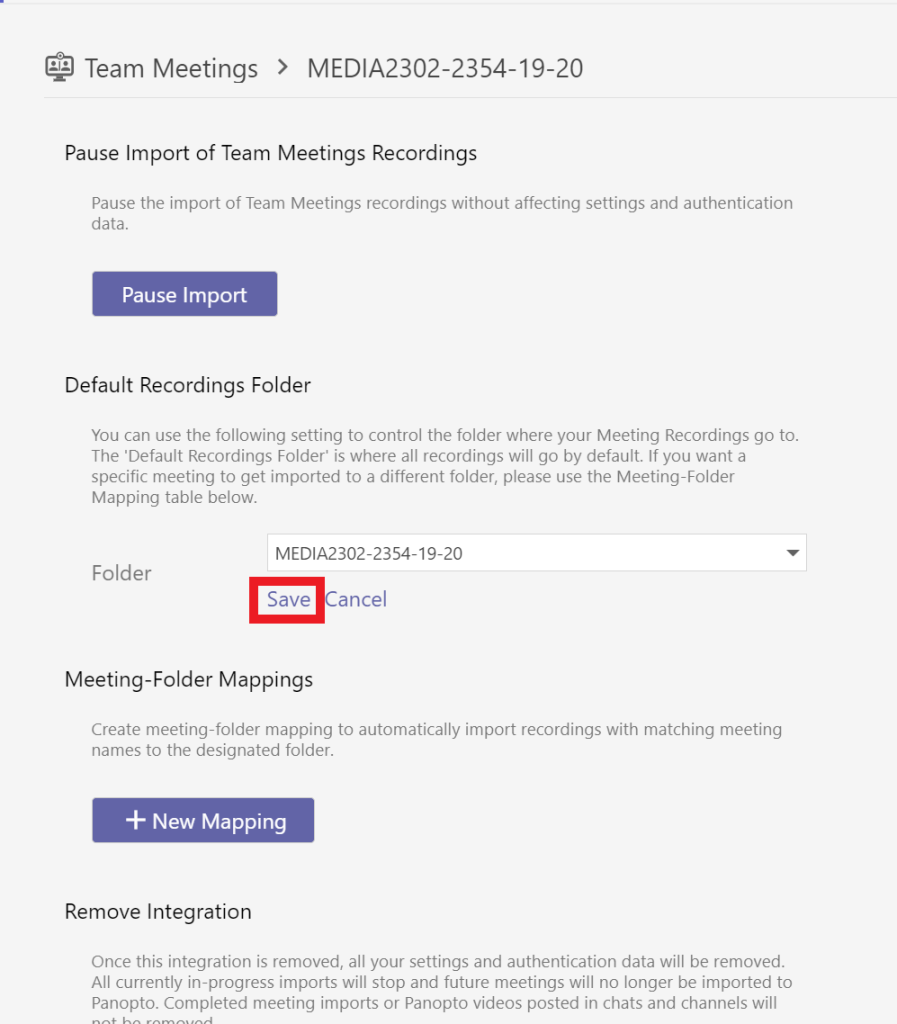
After pressing the save button it will look a bit like the below image. You can always change the destination folder as many times as you wish.
When you make a new recording in Teams, it will do all of its processing as normal. When the video is ready and available in Teams, Panopto will then detect it and start making a copy of the video in Panopto.
The above process is for one Teams group, you can just repeated the same steps for any other Teams groups you wish to be automated.
How do I stop my Teams videos from being imported?
At any point you can stop your Teams videos being imported. If another person activated Teams to Panopto video imports, then only they can deactivate it.
Please look at the steps for deactivating personal meetings and apply the steps to your chosen Teams group that you no longer wish to be imported.
Can I change the Panopto destination folder?
You can change the target/destination Panopto folder in Teams at any point. If another person activated Teams to Panopto video imports, then only they can change the destination folder.