Create a manual enrol Group or Group Set
Set up a single group or set of groups and add members to the groups.
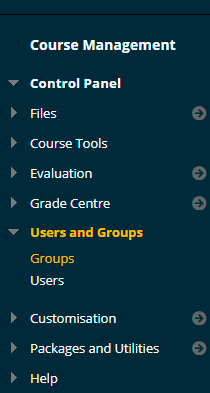
- From your course Control Panel select Users and Groups > Groups.
- Select Create a single Manual Enrol group or a Group Set Manual Enrol groups.
- Enter a Name for the group.
- Enter a Description for the group.
- If you wish for students to access the group, make sure Group is visible to students is set to Yes.
If you only wish to use the group for your own purposes such as Adaptive Release or to email groups of students then do not make the group available in this way. - Choose which tools should be made available for the group to use. Find out more about group tools.
- Note: Content Market Tools, and Academic Materials refer to publisher integrations set up for a small number of courses and should usually be left un-ticked.
- Allow Personalisation – select No.
- Enter the number of groups that you wish to make.
- If you wish to have a smart view for the group shown in the Grade Centre ensure to select “Create Smart View for this group“.
- Select Submit.
- The next page is where you may add users to the groups you have created.
- Filter Available Members – Hide members already in another group in this set.
Ticking this box (which is the default selection) means that as you allocate members to a group they are removed from the list of those who could be allocated to other groups. So if you un-tick the box then you can add a user to more than one of the groups. - Randomise Enrolments
Although Manual Enrol Group Sets are supposed to have individual members selected by hand you may automatically place students into the groups at random. A better choice would have been to create a “random enrol” group set. See the guide under What’s related to the right. - Add Users
Add users to each group by clicking on the corresponding Add Users button. Clicking this button brings up a list of course users and you may select from this list who should be place in which group. - Delete Group
If you realise that you created too many groups in this set you may delete superfluous groups.
- Filter Available Members – Hide members already in another group in this set.
- Select Submit to finish.
Create Random Enrol Group Set
This guide explains how to set up multiple groups into which students are randomly enrolled.
The random enrol option allows you to quickly set up a number of groups and randomly assign students to the groups. You are able to set it to put all students into a specific number of groups, or put all the students into groups containing a specified number of members.
- From your course Control Panel select Users and Groups > Groups.
- Select Create Group Set > Random Enrol.
- Enter a Name for the group. Later, depending on how many groups you request are created, Blackboard will add a number onto the name you choose. For example if you just enter “Group” and later choose to make 5 groups, Blackboard will call them Group 1, Group 2, Group 3, Group 4, and Group 5.
- Enter a description if you wish.
- If you wish for students to access the group, make sure Group is visible to students is set to Yes.
If you only wish to use the group for your own purposes such as Adaptive Release or to email groups of students then do not make the group available. - Choose which tools should be made available for the group to use.
- If you wish to allow the members of the group freedom to personalise their group space select Allow Personalisation.
- If you wish to have a smart view for the group shown in the Grade Centre ensure to select “Create Smart View for this group“.
- Now decide whether you wish to have a certain Number of Students per Group, or a certain Number of Groups.
- Decide how any remaining users should be distributed, this can be amongst the groups, into an additional group, or you can elect to assign them manually.
- Select Submit to finish.
- If you elected to assign the remaining members manually you will be able to do so in the next screen. Otherwise Blackboard will go with your selected options and return you to the groups screen.
Create a Self-Enrol Group or Group Set
A Self-Enrol Group is a Blackboard group into which students may enrol themselves – for example signing up for group work or choosing assignment options.
Note that when you make a self enrol group set students can only join one of the groups.
Create a Self-Enrol Group or Group-Set
- From the Course Management panel select Users and Groups – Groups.
- Select Create.
- Select:
- Single Group – Self-Enrol to create just one stand-alone group.
- Group Set – Self-Enrol to create multiple groups at once.
Fill in the Group Properties
- GROUP INFORMATION:
- Name the Group Set something meaningful to you such as “Group Work ” or “Assignment choice”.
- Group is visible to students (see this guide for more information on visible and non visible groups)
- Select Yes if the students are using the groups to collaborate and will need access to other group members and tools.
- Select Sign-up Sheet only if you want users to sign up to a non-visible group.
- TOOL AVAILABILITY:
- Tick any tools you want to be available for visible groups. If your groups are not visible ignore this section.
- MODULE PERSONALISATION SETTING
- Allow Personalisation – do not tick (No)
- SIGN-UP OPTIONS:
- Name of Signu-up Sheet – Add a name and instruction that will be meaningful to students.
- Maximum Number of Members. Add a number if you want to limit group size.
- Show Members – Tick if you want users to see other members of the group as they sign up.
- Allow students to sign-up from the groups listing page -If you only want students to be able to sign up at any time from the Groups area tick this box. If you want to restrict the availability of when students can sign up do not tick this box. You can add a link to the group sign-up to a content area of the course.
- GROUP SET OPTIONS (if you are setting up a group-set rather than a single group)
- Number of Groups – add the number of groups you need. You can name these groups in the next step.
- Create Smart View for each group in set – select yes so you can filter the Grade Centre by group.
- Select Submit.
Name the Groups and manually add and edit group members
- Go to the All Groups view (if you have created a single group) or Group Sets view if you have created a Group-Set.
- Select the Group-set Options menu and select Edit Membership.
- Edit the group names if needed.
- You can manually add and edit group members here.
Add a Self Enrol Group sign-up sheet to the course content area.
- In a course content area select Tools – Groups.

- Select Link to a Group or Group Set.
- Select the name of the Self-enrol group you want to display.
- Select Next.
- Edit the Link Name and add instructions to the Text box.
- Select Submit.
- Students will see a link to the sign-up sheet: If the group is visible they can then use this link to access the group and group tools.
Importing Blackboard groups with a CSV file
Follow the below guides if you wish to create a set of groups using a Comma Separated File.
- Importing Blackboard Groups
- Also see bulk enrolling students with a CSV file: Importing Blackboard Group Membership Lists
Adding a new group to an existing Group Set
Follow this guide if you wish to create a new group in an existing group set.
- From your course Control Panel select Users and Groups > Groups..
- Select Group Sets the top right corner of the groups screen.

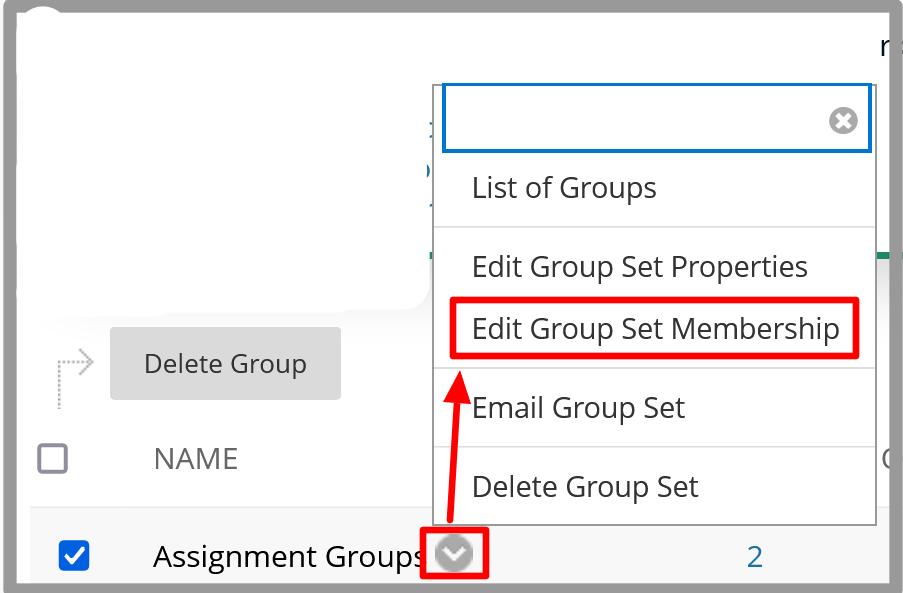
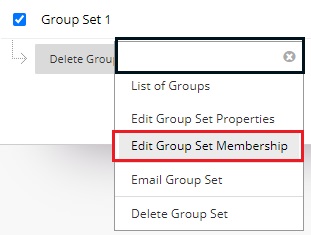
- Identify the Group Set you wish to edit and click on the action button (downward pointing arrow), which will appear when you hover the mouse beside the Group Set name.

- Select Edit Group Set Membership
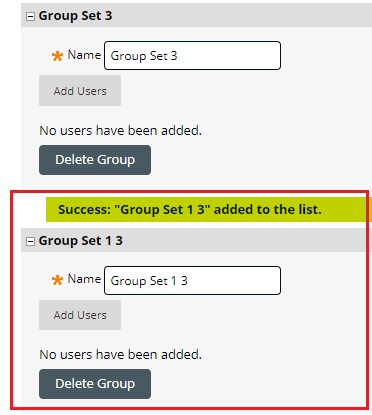
- You will be presented with a list of the Groups in this Group Set. Scroll to the bottom of the page to find the Add Group button. Select this button to create a new Group to be added to the bottom of the list.
- You can rename the Group and add users manually or batch import users with a comma separated file.
Note: In groups created with Randomized enrolments, students will not be reassigned automatically into any new groups created.
Turn off the ability for students to create their own Groups
- Navigate to the Groups page (Course Management>Users and Groups>Groups)
- Select “Group settings” button in the top-right
- Deselect the settings for “Student-created Groups”.