This page details how to review, modify and manage groups and group memberships in Blackboard.
Reviewing and amending users/Group memberships
Review users
You can add and remove users from existing groups and group sets.
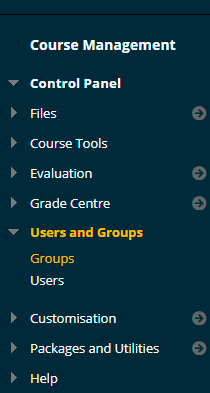
- From your course Control Panel select Users and Groups > Groups.
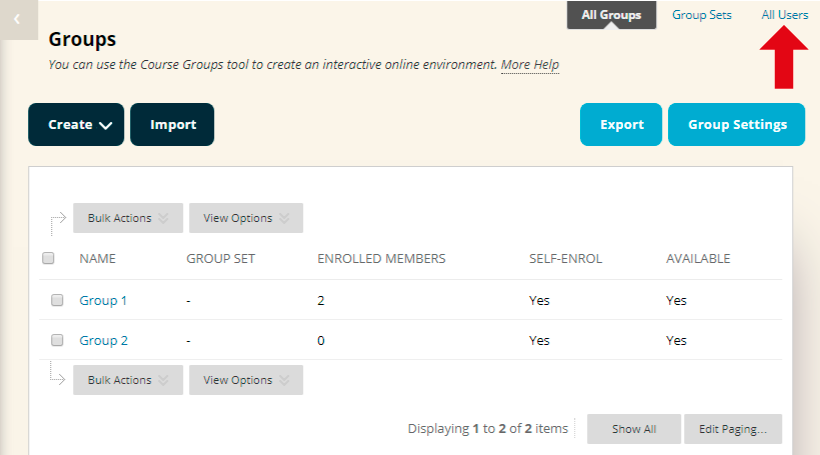
- You are presented with a list of the groups set up on your course.
- Select All Users at the top right corner of the groups screen as shown in the screenshot above.
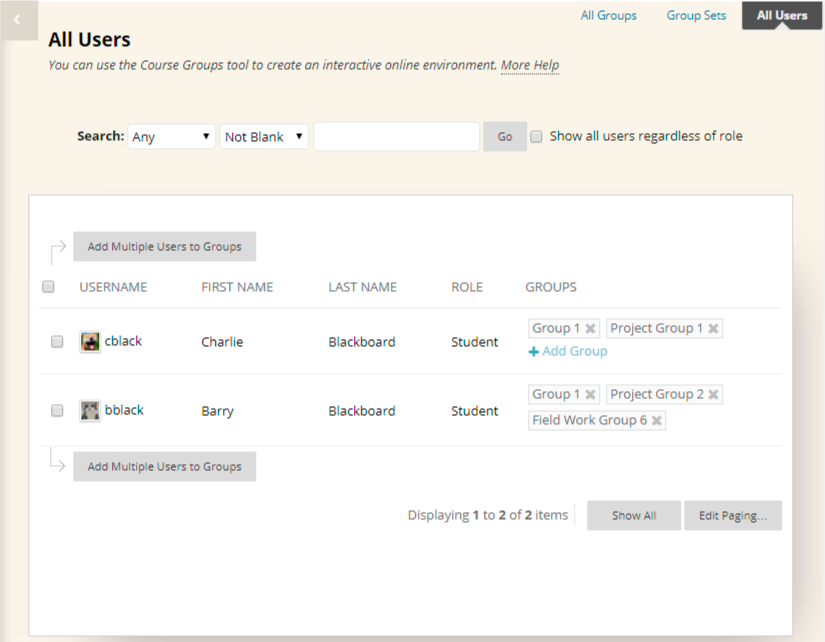
- You are presented with a list of users on your course.
- From this screen you may:
- See which groups users belong to
This is under the Groups column on the right. - Remove users from groups
By clicking the X icon beside the corresponding group. - Add an individual to a group
By hovering your mouse pointer over the row corresponding to that individual and clicking Add Group - Add multiple users to Groups
By ticking each user concerned and clicking on the Add Multiple Users to Groups button. You will then be asked to which group you wish to add the selected users.
- See which groups users belong to
Adding members to existing Groups
You can also edit the group membership from within the group settings.
- From your course Control Panel select Users and Groups > Groups.
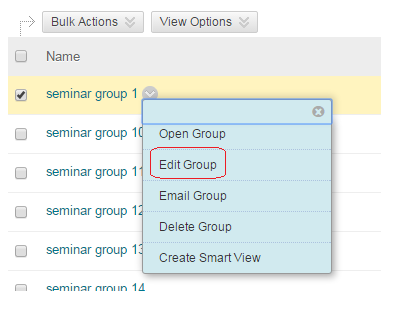
- Find the group to which you wish to add users, hover your mouse on the action button that appears beside it and choose Edit Group.
- Scroll down to the Membership section and click on Add Users.
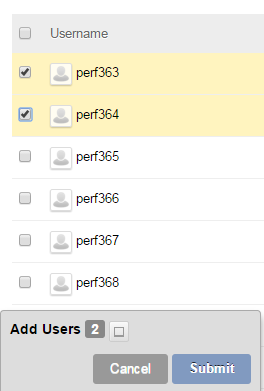
- Tick the box/es beside the users you wish to add. When you have finished select Submit.
- Select submit again to finish.
Reviewing Group settings
- From your course Control Panel select Users and Groups > Groups.
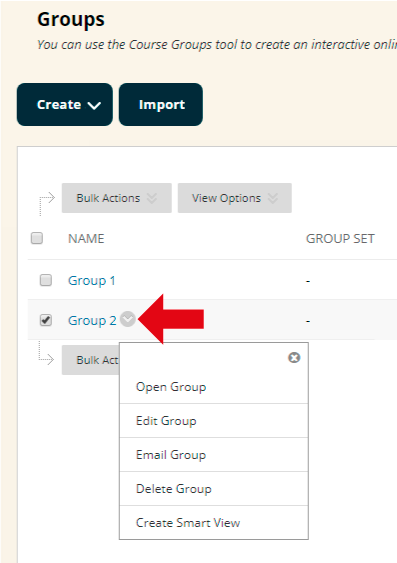
- Selecting the action arrow next to a group and then Modify button allows you to:
- Open: Clicking Open will take you into the Group’s area.
- Edit: Allows you to go back and Edit the group settings.
- Email: Allows you to choose to send an email to members of the group.
- Delete: Allows you to delete the group and all related files.
- Create Smart View: You may create a Grade Centre Smart View for this group by choosing this option.
Changing tools available to Blackboard Groups
If you are using groups in your course there may be a point where you would like to add a tool for them, or remove a tool. Tools available are blogs, discussion boards, collaboration (chat room), Email, File Exchange, Journals, Tasks, and Wikis.
- From your course Control Panel select Users and Groups > Groups.
- You are presented with a list of the groups set up on your course.
- Select View Options and then Show Tool Availability.
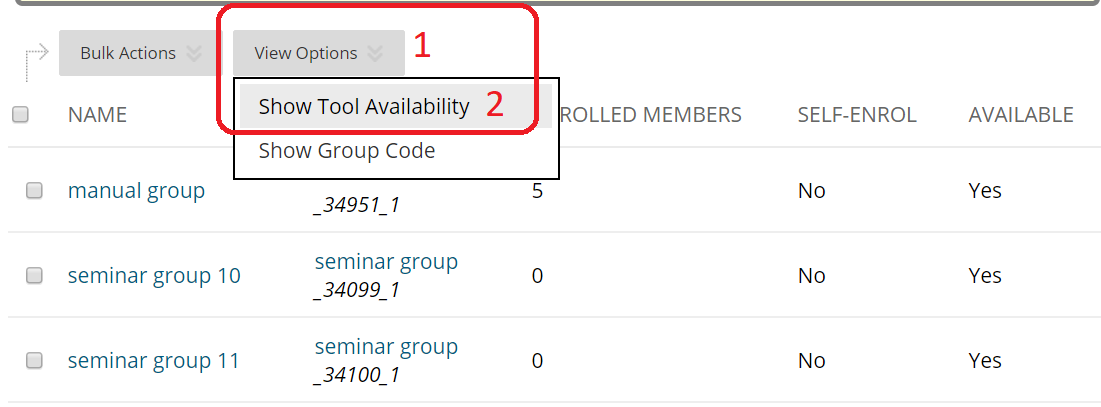
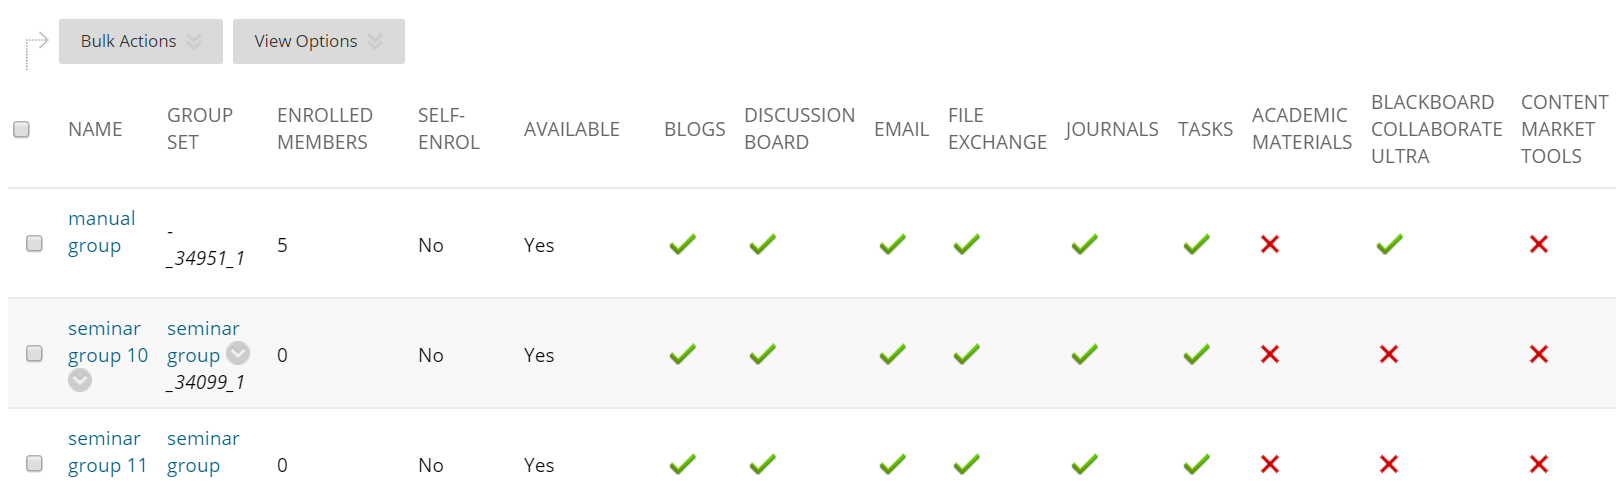
- The screen will show a matrix of which tools are available to each group. You may click on the Tick or X icons to toggle the tools on and off.
Exporting Blackboard Groups and Membership Lists
You may export a spreadsheet from Blackboard that lists your groups and who is a member of each group.
- From your course Control Panel select Users and Groups > Groups.

- You are presented with a list of the groups set up on your course.
- Click on the Export button.
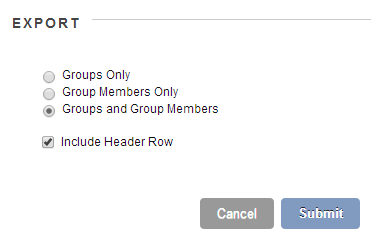
- You may choose what you wish to export
- You may choose what you wish to export
- Groups Only
Export a list of the groups only, not the members. - Group Members only
Only export a list of the members of each of your groups. - Groups and Group Members
Export both a list of groups and a list of group members.
- Groups Only
- You are also asked if the header row should be included. This is a row explaining what information is within each column e.g. Name, Surname etc.
- Click on Submit
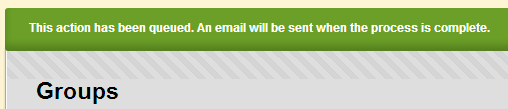
- You will see a confirmation message that your exports will be emailed to you.
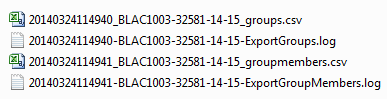
- When you receive the email open the attached zip file to find the exported lists.
- The exported group list shows the internal code for each group, which can be useful when building import lists, as well as other information about the group.
- The exported group members list shows the internal code of each group and the user information for each member.
Bulk enrolling students onto Groups and Group Sets using a CSV file
You may create Blackboard groups using Comma Separated Files.
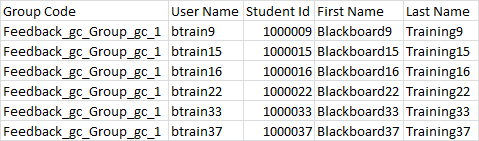
1. First create your CSV file using a program such as Excel or Notepad.
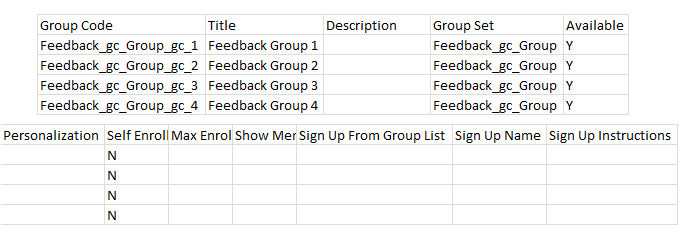
2. The headings required are: Group Code,Title,Description,Group Set,Available,Personalization,Self Enroll,Max Enrollment,Show Members,Sign Up From Group List,Sign Up Name,Sign Up Instructions. However these headings should be removed when you save your CSV file.
- Group Code
The internal system name to be used for the group. This must not contain spaces or special characters.
This field is required. - Title
The name of the group.
This field is required. - Description
Some text describing the group. - Group Set
If the group is part of a group set. - Available
Should the group be visible to students?
Use Y or N.
This field is required. - Personalisation
Should students be allowed to personalise their group area?
Use Y or N. - Self Enrol
Whether students should be able to enrol themselves into the group. - Max Enrolment
The maximum number of group members. - Show Members
Whether students should be able to see who else is in the group?
Use Y or N. - Sign Up From Group List
Whether a sign up sheet should be created for the group.
Use Y or N. - Sign Up Name
The name of the sign up sheet e.g. “Sign up here”. - Sign Up Instructions
Instructions shown to students who attempt to sign up to be a member of a group.
3. Save your file as a .csv file. An example of how it might look is shown in the screenshot above.
4. From your course Control Panel expand the Users and Groups section and click on Groups.
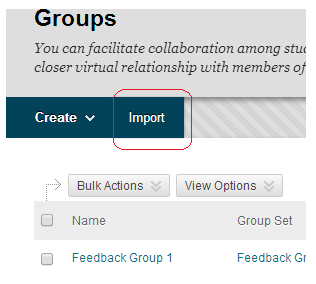
5. Click on Import.
6. Under the heading Import Groups click on Browse My Computer then navigate to and select your CSV file.
7. Tick the tools you wish to be made available for all groups within your CSV file.
8. Click on Submit. You will receive an email when your groups have been imported.
Creating Grade Centre Smart Views based on membership of groups in your Blackboard course
The Blackboard Grade Centre can use “Smart Views” to help you to filter the Grade Centre screen to only see certain users.
It is possible to create a Smart View based on a Blackboard course group’s member list while creating the group, but it can also be done at any other time by following the instructions below.
- From your course Control Panel select Users and Groups > Groups.
- You are presented with a list of the groups set up on your course.
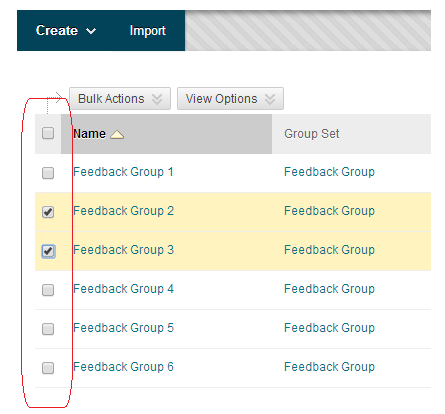
- Place ticks in the tick boxes beside any groups for which you wish to create Smart Views.
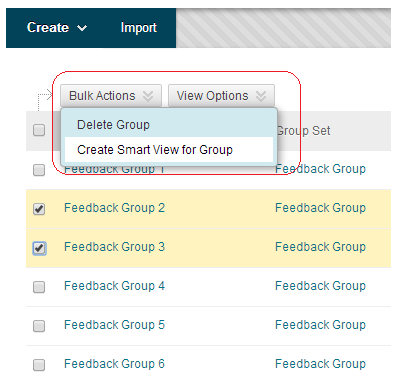
- Hover your mouse pointer over the Bulk Actions button and choose Create Smart View for Group.
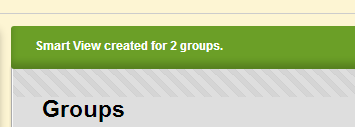
- You will receive a confirmation message at the top of the Groups box.
Reviewing and marking Group content
Finding the Group homepage and tools
- From your course Control Panel select Users and Groups > Groups.
- Select the group you wish to review
- You will be taken to the group homepage
- Select from the available group tools:
- Group Blog
- Group Discussion Board (Not marked, can only be reviewed)
- Group Journals
- Group Tasks (Not marked, can only be reviewed)
- Group Wikis
For marked tools, you may also see a needs marking notification in the Grade Centre when a user has posted/updated group content. See more on Blackboard course content for how to manage and mark with the above tools.