Staff Guide: This page provides an overview of how to create and manage different types of groups as well as links to guides to support common use cases for groups.
What are Blackboard Groups?
Groups are a way of organising the students on a course. Blackboard Groups will facilitate student collaboration and group work but can also be used for course administration such as allocating marking groups and controlling the visibility of content to particular students.
Where can I view and manage Blackboard Groups?
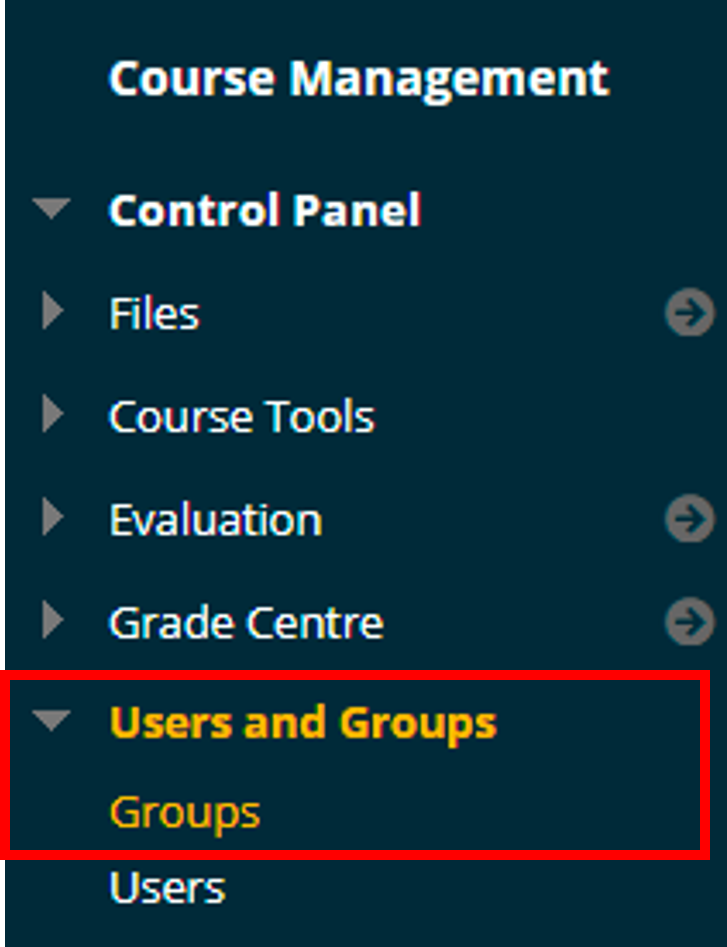
- The Groups pages can be found in the Course Management menu under Users and Groups > Groups.
- Use the navigation in the top right of the Blackboard Groups page for different views and functions:
All Blackboard Groups View
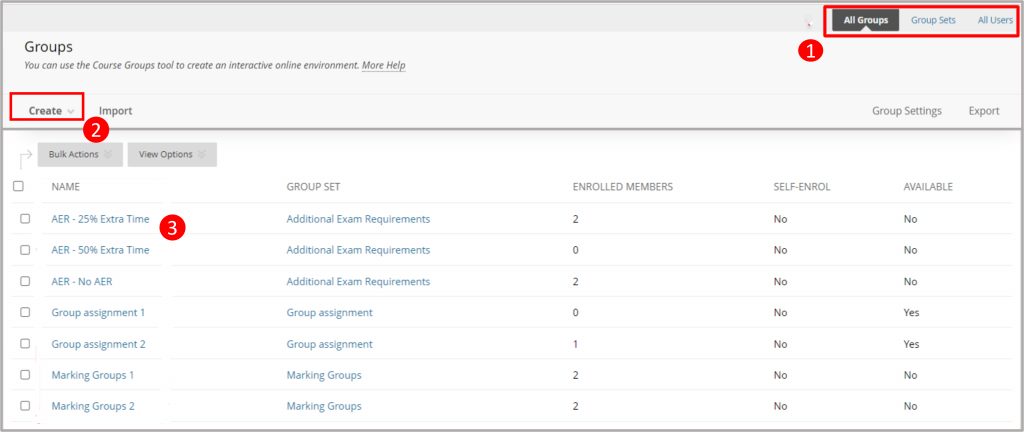
- Select All Groups to view all the individual groups currently in your course and the number of users in each group.
- Select Create to create a single, stand-alone group or a new Group Set.
- Select the arrow next to a group name to view the Group Options:
- Edit the group properties and membership.
- Email the group.
- Delete the group.
Blackboard Group Sets View
The Group Set allows you to set up and edit a number of groups all at once.
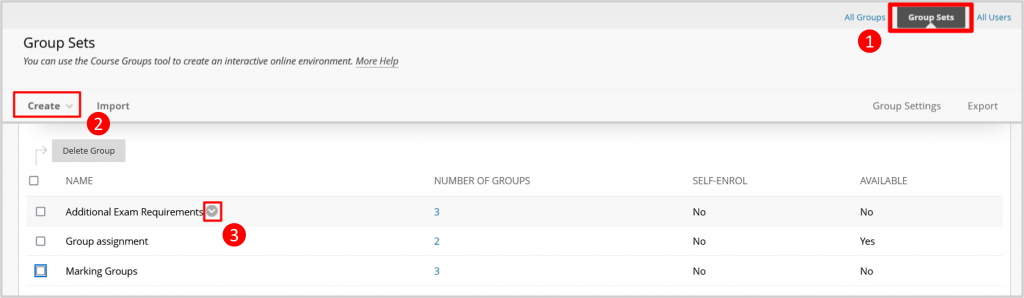
- Select Group Sets to view all the Group Sets and the number of groups in each set.
- Select Create to create a Group Set for a particular purpose.
- Select the arrow next to a group name to view the Group Set Options:
- Edit the properties of all the groups in the set.
- Edit group membership and add new groups to the group set.
- Email the group set.
- Delete the group set and all the groups in it.
All Users View
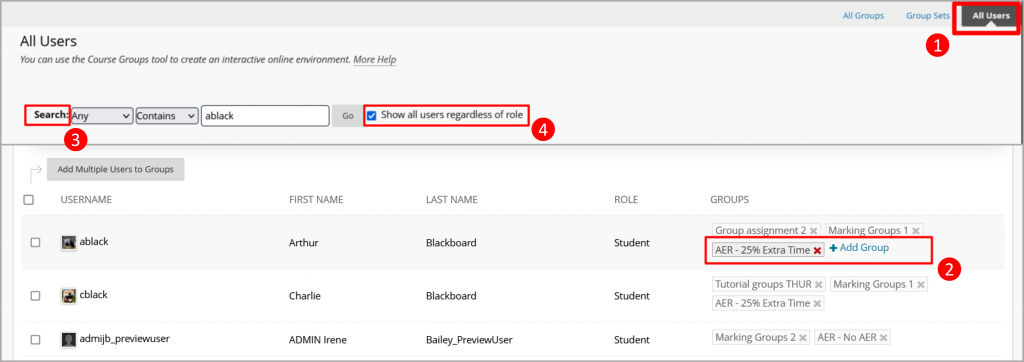
- Select All Users to view a list of all users in the course together with any groups they are in.
- Add or remove users from a group by selecting the + or X options in the GROUPS column.
- Use the Search tool to find a particular user.
- Add Instructors or other non-student users to a group by selecting the option to Show users regardless of role to the right of the Search box.
Creating Blackboard groups with different enrolment methods
For more information on creating groups and enrolling users, see the Blackboard Guide: Create Groups.
Manual Enrol
Manual Enrol allows you to assign each student in your course to a group. Manual enrollment is available for both single groups and group sets. You can upload group members via a spreadsheet.
For example: Allocate students to seminar groups or identify students with and without Exam Requirements.
See the guide: Create manual enrol Groups and Group Sets.
Random Enrol
Random Enrol is available for group sets only. Random enrolment automatically distributes students into groups based on your settings for maximum members per group or a total number of groups. Random distribution applies only to students who are currently enrolled in your course. You can enrol additional students manually and edit the group members if needed.
For example: creating marking groups for multiple markers, and breakout groups for Collaborate sessions.
See the guide: Create random enrol Group-Sets.
Self-Enrol
Self-Enrol allows students to add themselves to a group with a sign-up sheet. Self-enrolment is an option available for both single groups and group sets. You can manually add any users to a group if they have not self-enrolled.
For example: sign up sheets for group project work or to choose an assignment option.
See the guide: Create Self-enrol Group and Group-sets.
Visible and non-visible Blackboard groups
When you create a group or a group set, you can set the option for Group is visible to students to Yes or No.

- Visible (available) groups enable students to see other group members in the group and interact using the tool options that are allocated to the group – for example, Discussion Boards or Group Journals. See the section on Group Tools and the Student View of Groups.
- If a group is not visible to students then the students are unaware of the group. A group does not need to be visible for course administration purposes only – for example, allocating marking groups, and adding content for particular users.
Some use cases for Blackboard Groups
Follow the links for guides on these use cases.
| Use case for groups and link guide | Does the group need to be visible to students? |
| Marking Groups. Allocate marking for multiple markers in Turnitin or Blackboard Assignments. Group Type: Any Group Set. | No |
| Submit and mark a Group Assignment. Use a Blackboard Group assignment so one student can submit for a group and all members of the group can view the marks and feedback. Group Type: Any visible Group Set. | Yes |
| View Grade Centre marks for different Groups. Create group Smart Views so you can filter the Grade Centre by Group. Group Type: Any. | No |
| Control access to content. Use Adaptive Release rules to show content to a particular group or groups. Group Type: Any | No |
| Support students with AERs and Special Considerations. Allow for different assessment settings, deadlines and marking for students with additional exam requirements (AERs) and Special Considerations. Group Type: Manual. Group Set | No |
| Create sign up sheets for group work and other course options. Use self-enrol groups to allow students to make choices. e.g. Sign up for project or assessment options, or organise themselves for group work and trips. (The Choices system is also available but will not create Blackboard groups) Group Type: Self-Enrol. Group Set. | Yes – if for group work. No – if for course administration. |
| Email a group. Communicate with certain groups of students using the course email tool. Group Type: Any | Yes – but read notes below for emails to non visible groups.* |
| Enable tools for communication, collaboration and group work. See the Group tools section on this page. Group Type: Any visible group. | Yes |
*Groups need to be visible to students if you want to see the option to email a group via the course Tools/email options. You can email non-visible groups from the Couse Management/Groups view – see the options in the drop-down menu that appears to the right of any group name on this page.
Blackboard Group tools
If a Group is set up to be visible to students you can opt to add the use of collaborative tools.
Group Blog
- Group blogs are public but only group members can post to them.
- Group blogs can be graded and all members of the group will be receive the same mark
- Find out more about creating blogs and using blogs.
Group Discussion Board
- Group members can use discussion boards to communicate with each other, and can control the topics and posts.
- Group discussion boards can be graded and members of the group will be receive the individual marks.
- Find out more about creating discussion boards and using discussion boards.
- Group members can email individual members or the entire group.
File Exchange
- Group members and instructors can share files in the file exchange area.
- Students can add and delete files, regardless of who added them.
Group Journal
- Group Journals are viewable by other group members.
- Group journals can be graded and members of the group will be receive the individual marks.
- Find out more about creating Journals and using Journals.
Group Tasks
- Group members can create and view the group tasks in the group tasks tool or in the course tasks tool.
- Find out more about using tasks.
Group Wiki
- Instructors and group members can view and edit the group wiki.
- Group wikis can be graded and all members of the group will receive the same mark.
- Find out more about creating wikis and using wikis.
Student view of Blackboard Groups
If a student is added to a visible group they will see a link to My Groups below the main course menu. This will take them to the Group page where they can see other members of the group and access tools that are available for the group and links to any Group Assignments.
You can add additional links to Groups to the course menu or content area. See this Blackboard guide to Managing Groups for more information.
You can use Student Preview to view a course as a student. If you want to see the student view of a group or group options (such as Adaptive Release rules) you will need to add your PreviewUser account to a Group. See this guide on Student Preview for more information.