
Staff Guide: Review and release content, check accessibility and engage with students.
These three quick set up guides are designed to take you through the essential steps to getting your Blackboard Course ready for teaching.
- Quick Set Up – Part 1: Personalise your Course and Check Enrolments.
- Quick Set Up – Part 2: Plan layout and Add Content to your Course.
- Quick Set Up – Part 3: Review Content and Engage with your Students.
- For more information on Assessment, see the Overview of Assessments eLearn guide.
This guide will take you through the steps to review your Blackboard course content, accessibility and engage with students before you start teaching.
Use Ally to check content accessibility
Once your course is populated with content, use the Ally tool to obtain feedback and support to improve accessibility of items. In two clicks, you can see your overall Course accessibility score. Then you can quick fix items, or review lowest scoring content to improve accessibility for students.
Under the Details and Actions menu, select View Course & institutional tools, then Accessibility Summary to view your Ally Summary Report.
Make content available using Batch Edit
Content added to Blackboard Content is Hidden from Students by default so once you have uploaded your content you will need to make it available to students. This can be done individually with items but you can also Batch Edit content to change visibility or set time/date release condition on 100 items at a time.
In your Course Content, select the three dots in the top right corner next to the search icon then select Batch Edit. Here you will see all the content of your course, expand learning modules and folders to see what is inside. You can select multiple items then Edit visibility to make items Visible to Student.
Don’t forget to review and make available module template items such as Past Papers and support links, if relevant to your students.
Q&A Discussion
Ultra courses are provisioned with a Q&A Discussion where students can ask questions about the course in an open forum for everyone to see the answers.
The Q&A Discussion is something that students have asked for. Look for discussion notifications on the Navigation Bar for posts.
Open your Course to Students
When Blackboard Courses are created, they are closed to students. This means that students can be enrolled on courses, but not access teaching content until you are ready to make it available.
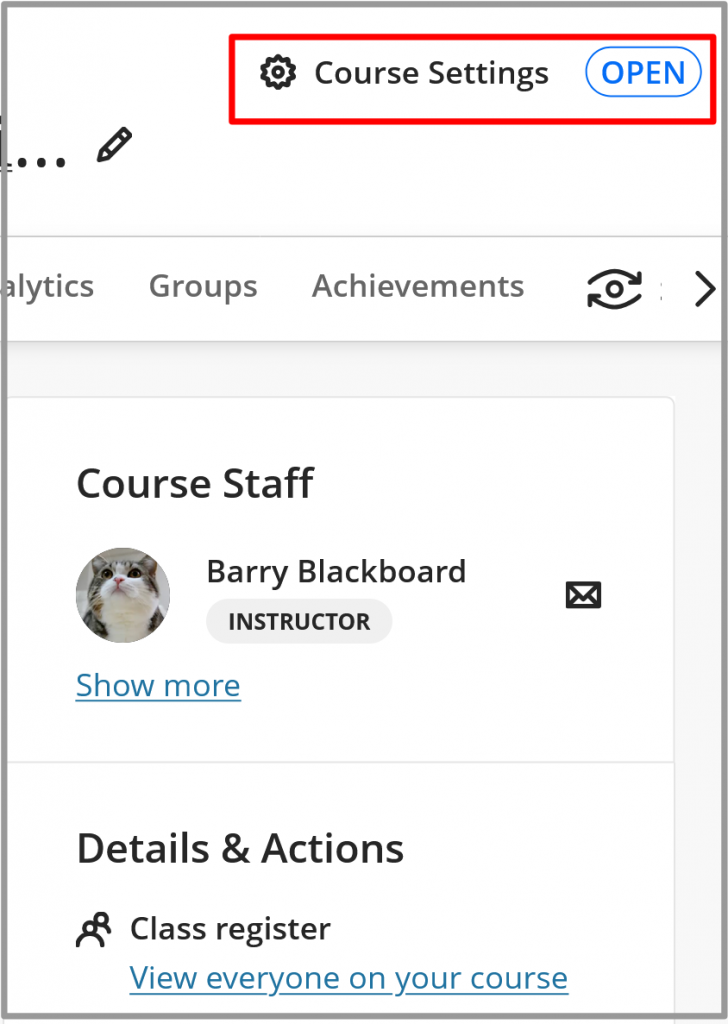
To open a course:
- Select Course Settings located at the top right of the course page.
- From the Course Status options, select Open.
- Your course will now display as Open, and enrolled students can access it.
Send an announcement
Welcome students to your course by sending an announcement. Select Announcements in the navigation bar at the top of the course. Then select the plus icon to create a draft of your announcement including a title and the message. Announcements are an ideal way to post-time sensitive information critical to course success as well as welcoming your students to their new course.
You may also want to:
Student Preview: Have you viewed your course from a student point of view?
Messages: Do you want to email all students, a group of students or individual students on your course?
Content Visibility and Release Conditions: Do you want to create automatic rules for showing content to students?
Progress Tracking: Do you want to support student’s progress through the course and see what content items students are engaging with?
Discussions & Journals: Do you want to engage with students via discussions or journals?
Gradebook: Do you want to understand the features of the Gradebook and how to mark assignments?
Monthly Release Notes: Do you want to keep updated with the latest releases on Blackboard Ultra? Bookmark this link!
Next Steps:
Congratulations! If you have followed these quick set up steps, you have just set up your Blackboard Ultra course ready for teaching. We wish you all the best with this semester!
If you need any further help, a more detail eLearn guide is available to help you Prepare for the new academic year.
Read more about the Blackboard Ultra Migration Project on the sharepoint site.
There are plenty more eLearn guides to support you on your Blackboard Ultra journey.
Blackboard Ultra is continually developed and improved. Keep up to date with the latest changes via the monthly Blackboard release notes.