
If you’re new to Panopto or would like to refresh your memory, this page will explain how to use the Panopto Recorder for Windows. This page explains how to capture a video of yourself and the computer screen.
Pre-requisites
Install Panopto
Panopto is pre-installed in all our lecture theatres. Just search for Panopto in the Start Menu.
To install Panopto on your University Windows staff PC use our guide Installing Panopto on a University Windows PC
We also have guides to install Panopto on your non-University Windows computer or your Apple Mac.
Provision a Blackboard course (Staff only)
Each year you will need to activate Panopto within your Blackboard course. This gives you an area within Panopto to make recordings. For each course follow the guide How do I provision Panopto in Blackboard.
Alternative to using a Blackboard course
Everyone has a “My Folder” that they can record Panopto content into. You can record into this folder without provisioning a Blackboard course but no-one, except yourself, will be able to view it.
Logging in a UOS office/lectern PC
- Select the ‘Start’ menu (or press the Start key on the keyboard).
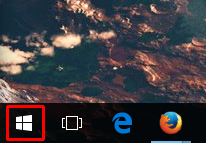
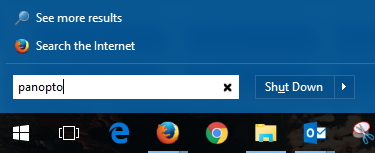
- In the search box that appears type “Panopto” (or find Panopto within “All programs”).

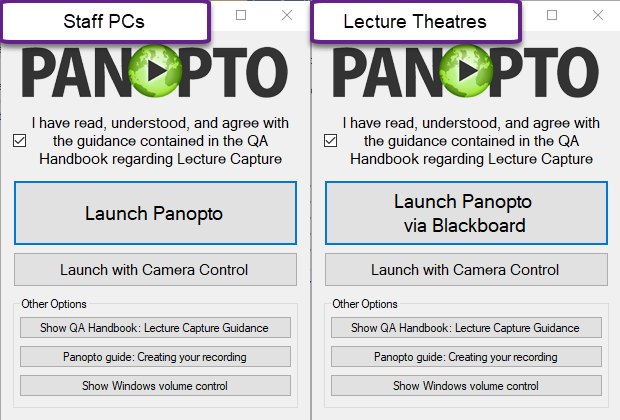
- Tick the “I have read, understood, and agree with the guidance contained in the QA Handbook regarding Lecture Capture” tick box and press “Launch Panopto”.
- If you are not signed in to Panopto you will be directed to Blackboard to sign in.
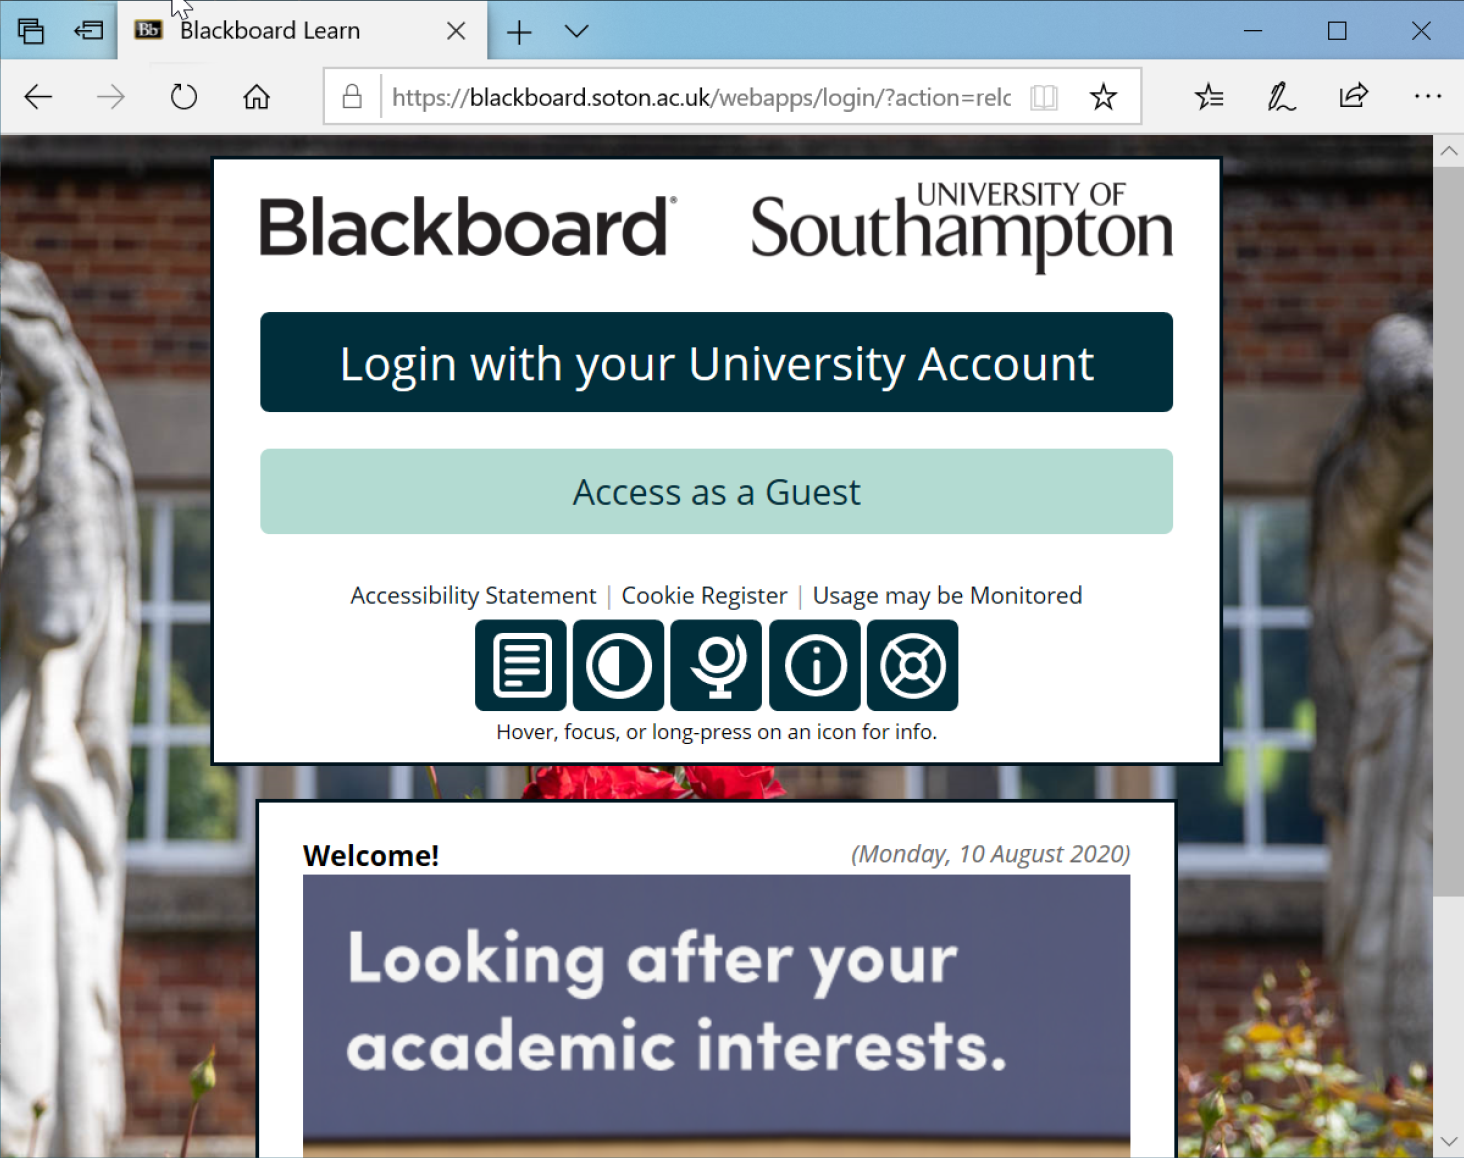
- Log in with your normal University username and password.
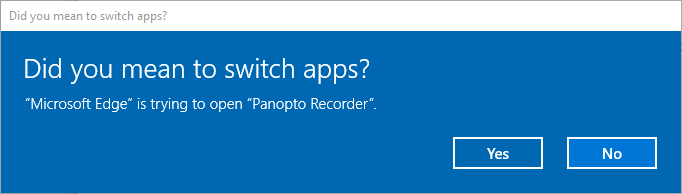
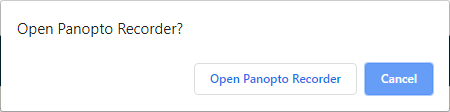
- Your web browser will then try to load the Panopto recorder.
Example in Microsoft Edge:
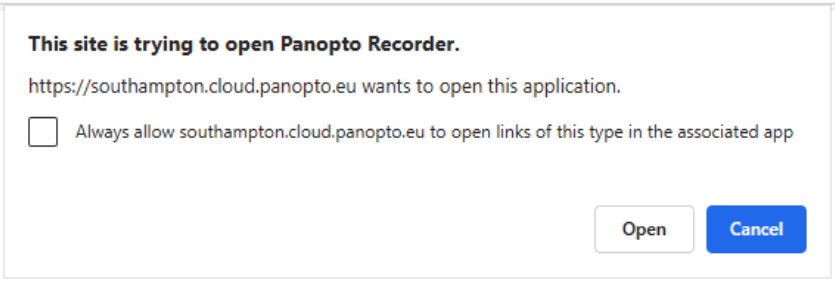
Example in Chrome:
Primary Source: Audio and Video
Panopto videos must have a primary source. Otherwise, they will never finish processing after the video has uploaded.
From the “Audio” drop-down menu select the microphone you wish to use. If you have just connected a USB headset (or another microphone), it should be pre-selected.
From the “Video” drop-down menu select either your USB webcam (if one is connected) or the B##-R#### Dome Camera (if installed in your lecture space).

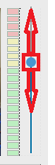
The most important step in Panopto is to ensure that your microphone a) works and b) is set to the correct volume.
Speak into your microphone and adjust the recording volume slider so that your voice fills the green bar when speaking at a conversational volume and doesn’t light the last red square when talking loudly.
If you wish to capture the sound coming out of the computer (e.g. capturing the words said by a speaker over Teams), also tick “Capture Computer Audio”. Leave it unticked unless you have a particular reason to capture the audio from the computer.
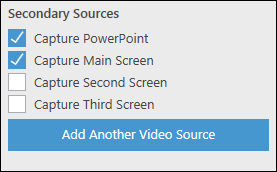
Secondary Sources: PowerPoint and Screens
When recording your screen select Capture PowerPoint and Capture Main Screen.
If using a laptop connected to a projector you may find that PowerPoint shows your presentation on the second screen. In this case select tick “Capture Second Screen”.
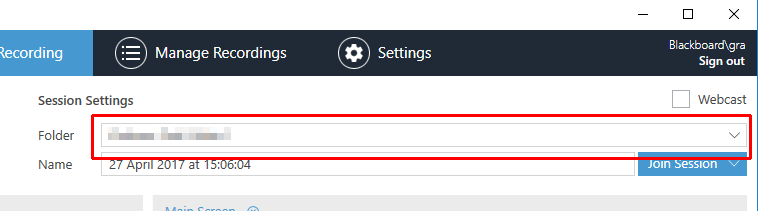
Choose your recording folder
Click on the drop-down “Folder” list near the top of the Panopto Recorder.
Select a folder in one of these three ways;
- If you have recently recorded in your course, select it from the Quick Access area.
- If your course isn’t in the Quick Access area, select it by navigating through the folder list.
- Search for your course by typing in the first few characters of its name.
If you wish to record into the BIOL3048-20500-16-17 Blackboard course you’ll need to click on the arrows next to “BIOL” then “BIOL3048” then click on the name “BIOL3048-20500-16-17: 16-17-Neurodegenerative Disease-20500”.
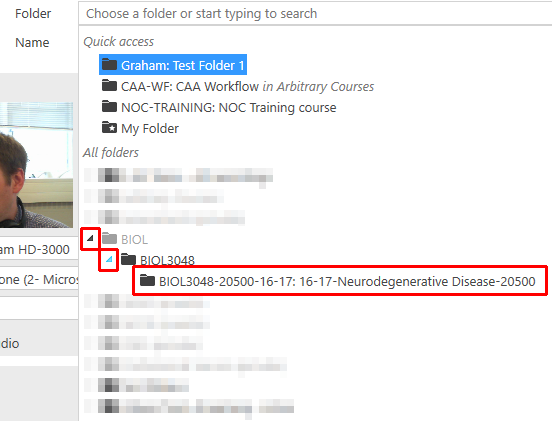
If you do not have any Blackboard courses to record into, choose “My Folder” from the Quick Access area.
Recording and Pausing
Recording
When you are ready to record:
- Press “Record” on Panopto.
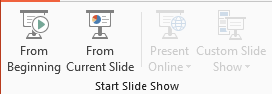
- Start the slideshow in PowerPoint (if required).
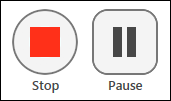
- Once you have finished your recording press the “Stop” button.
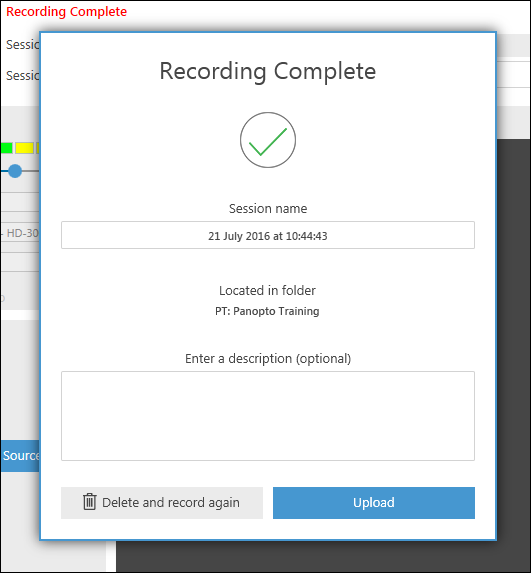
- You will then be given the opportunity to rename your session or add a description..
Pausing
Pressing pause does not stop Panopto from recording. Instead it automatically tells the editor to remove the paused section before making the session available to students.
Uploading
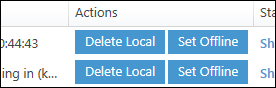
The progress bars show the recording uploading to Panopto. Once the bars disappear, the recording is being processed by the server.

If your material is confidential, you may wish to wait until the upload has completed and select “Delete Local” to remove the local copy of the presentation from computer’s hard drive.
If using a lecture theatre PC, Panopto will continue to upload the presentation even if you log out of the computer, although you should not turn off the computer. If you are not on a lecture theatre PC, you will need to wait for the upload to finish before logging out.