Staff asking guest lecturers, and guest lecturers themselves should follow the guides on this page to make recordings.
Getting guest lectures access
As a staff member, you will need to request an account, which will give them control of your course videos (so you should know and trust them). You should ask them to sign (digitally or a photograph is fine) the Guest Lecturer Agreement Form. It is the tutor’s responsibility to get this form.
Once you have consent, a University staff member should email ServiceLine the following:
Please can you create a local Panopto account for a guest lecturer:
Name: [Full name]
Email: [Email address]
Date required until: [Date that the guest lecturer will have finished uploading their recording]
Course to upload to: [Module code, including year. e.g. BIOL1001-12345-19-20]
I confirm that the guest lecturer has returned to me a copy of the Guest Lecturer Consent Form.
Local accounts can be made for between one week and one month’s access.
Your guest lecturer will have creator access to the Blackboard course Panopto folder and will be able to edit and delete your content. Only create accounts for people you trust.
Accounts will be deleted after one month or the “Date required until”, whichever is shortest.
How to record a guest lecture
As a guest lecturer, you have full access to the Panopto videos on the course in question.
Download the Panopto Recorder for Windows (32bit | 64bit recommended) or Apple Mac. These versions are updated each July to match the version in lecture theatres, they may not be the latest version.
Follow the Panopto Creation guidance for your operating system with the exception of logging in steps.
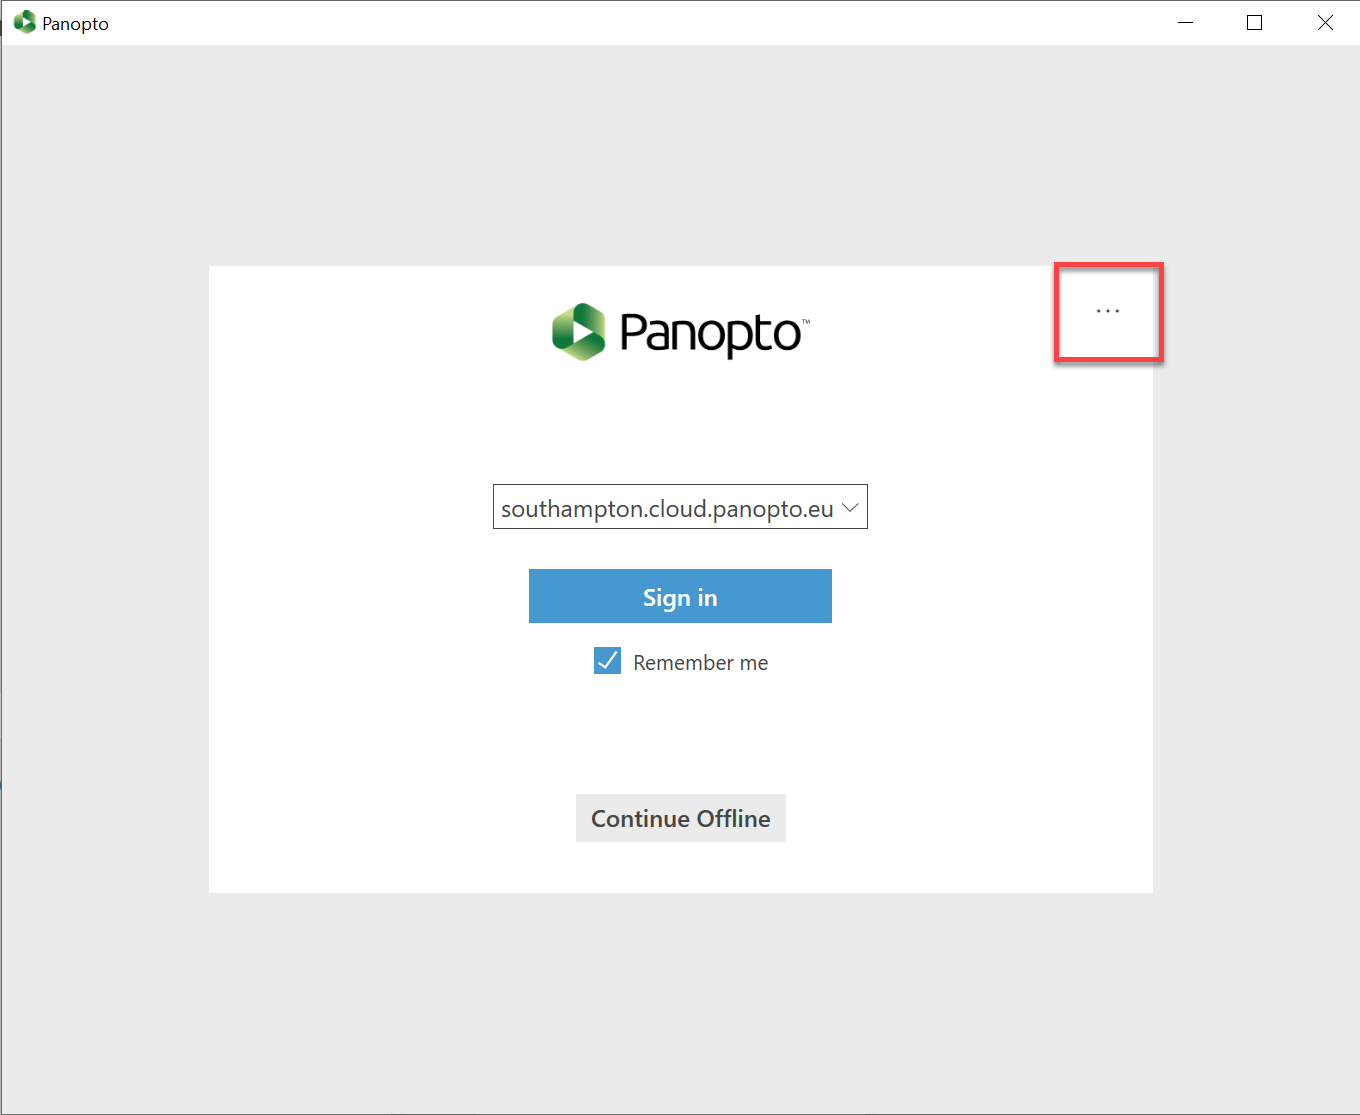
At the logging-in process stop at this screen, then select the ellipsis or 3 dots button.

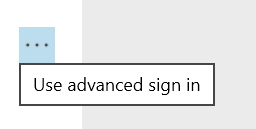
Select ‘Use advanced sign in’.

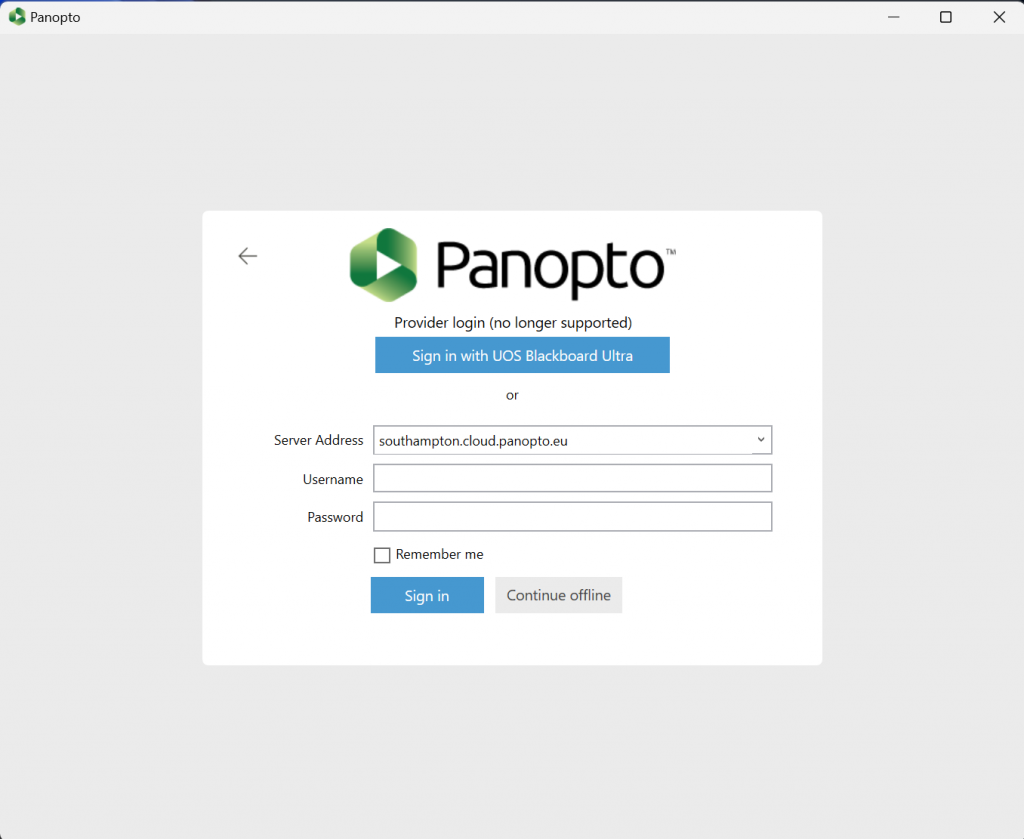
Enter the username and password that has been sent to you and then press the blue ‘Sign in’ button.

Panopto will then sign in and work like normal and you can use our other Panopto help pages to make recordings.
