About student preview
Student Preview will create you a student account on the course so that the instructor (and some other course roles) can experience the course in the same way a student will.
When student preview mode is on you can view and take part in activities as a student such as:
- Access content
- Submit assignments
- Take tests
- Create blog and discussion posts
- Create journal and wiki entries
- View student tools, such as My Grades and view feedback.
When you exit student preview, and opt to Keep the preview user and data, you can view the activity of your student user such as:
- View how assessments will appear in the grade centre
- View and mark an assessment and activities created by your preview user, and give feedback.
- Add your preview user account to groups so that you can see how group activities and adaptive release rules work for members of a group.
Your student preview user will appear in the course users list and grade centre as:
- instructor_username_previewuser (for example: ijc1b20_previewuser).
Course roles that can use student preview:
- Instructor
- Library staff
- Pre Sessional Instructor
- Teaching Assistant
- Course Builder
- School Office Administrator
Enter student preview mode
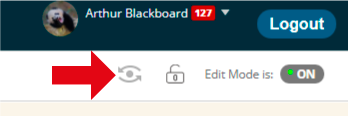
- Select the enter student preview icon located on the top right menu bar of your course, near the Edit mode button.
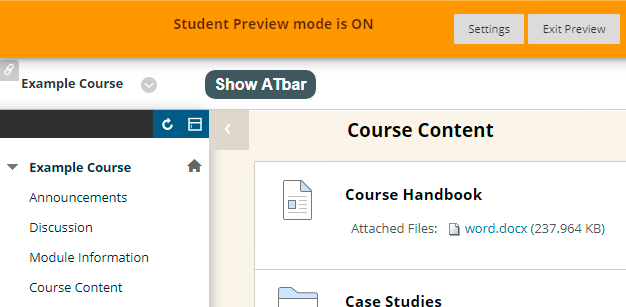
- When Student Preview mode is on, an orange bar will show along the top of the course.
Exit Preview and keep data
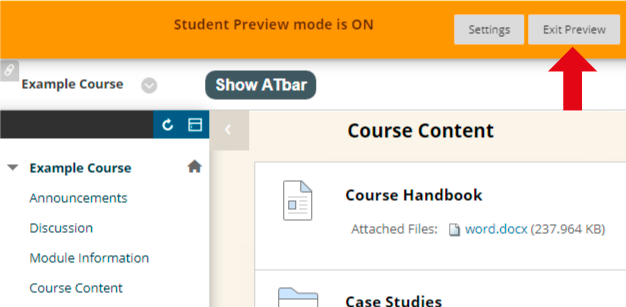
- When you have finished select Exit Preview.
- opt to Keep the preview users and all data if you want to view the activities of the preview student with your normal course role.
- You will see your Preview User in the Course Users list and the GradeCentre: instructor_username_previewuser (for example: ijc1b20_previewuser).
How to use Student Preview with unavailable content.
You can add your Preview User to the Adaptive Release of any content that is otherwise unavailable to students.
- Make sure you have already created a Preview User in the course by following the instructions above to Enter Student Prview and then Exit Preview and keep data.
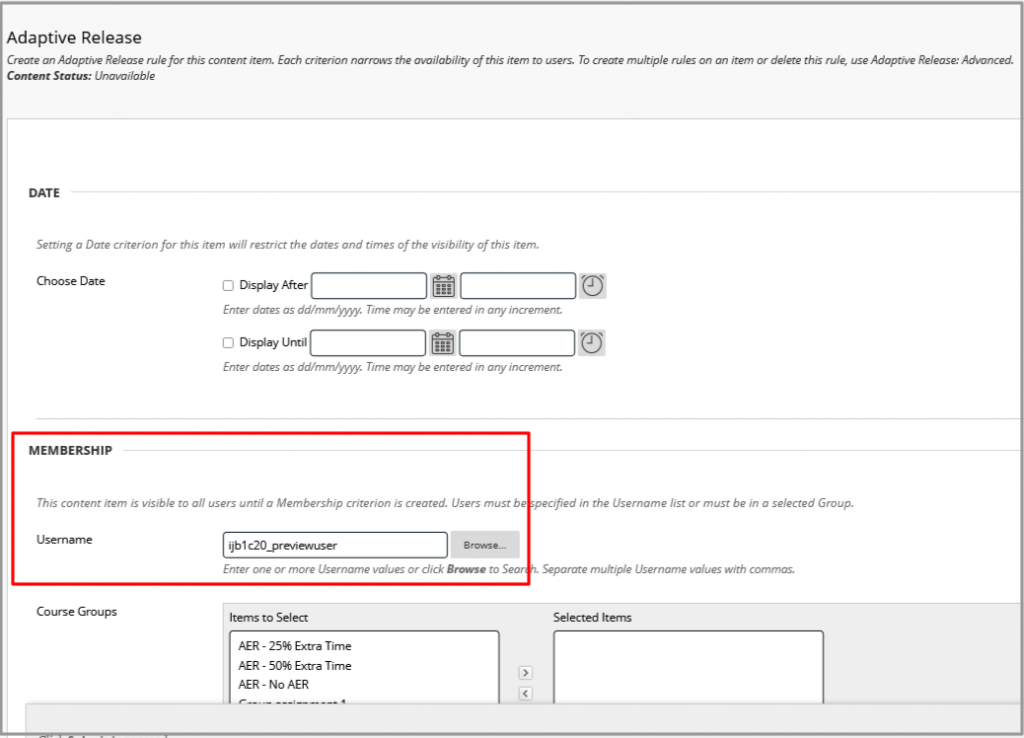
- Select the Options next to the unavailable content and select Adaptive Release.
- Go to the Membership section.
- Add your preview user to the Username field
- Select Submit.
- When you go back and enter Student Preview you will be able to see the content that will remain unavailable to other students.
Further information on preview users
See the external guide for:
- Video guide
- More on your preview user account
- How to delete the preview account and data