Add a file or an item
There are many different ways to add files, images and videos to your Blackboard course. Please see below the image of the same file, added three different ways.
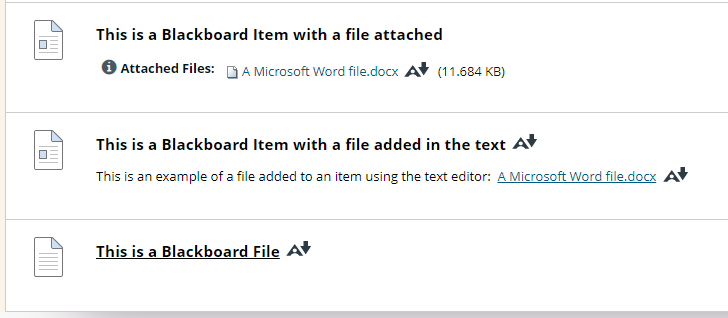
- Blackboard Item with file attached – please see how to add a Blackboard item.
- Blackboard Item with file attached using the text editor – please see how to use the text editor.
- Blackboard File (rather than Blackboard Item)
See Blackboard Help page for adding files images and videos
See Blackboard best practice for attaching files.
Add file from your local machine or Course Files
You can add files to your course content from your local machine or from the Course Files area.
All files attached to content will automatically be added to the Course Files.
Managing the course files
Please see the Blackboard help pages for how to manage files and folders in Blackboard course files.
Adding a file to a Group File Exchange Area
See more about groups and tools for groups.
- Select Users and Groups
- Select Groups
- Select the name of the Group
- You should now see the Group Homepage Area.
- Under Group Tools select File Exchange. If you cannot see a link to the group file exchange the tool is either not enabled for this group, or the link has been hidden. Select “Add Group Module” to add Group Tools to the Group Homepage if it is not visible.
- Select Add File
Please note that all group users can edit and delete any files added to the Group Files area, regardless of who originally uploaded the file.
How students download alternative file formats with Blackboard Ally
Once you upload files to your course and share them in the content area, students can download the files in a variety of formats depending on their preference.
Please see Blackboard Ally Quick Guides for Students.
Add a YouTube video
Getting the YouTube video embed code
- Go to the video in YouTube.
- Select the Share option.

- Select Embed.
- Select Copy from the embed code screen
Adding the YouTube embed code to a Blackboard Item
- Check that Edit Mode is turned ON. This can be switched by clicking ON or OFF.
- Choose the Content Area to which you wish to add your YouTube link. All the content areas work in the same way, if you have renamed or added content areas to your Blackboard course the screenshot above may vary from what you see.
- Hover your mouse pointer over Build Content and then click on Add Item.
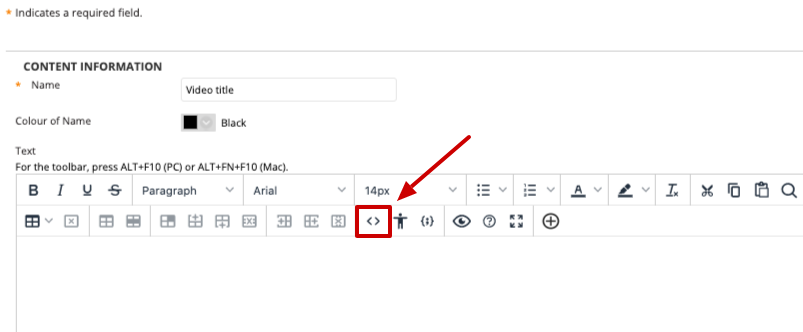
- Enter a Name for your item.
- Select the Add source code icon <> from the content editor menu.
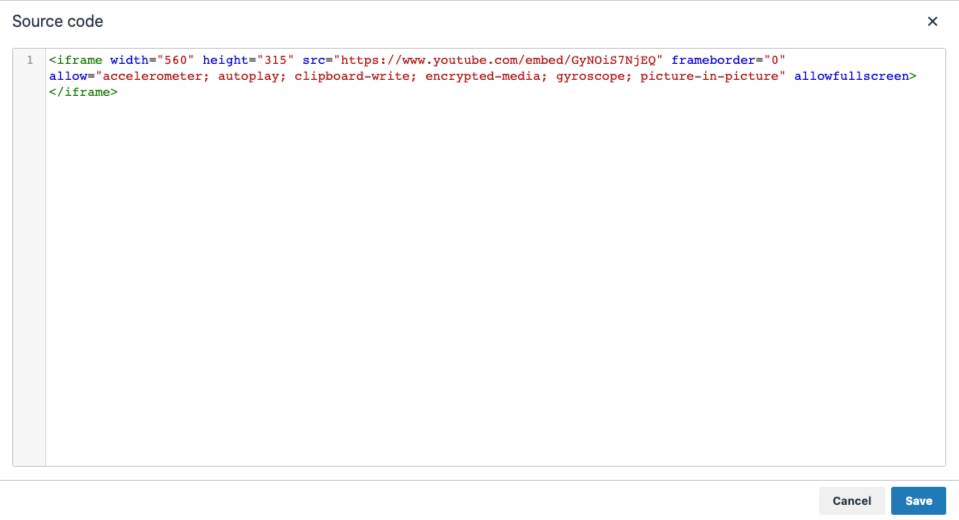
- Paste the YouTube embed code into the source code editor and Save.
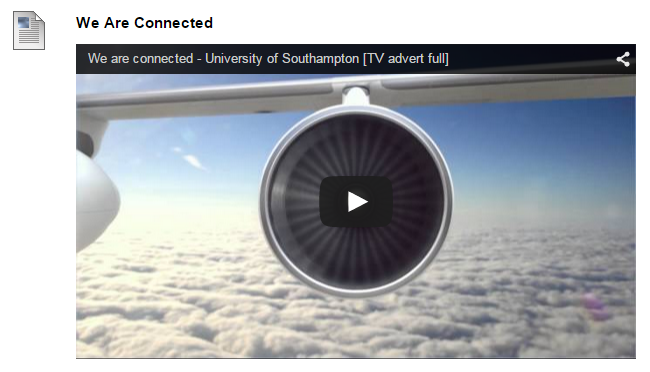
- The YouTube video will now appear in your Blackboard course.
Add a Stream (Microsoft Teams) video
If you wish to emebed a stream video from a site which is not linked to Blackboard, please note that the sharing permissions must be updated so that it can be viewed by your desired audience.
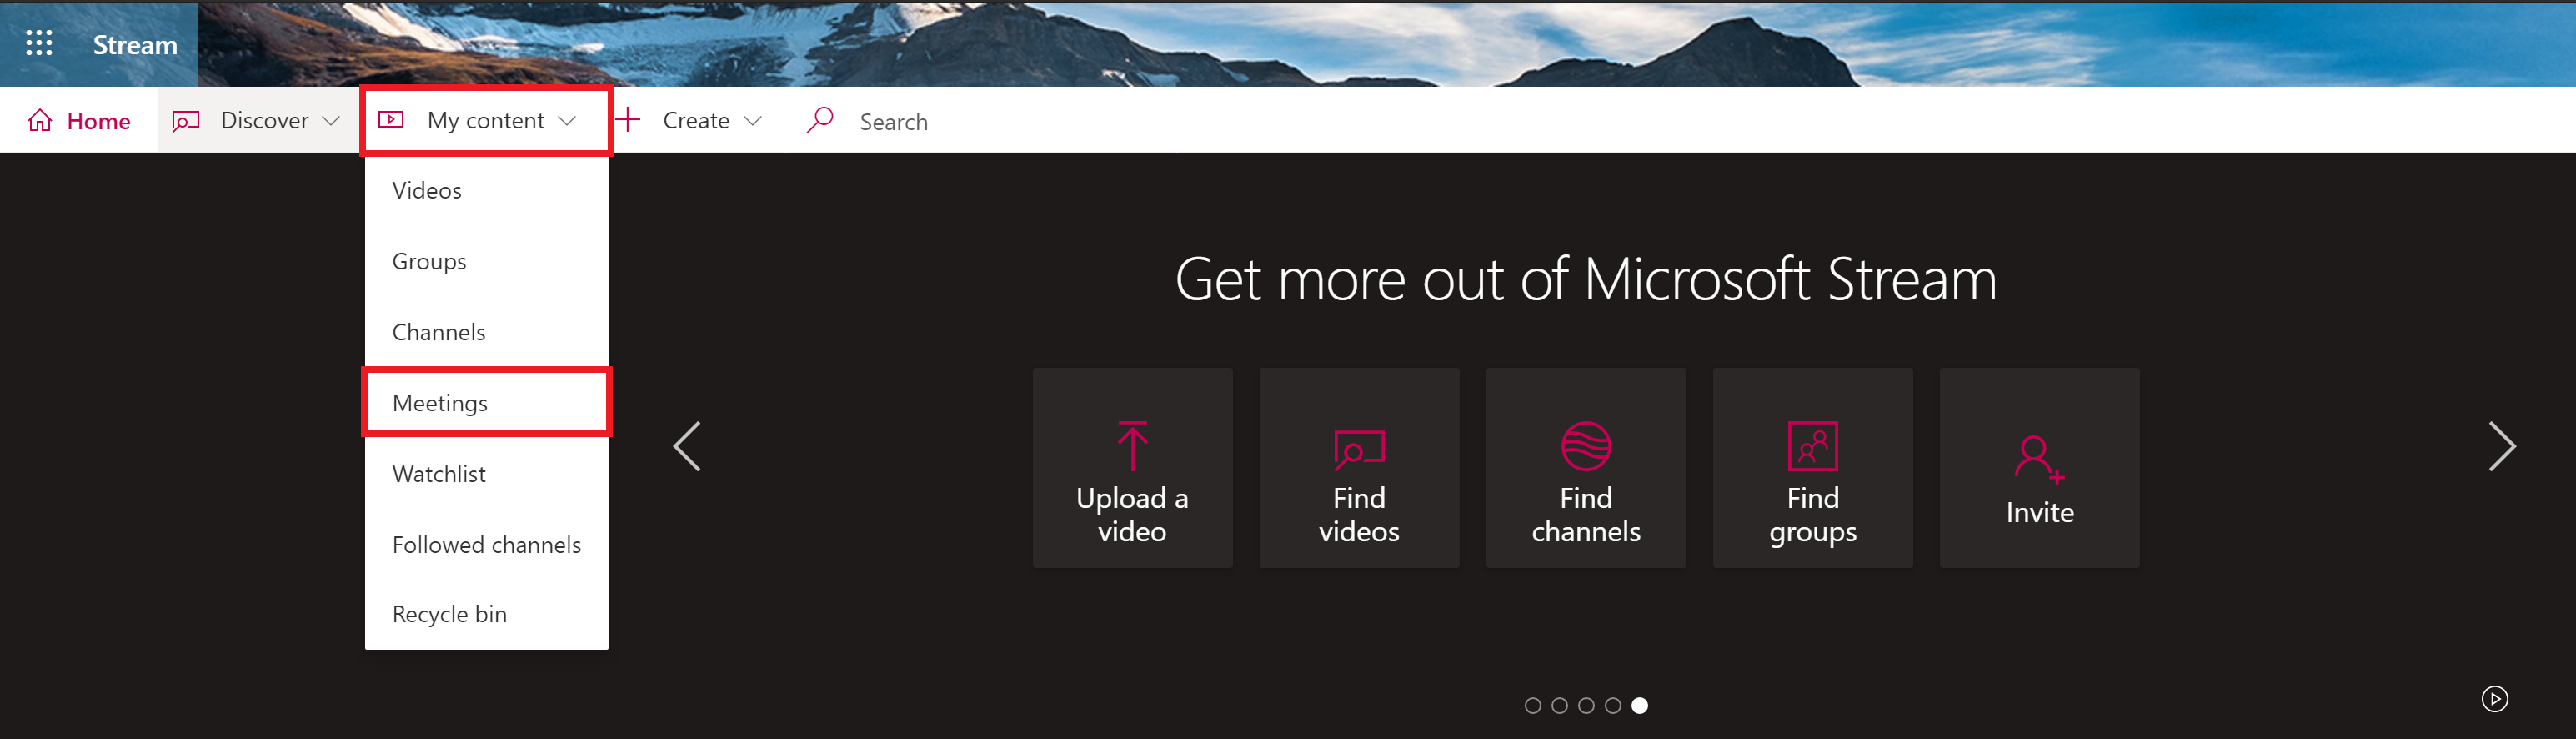
Start by going to Microsoft Stream, which is where all Teams videos are uploaded to. When asked to sign in, use your username as an email address e.g pfd3g10@soton.ac.uk. Once logged in, locate your Teams meeting recordings by going to ‘My content’ then selecting ‘Meetings’.
Once you have found the meeting that you wish to upload click on it to see the menu overview of the recording.
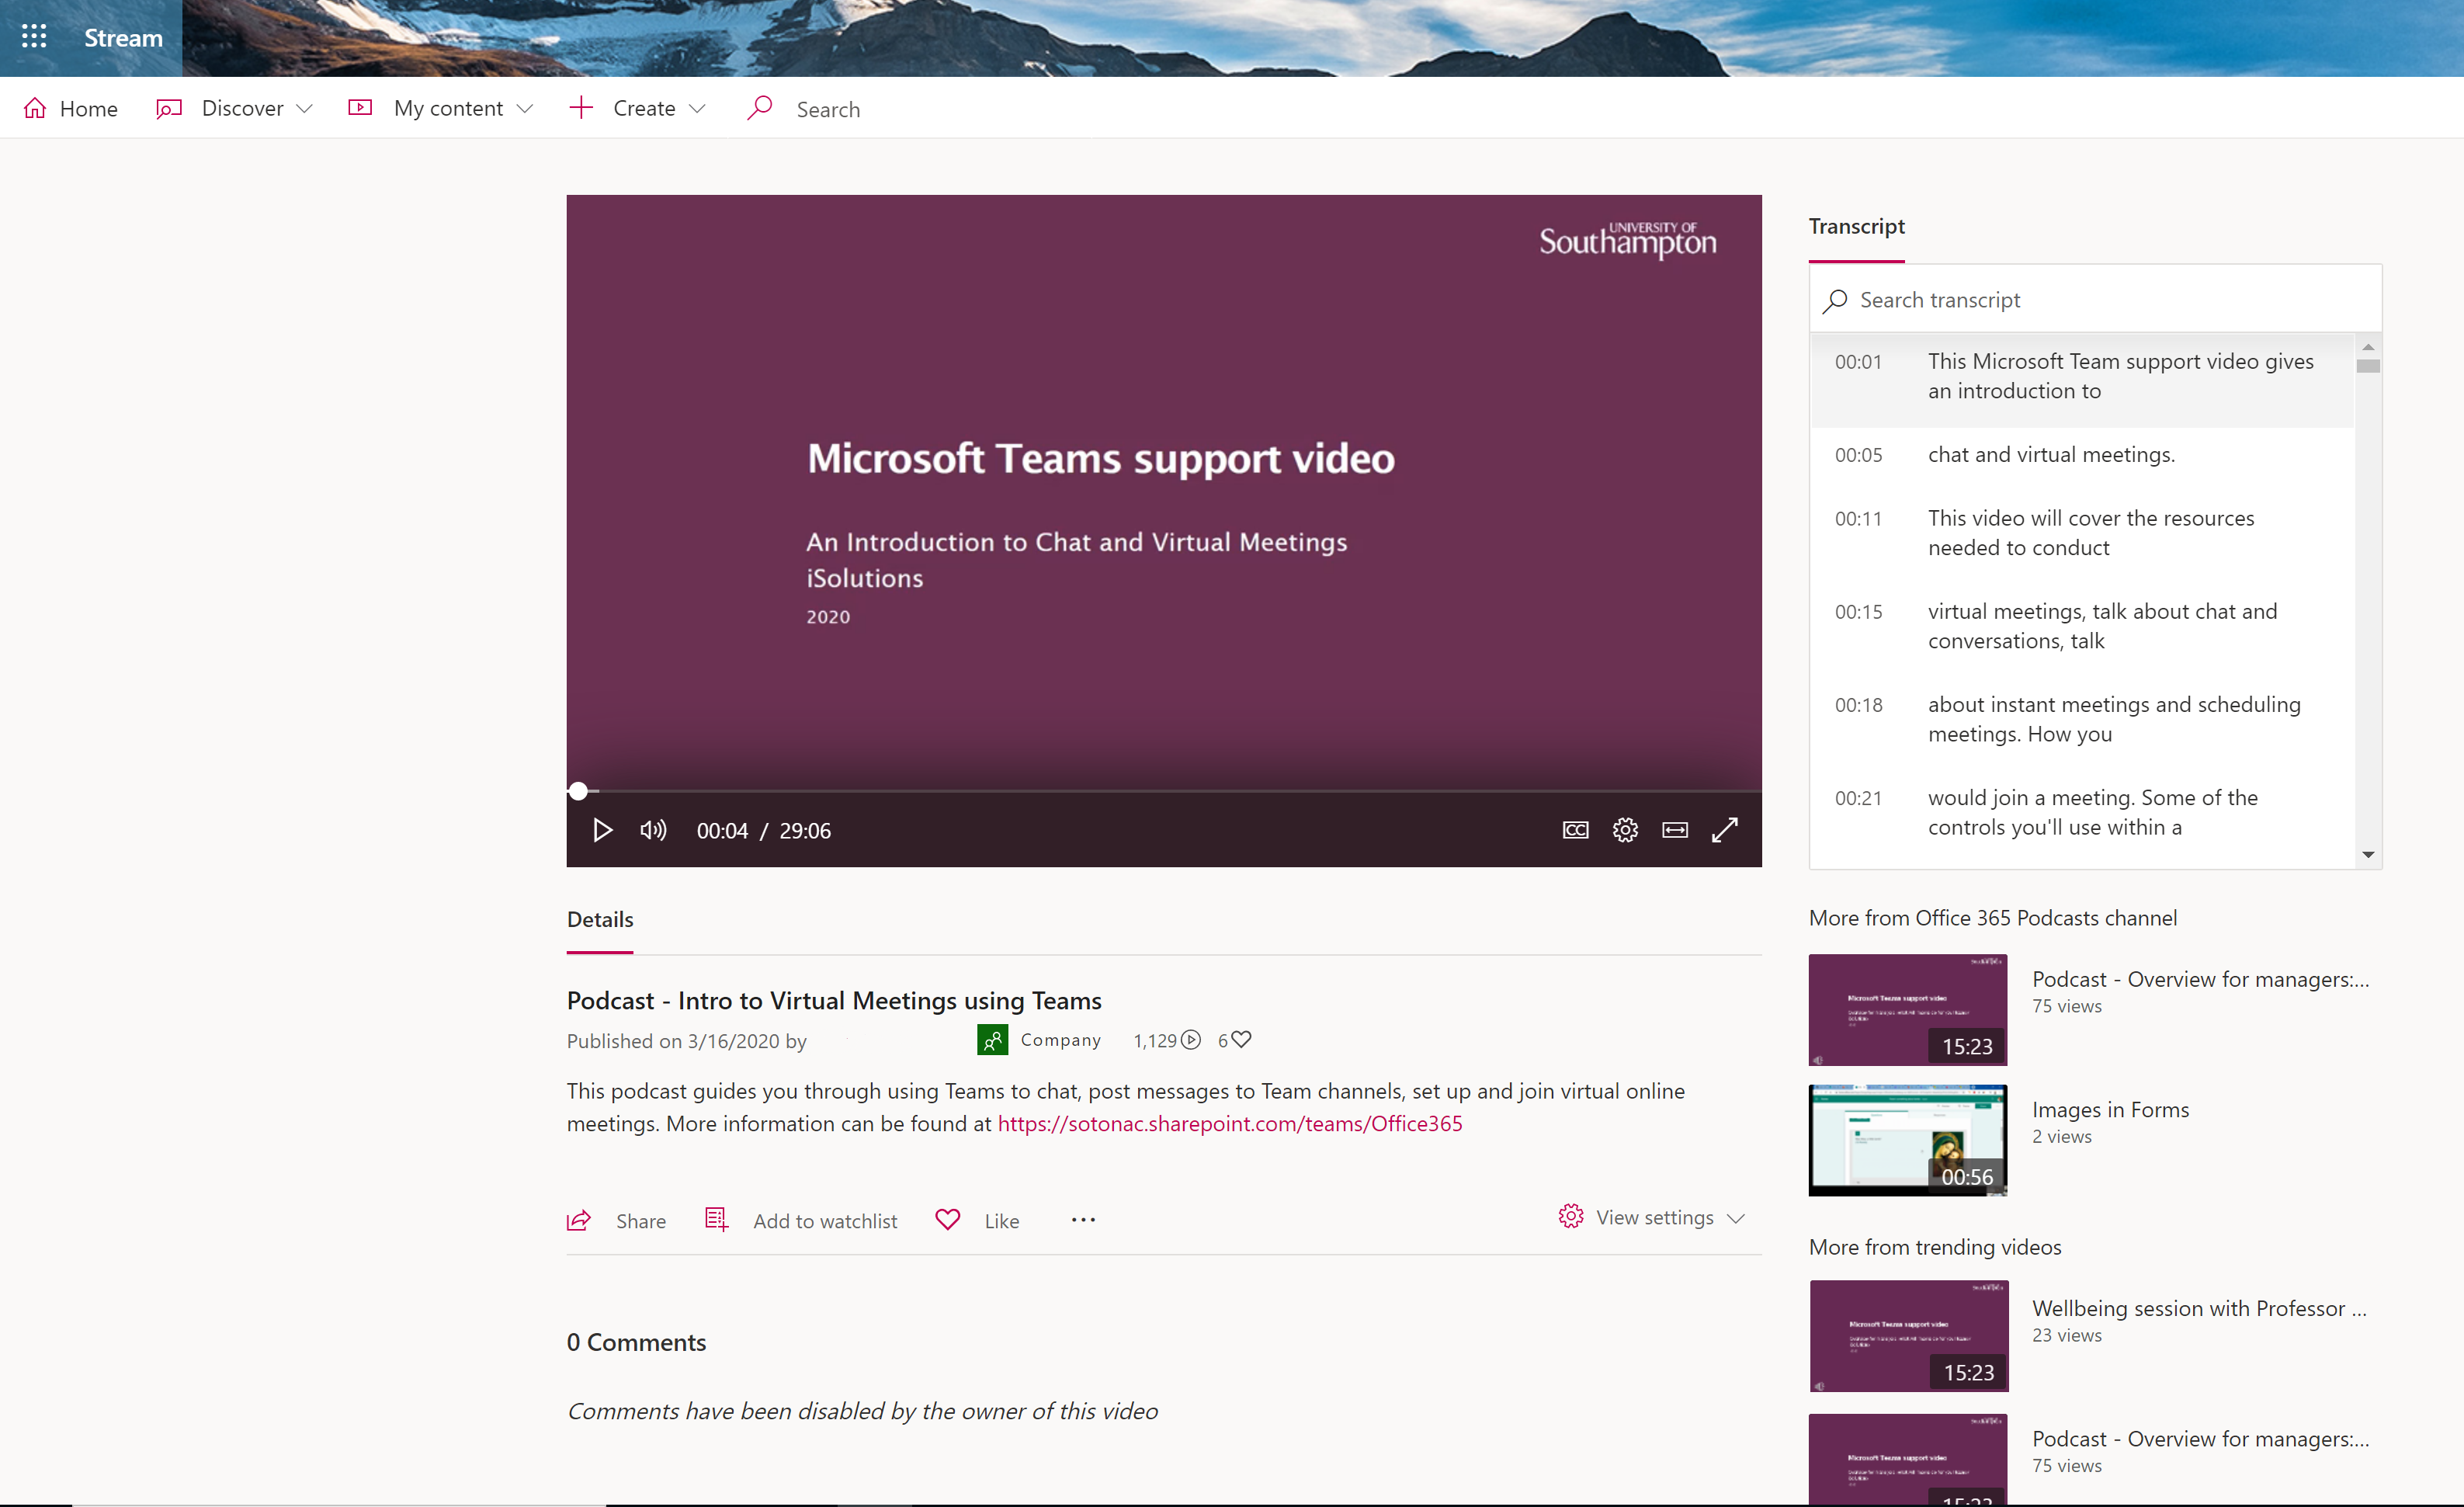
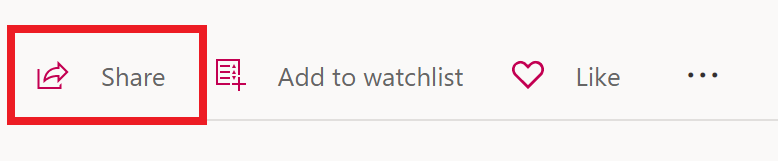
Notice the toolbar under the recording and click on the ‘Share’ button.
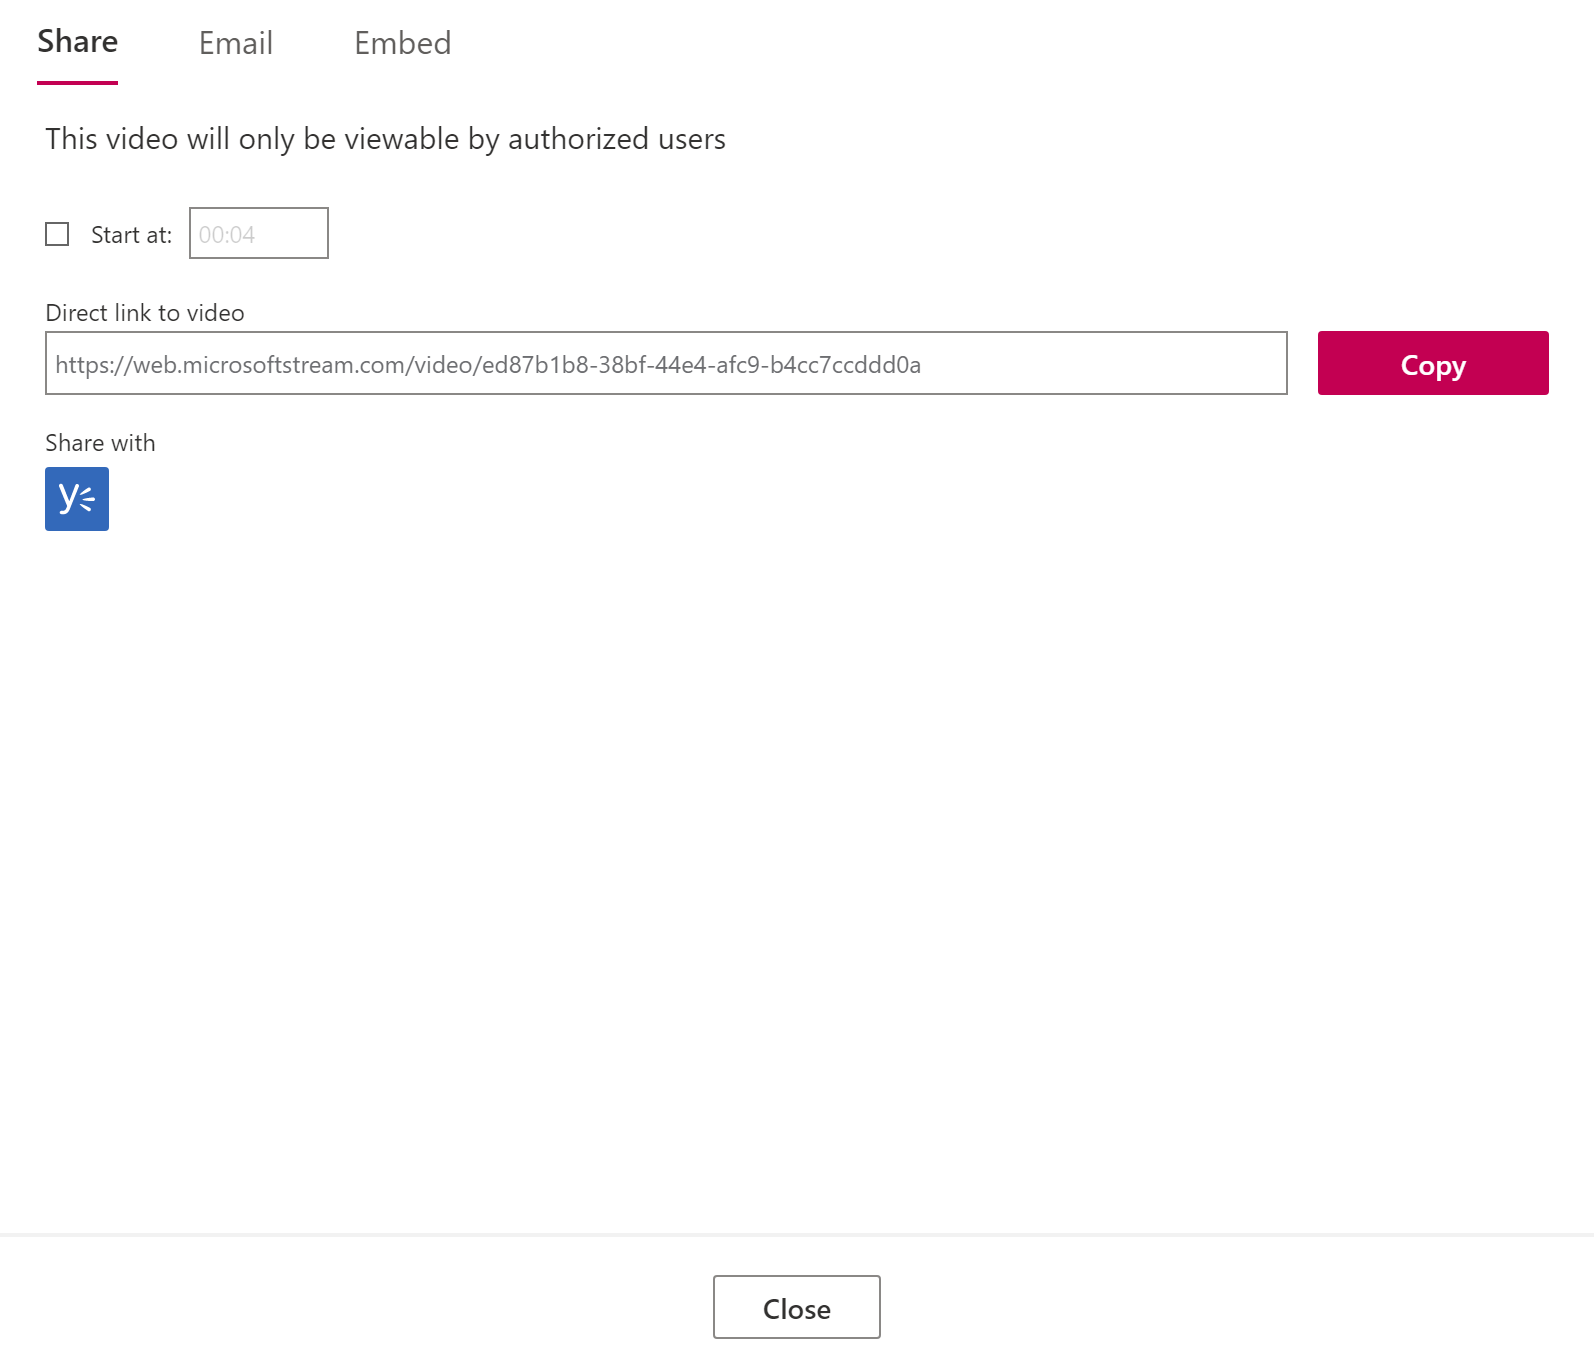
A new popup window will show, the first option is to share the recording as a link. This is the most basic form where you can click the ‘Copy’ button and paste the link into Blackboard.
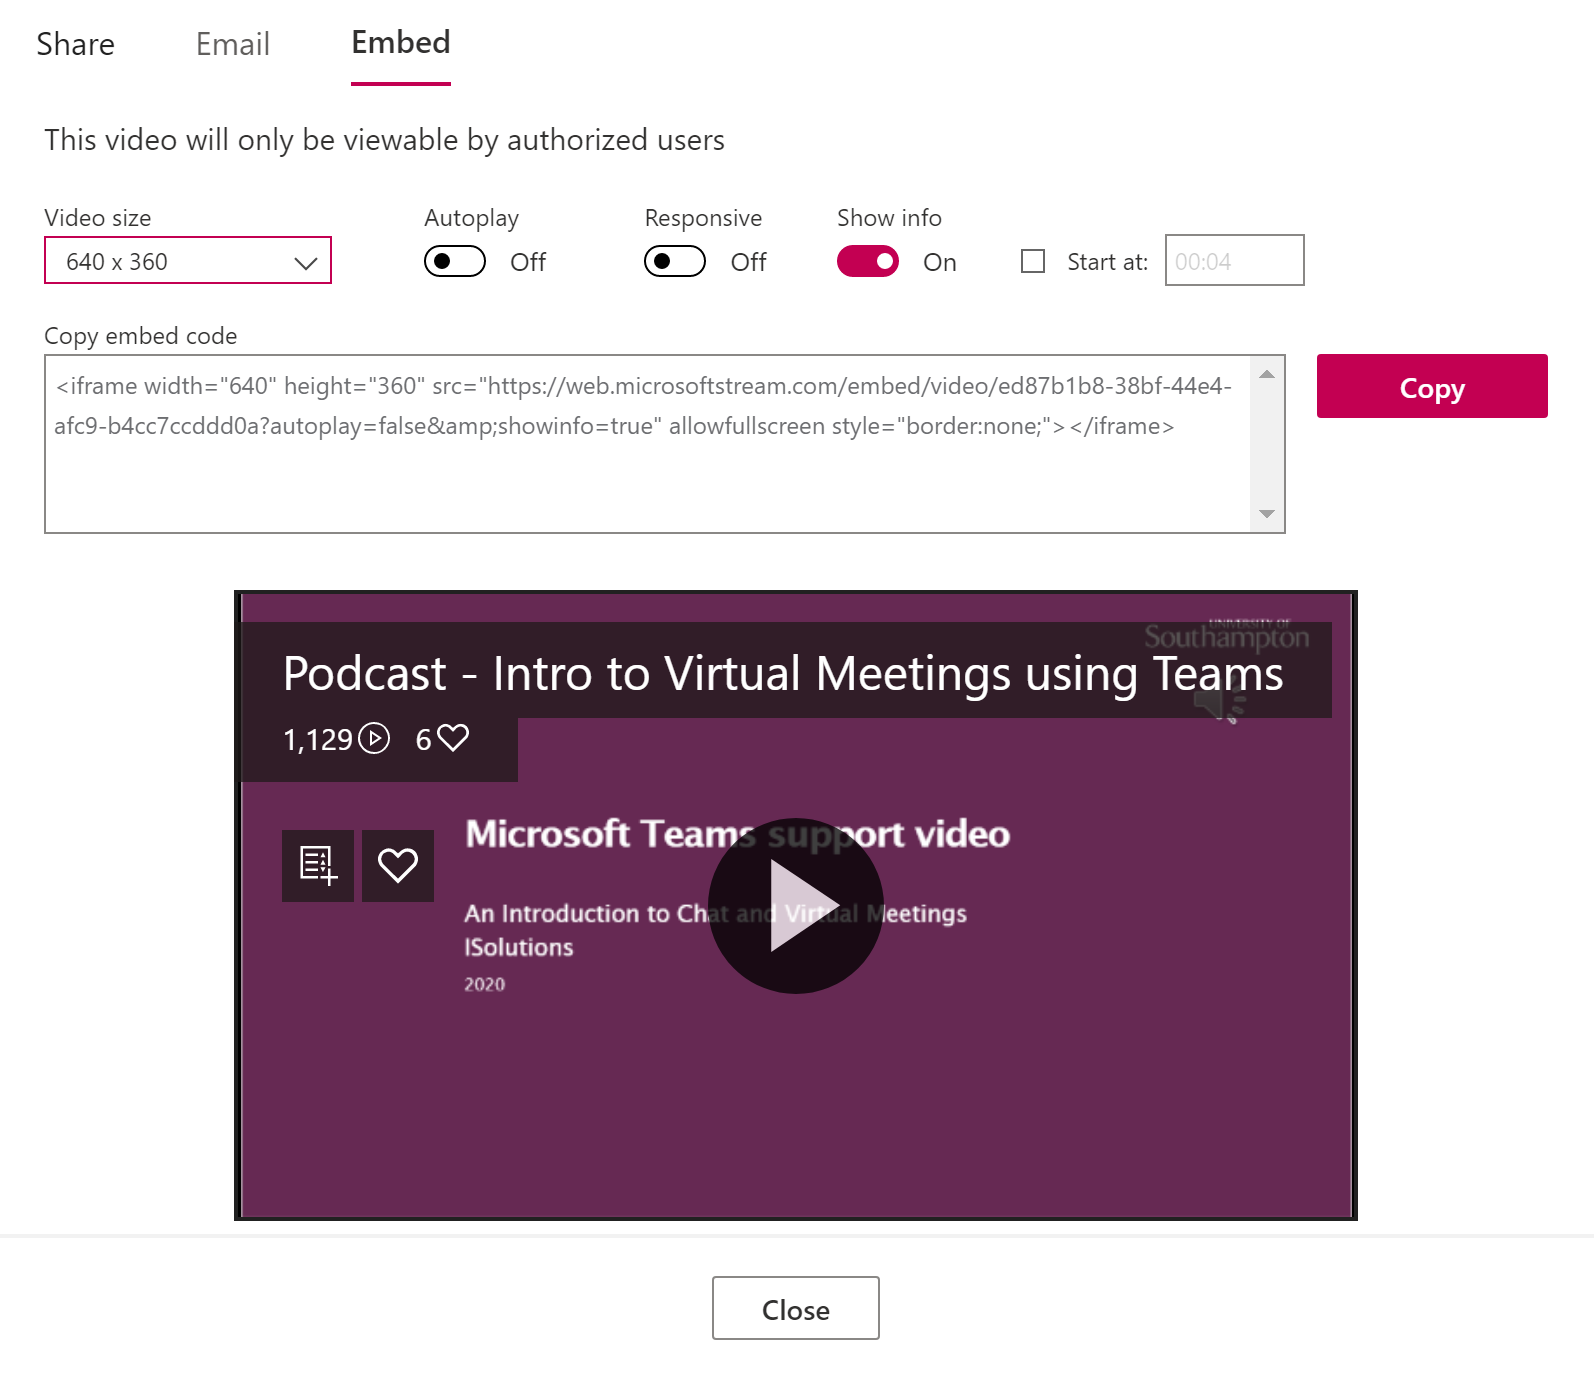
Alternatively: The other option is to embed the video, to do this click on the ‘Embed’ top menu. On this page you can leave all the settings to default and click on the ‘Copy’ button.
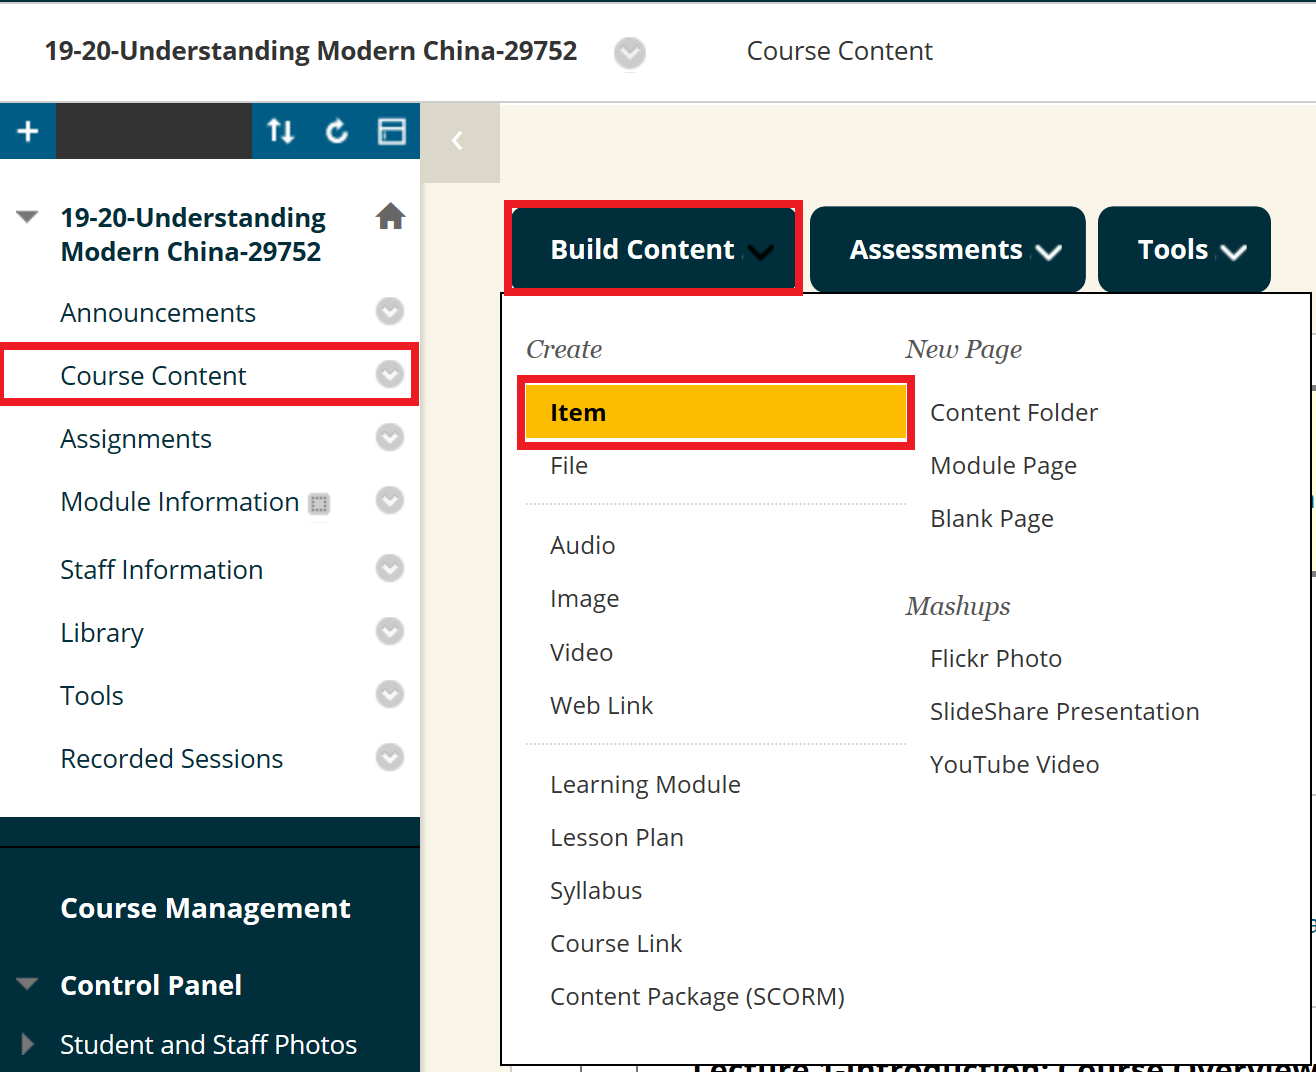
Then on your Blackboard course that you have an Instructor role, go to the ‘Course Content’ area, click on ‘Building Content’ and select from the list ‘Item’.
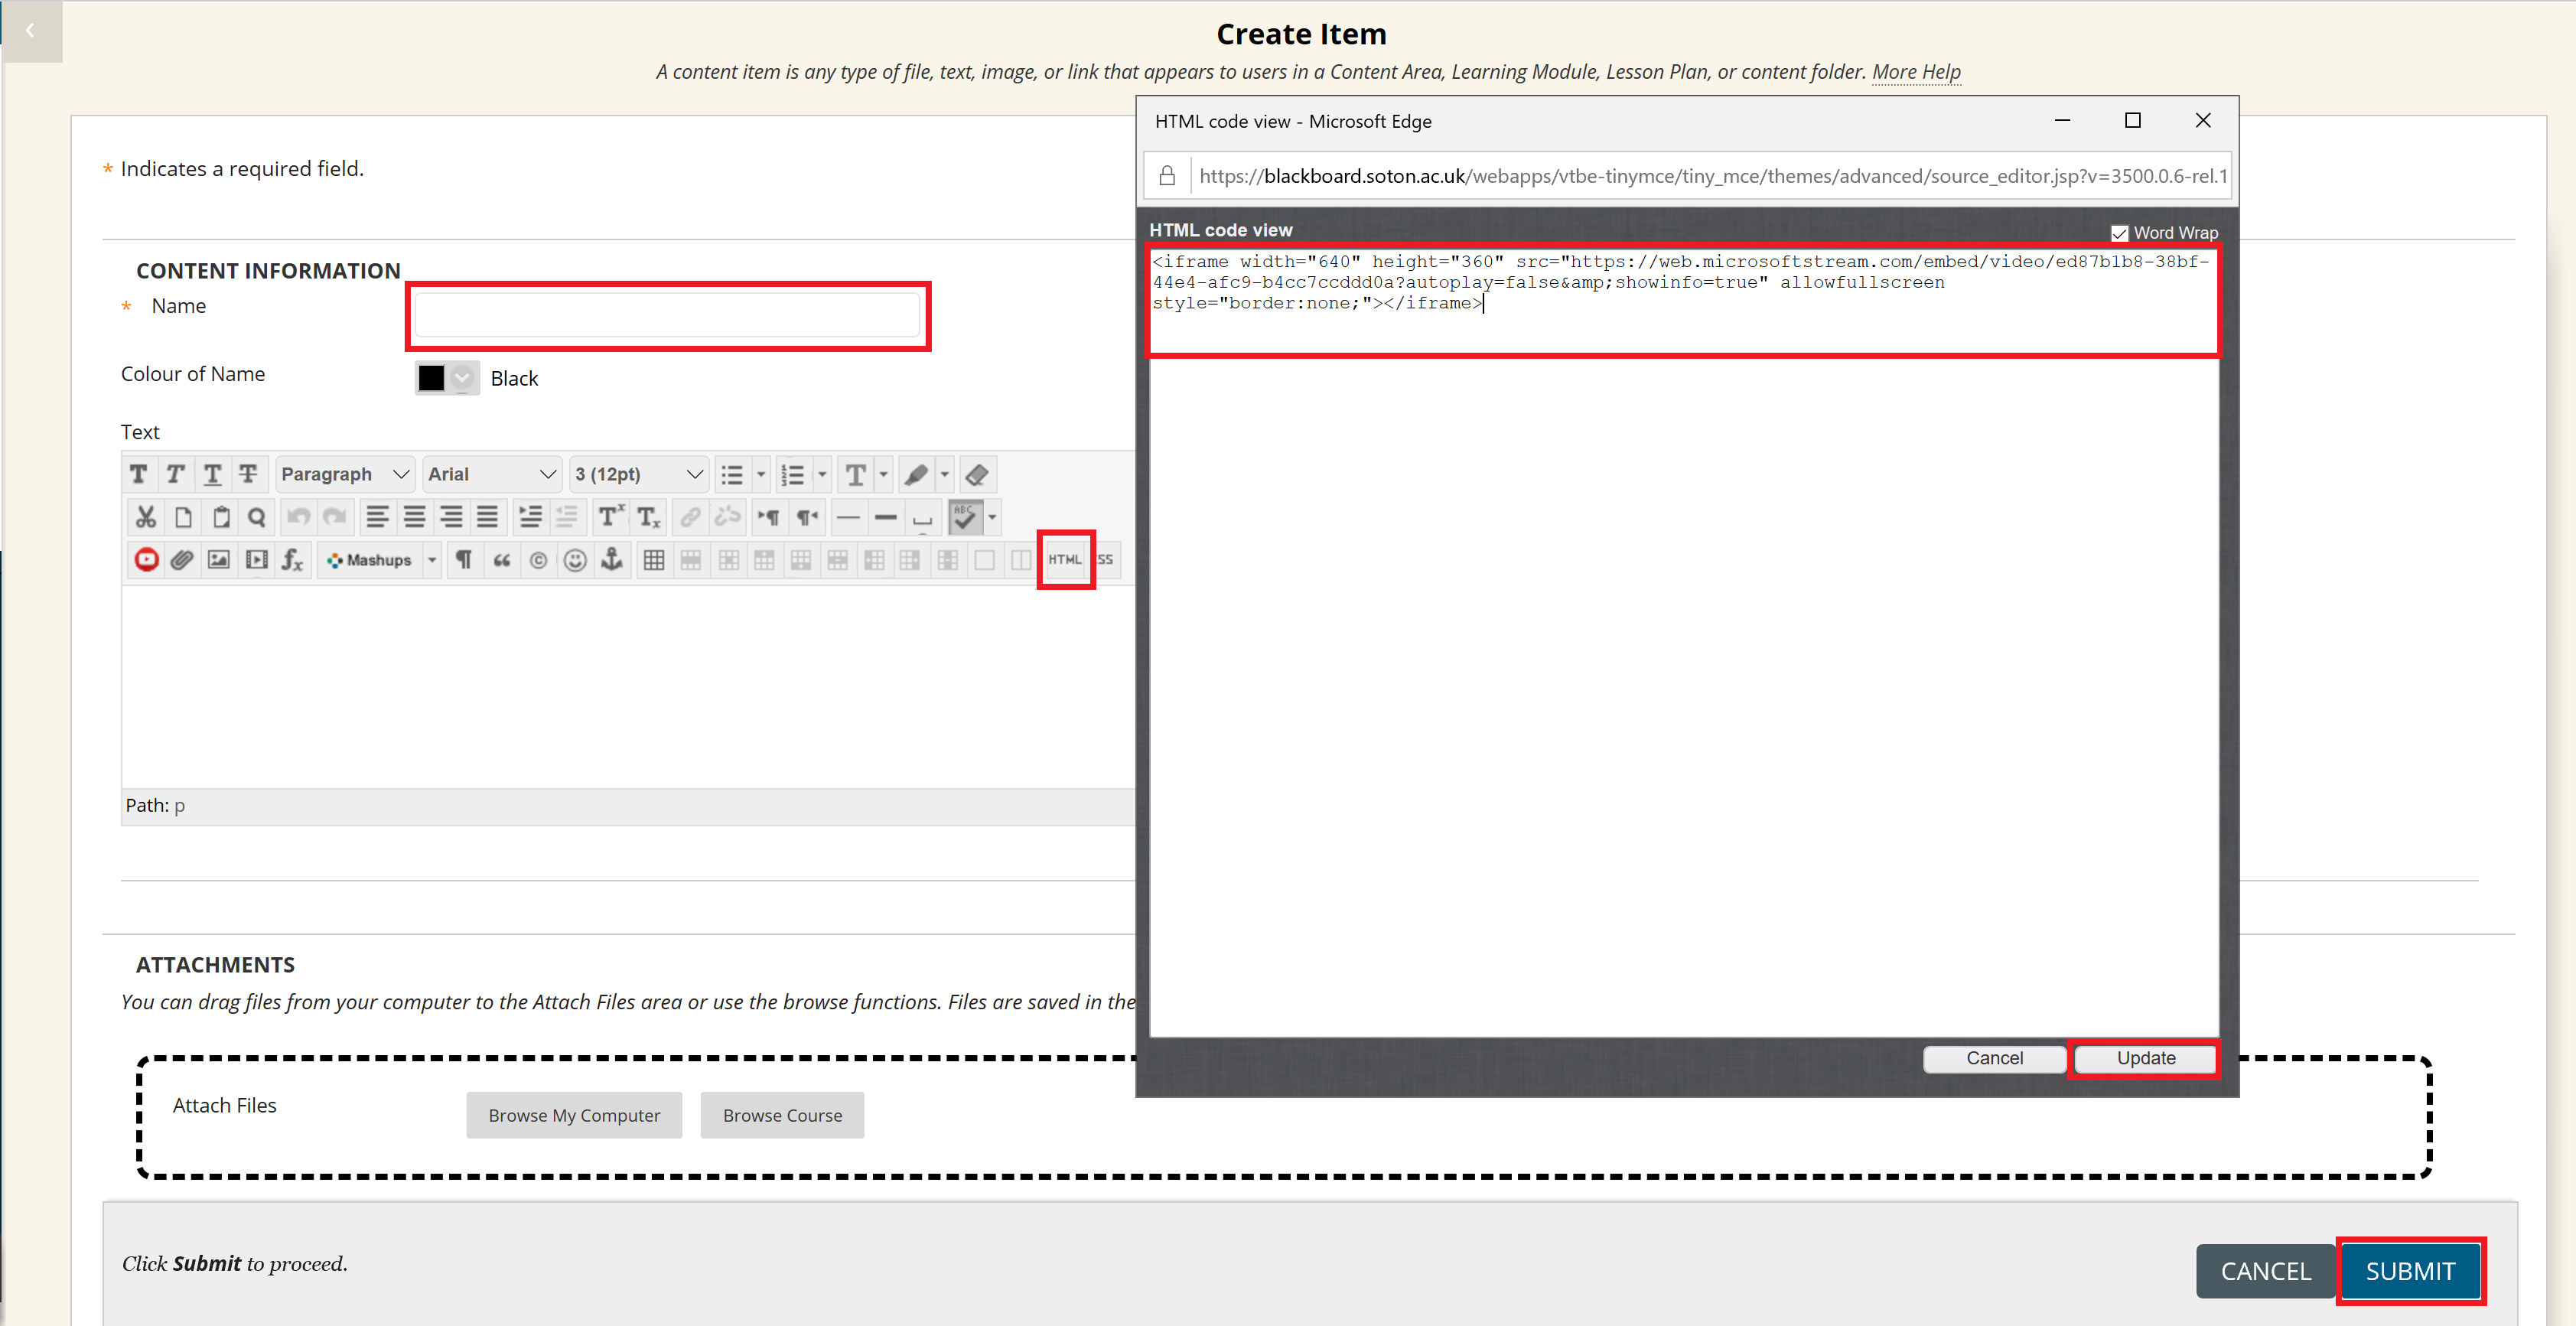
On the ‘Create item’ page give the a name to the recording, then from the tool options click the ‘< >’ button for html editing. This will show a new popup, in here paste the code that you have copied from MS Stream and click on the popups ‘Update’ button. This will close the popup. Finally click on the blue ‘Submit’ button on the main page.
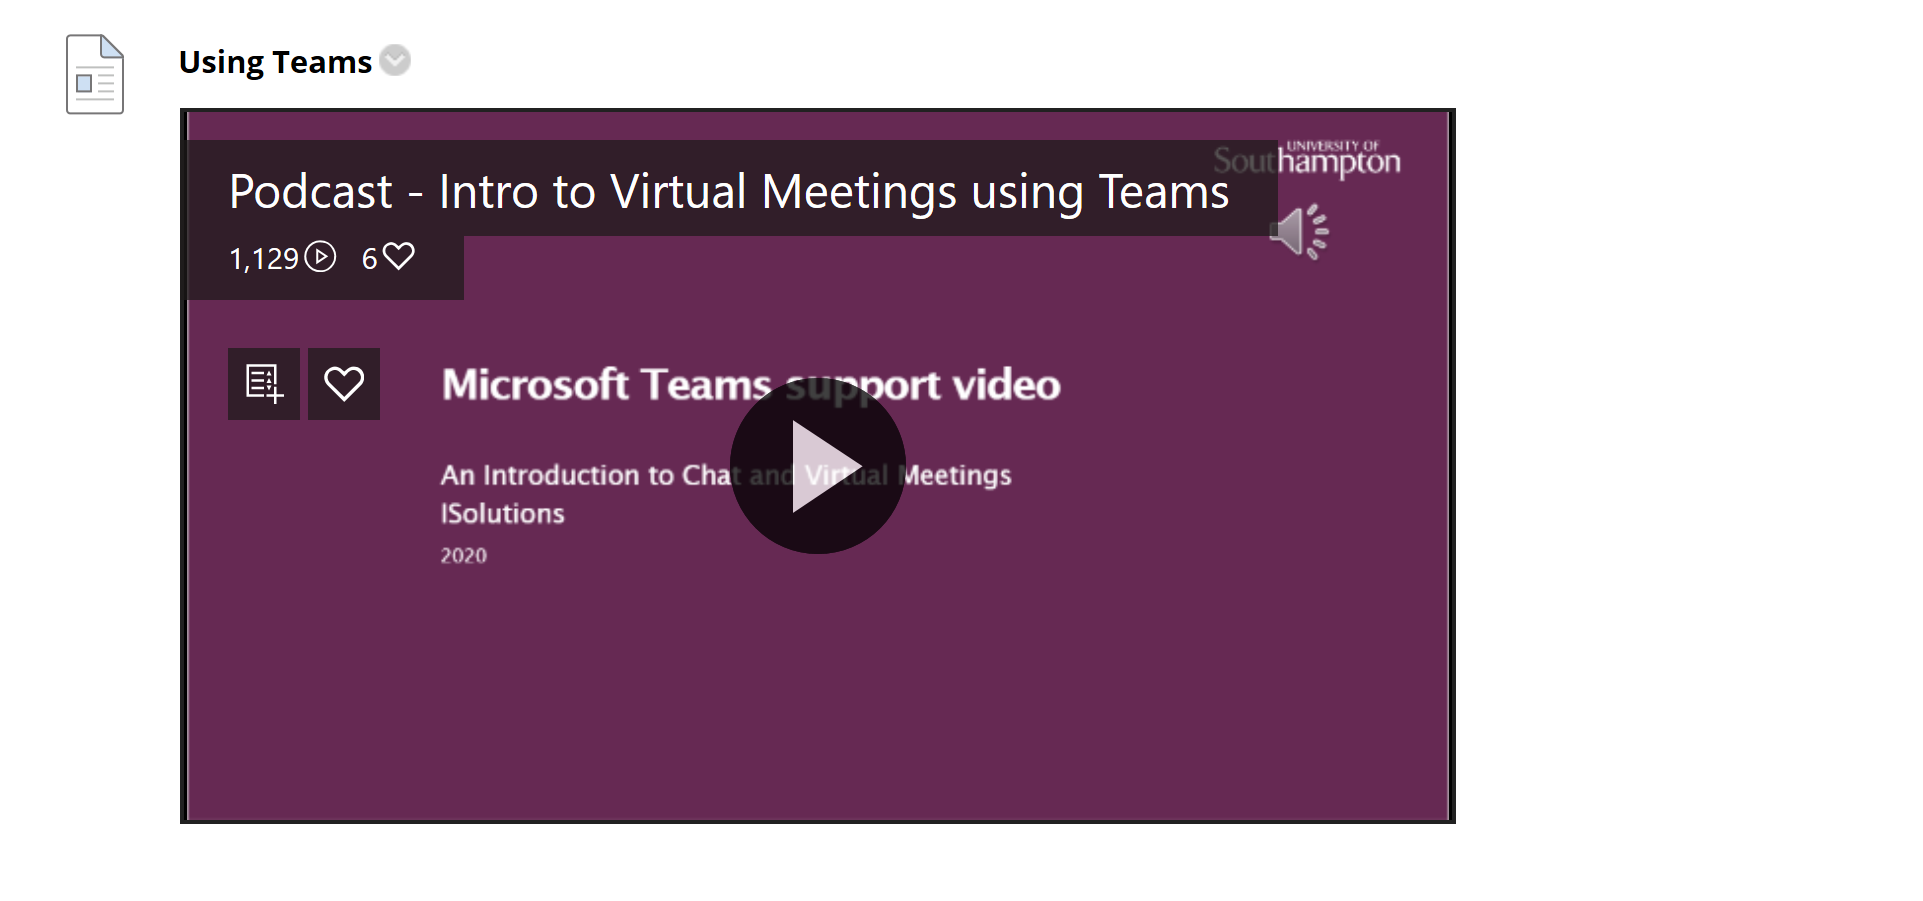
This will instantly update your course content area to show an embedded version of your video.
If you need to change the settings or permissions to a MS Stream video please look on the Office 365 Sharepoint site.
Add a Panopto Video
Panopto videos stored in their respective module folders in Blackbaord will be available to students on your Blackboard course via the Recorded Sessions area.
You can also embed videos. Please see our Panopto guide for Embedding videos in Blackboard.