
Staff Guide: An overview of marking in Blackboard Ultra. How to add marks and feedback, manage attempts, review student activity and posting marks.
Needs marking
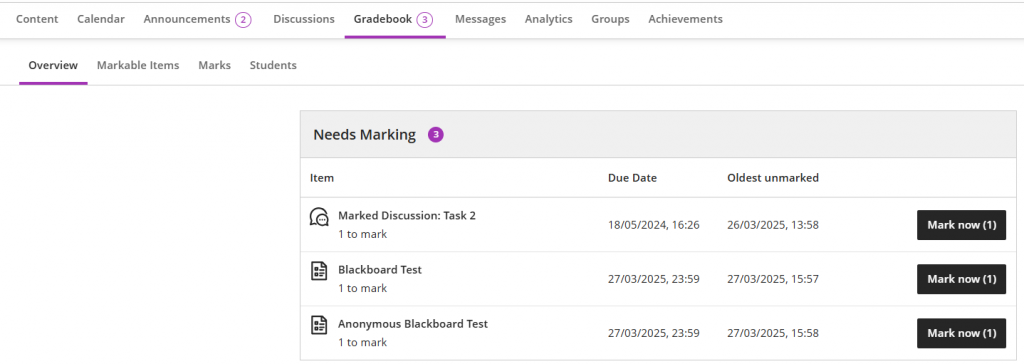
Identify attempts that need marking in the Blackboard Gradebook, Overview tab.
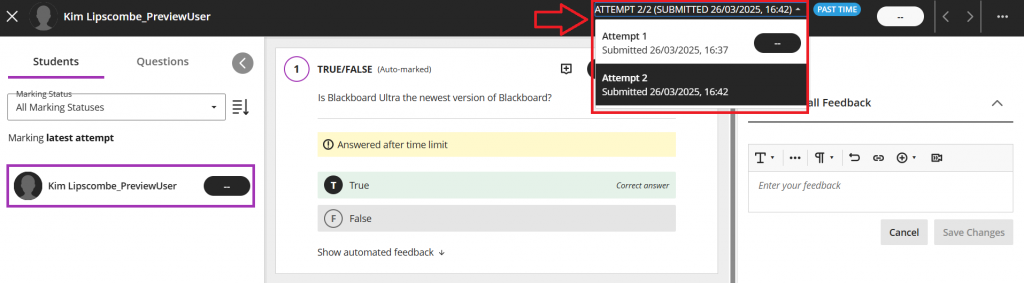
Reading the top bar of the flexible marking page (Tests & Assignments only)
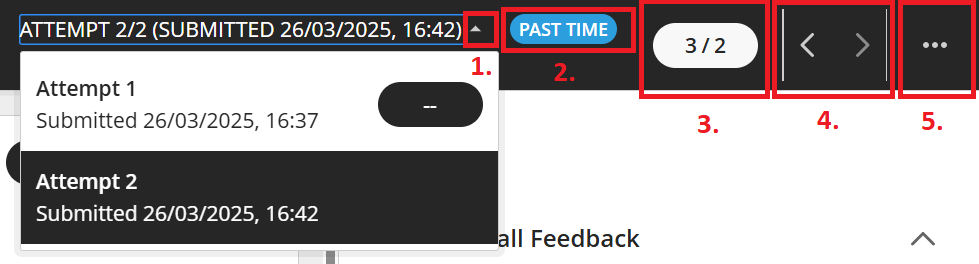
- Select the drop down menu to swap between attempts made by the same student.
- Where applicable, icons for Past Time or Late will show on each attempt.
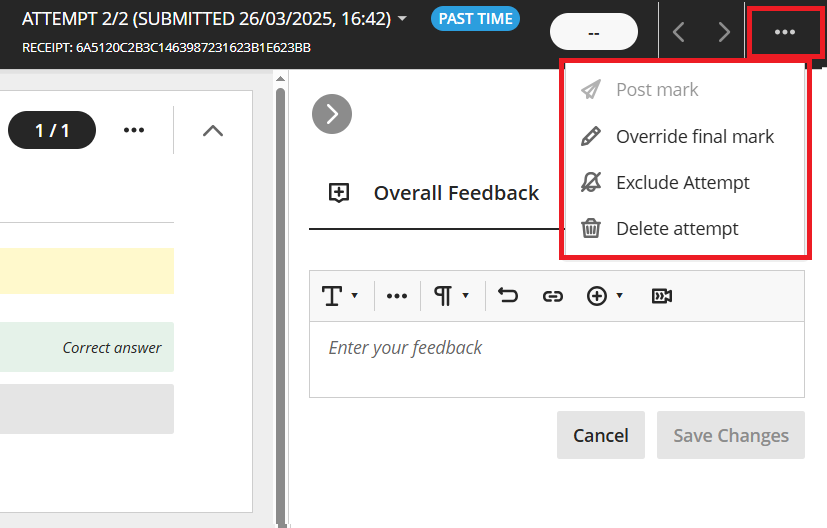
- The marking pill icon where you can type the mark.
- Arrows for moving forwards and backwards between student submissions.
- Select the More Options menu on a student submission to post or override the mark, exclude or delete the attempt.
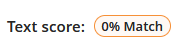
- If you enabled Turnitin on the assignment, you should see the similarity score towards the top right of the submission. Selecting the pill will open the full sumilarity report in a new window.
Past time and Late indicators
A timed assessment can be marked Past time when the student has taken longer then the alloted time limit. This may be when additional time has been granted.
Students with a time limit accommodation may have a longer time limit and will only be marked as past time if they exceed the time allowed by their accommodation.
A student will have their assessment marked as late when they submit after the due date.
Students with a due date exception will only be marked late after the date and time of their exception.
Adding a mark
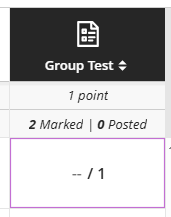
When marking a student assignment, test, discussion or journal, there is usually a pill icon towards the top right of the page. This is usually where you enter marks.

A mark is usually recognisable by a pill icon.
The image to the left shows:
- 40/50 marks
- 75/100 marks and a rubric is available for this item
- Completed mark (shown as a tick)
You can change between points and text by using mark schemas.
Marking in the Gradebook
You can add marks directly into the Gradebook.
On the Marks tab, locate the student/assignment you wishe to makr. Enter a mark by selecting the cell and tying in the mark.
If this is overwriting a previous mark, it will show as an Override mark.
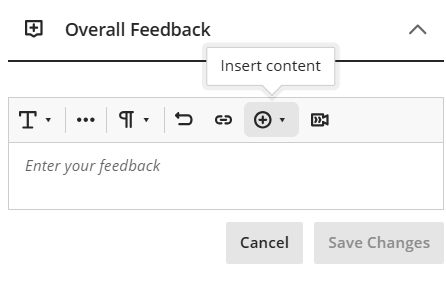
Adding feedback

Feedback is often indicated by a black or purple speech bubble icon.
You can enter feedback on an individual attempt or provide overall feedback on all attempts the student has made.
For group work, you can provide individual feedback as well as feedback for the group.
For Discussions and Journals, you can also leave comments and replies to students against their individual posts.
Adding video or audio feedback
We recommend you use Panopto to record any screen recordings, videos or verbal feedback. You can then share the link to the recording with the student to view.
You should ensure that feedback provided in alternative formats is accessible to the student. We recommend using Panopto as the student can download a transcript or use captions on recordings.
Uploading a feedback file
When you are adding feedback to a submission, simply select the Insert content button to add attachements.
Override mark
An override mark in Blackboard is a final mark that replaces all other marks for an assessment, including automatically marked tests and any new attempts.
- Both staff and students will see an indicator that the mark has been overridden.
- You can override calculated scores from automatically marked test, for example, to deduct points where questions were submitted late or past time.
- You may want to provide an individual student an override mark for group assessment, if their mark should be different from the group mark.
- You can assign an override mark even if the student has made no submission.
Managing attempts
You set the number of attempts in the assessment settings. Or you can grant additional attempts for a student by giving them an exception.
When marking a student assignment or test submission, you can swap between views.
Submissions that are late or past time will have an indicator icon next the the attempt.
You can delete or exclude an attempt.
Review student activity and attempt log
Access a student’s attempt log from the Assessment Submission page.
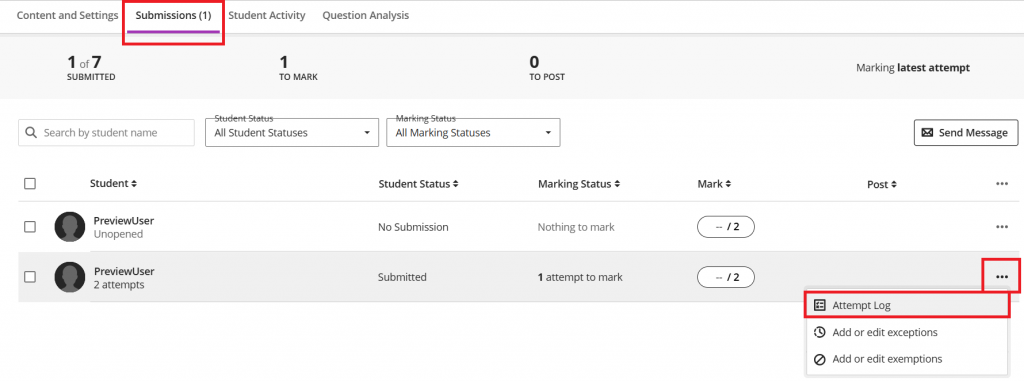
The attempt log will show the time and date the student started the assessment, when they saved each question and when they submitted.
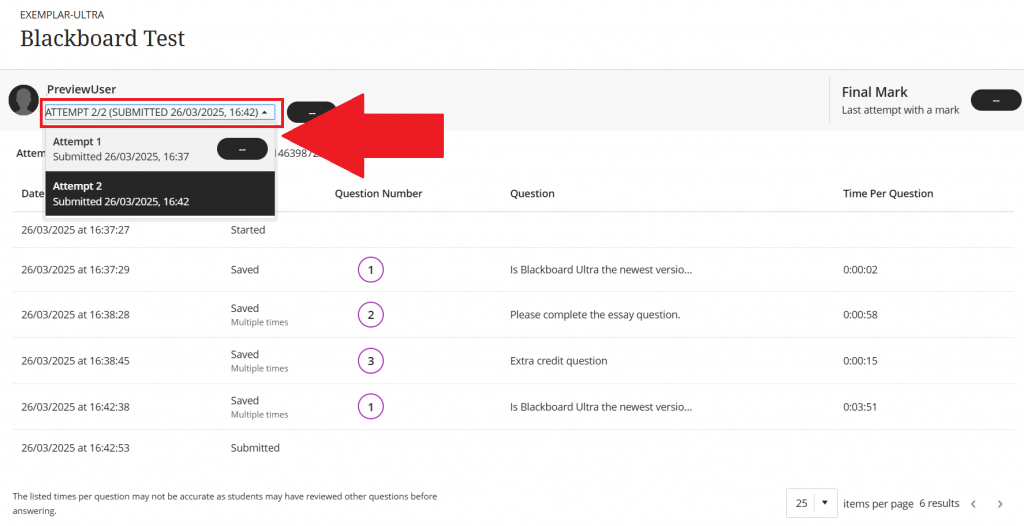
If the student has made multiple attempts, you can swap between attempt logs.
You could also review Progress Tracking and Student Activity Reports for the assessment, although some features may not be availble for Anonymous assessment.
Posting marks
You can post marks from:
- The Overview, Marks or Markable items views in the Gradebook
- The Submissions page of the assessment
To publish a mark, select Post mark, which appears next to each mark you haven’t released yet. Posted marks are labeled Posted. You can also mark all submissions for an item and then select Post all marks to release all marks in one action.
When you post marks, students can view them, along with any feedback you provide. All feedback for all attempts, even ungraded attempts, is shown to students.
You cannot hide a mark once it has been posted, unless the entire assessment is hiden from students.
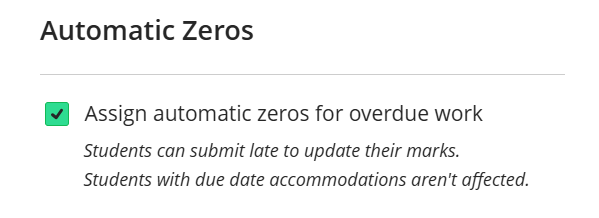
Automatic zeros and posting assessment marks automatically
It is important to check the Blackboard Grade Centre settings.
You can change your assessment setting defaults in the course Gradebook.
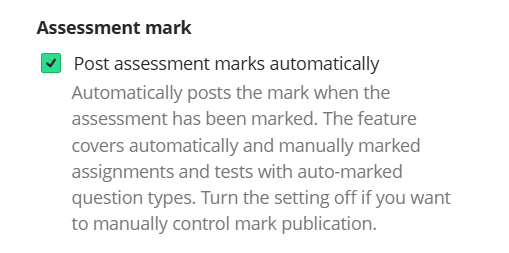
Blackboard Tests: Ensure that “Post assessment marks automatically” is not ticked if you want to control or delay the release of marks to students. This may be helpful if you need to mark file response or essay questions, or add additional feedback.
See also
Blackboard Ultra – Marking Tests
Blackboard Ultra – Marking Assignments
Blackboard Ultra – Discussions and Journals
board Ultra – Qualitative “no marks” Assessment
Blackboard Ultra – Student Overview, Course Activity Reports and Student Performance Alerts